
I like doing things well. Planning, measuring, following instructions, iterating until they’re as good as I can do them. I also like making progress quickly – continuously, if time allows.
Starting to dabble with woodworking has introduced me to a different world. Plans to build something, if available at all, are not easy to turn into flawless results. Not without some experience, anyway – and I’m just getting started. Iterating can often mean starting over with a new piece of wood. Progress stops while waiting for paint to dry.
It’s been surprisingly enjoyable to embrace the imperfection of the results. Building things with my hands and learning something at every step – it doesn’t get much better, if I let go and accept “good enough”.
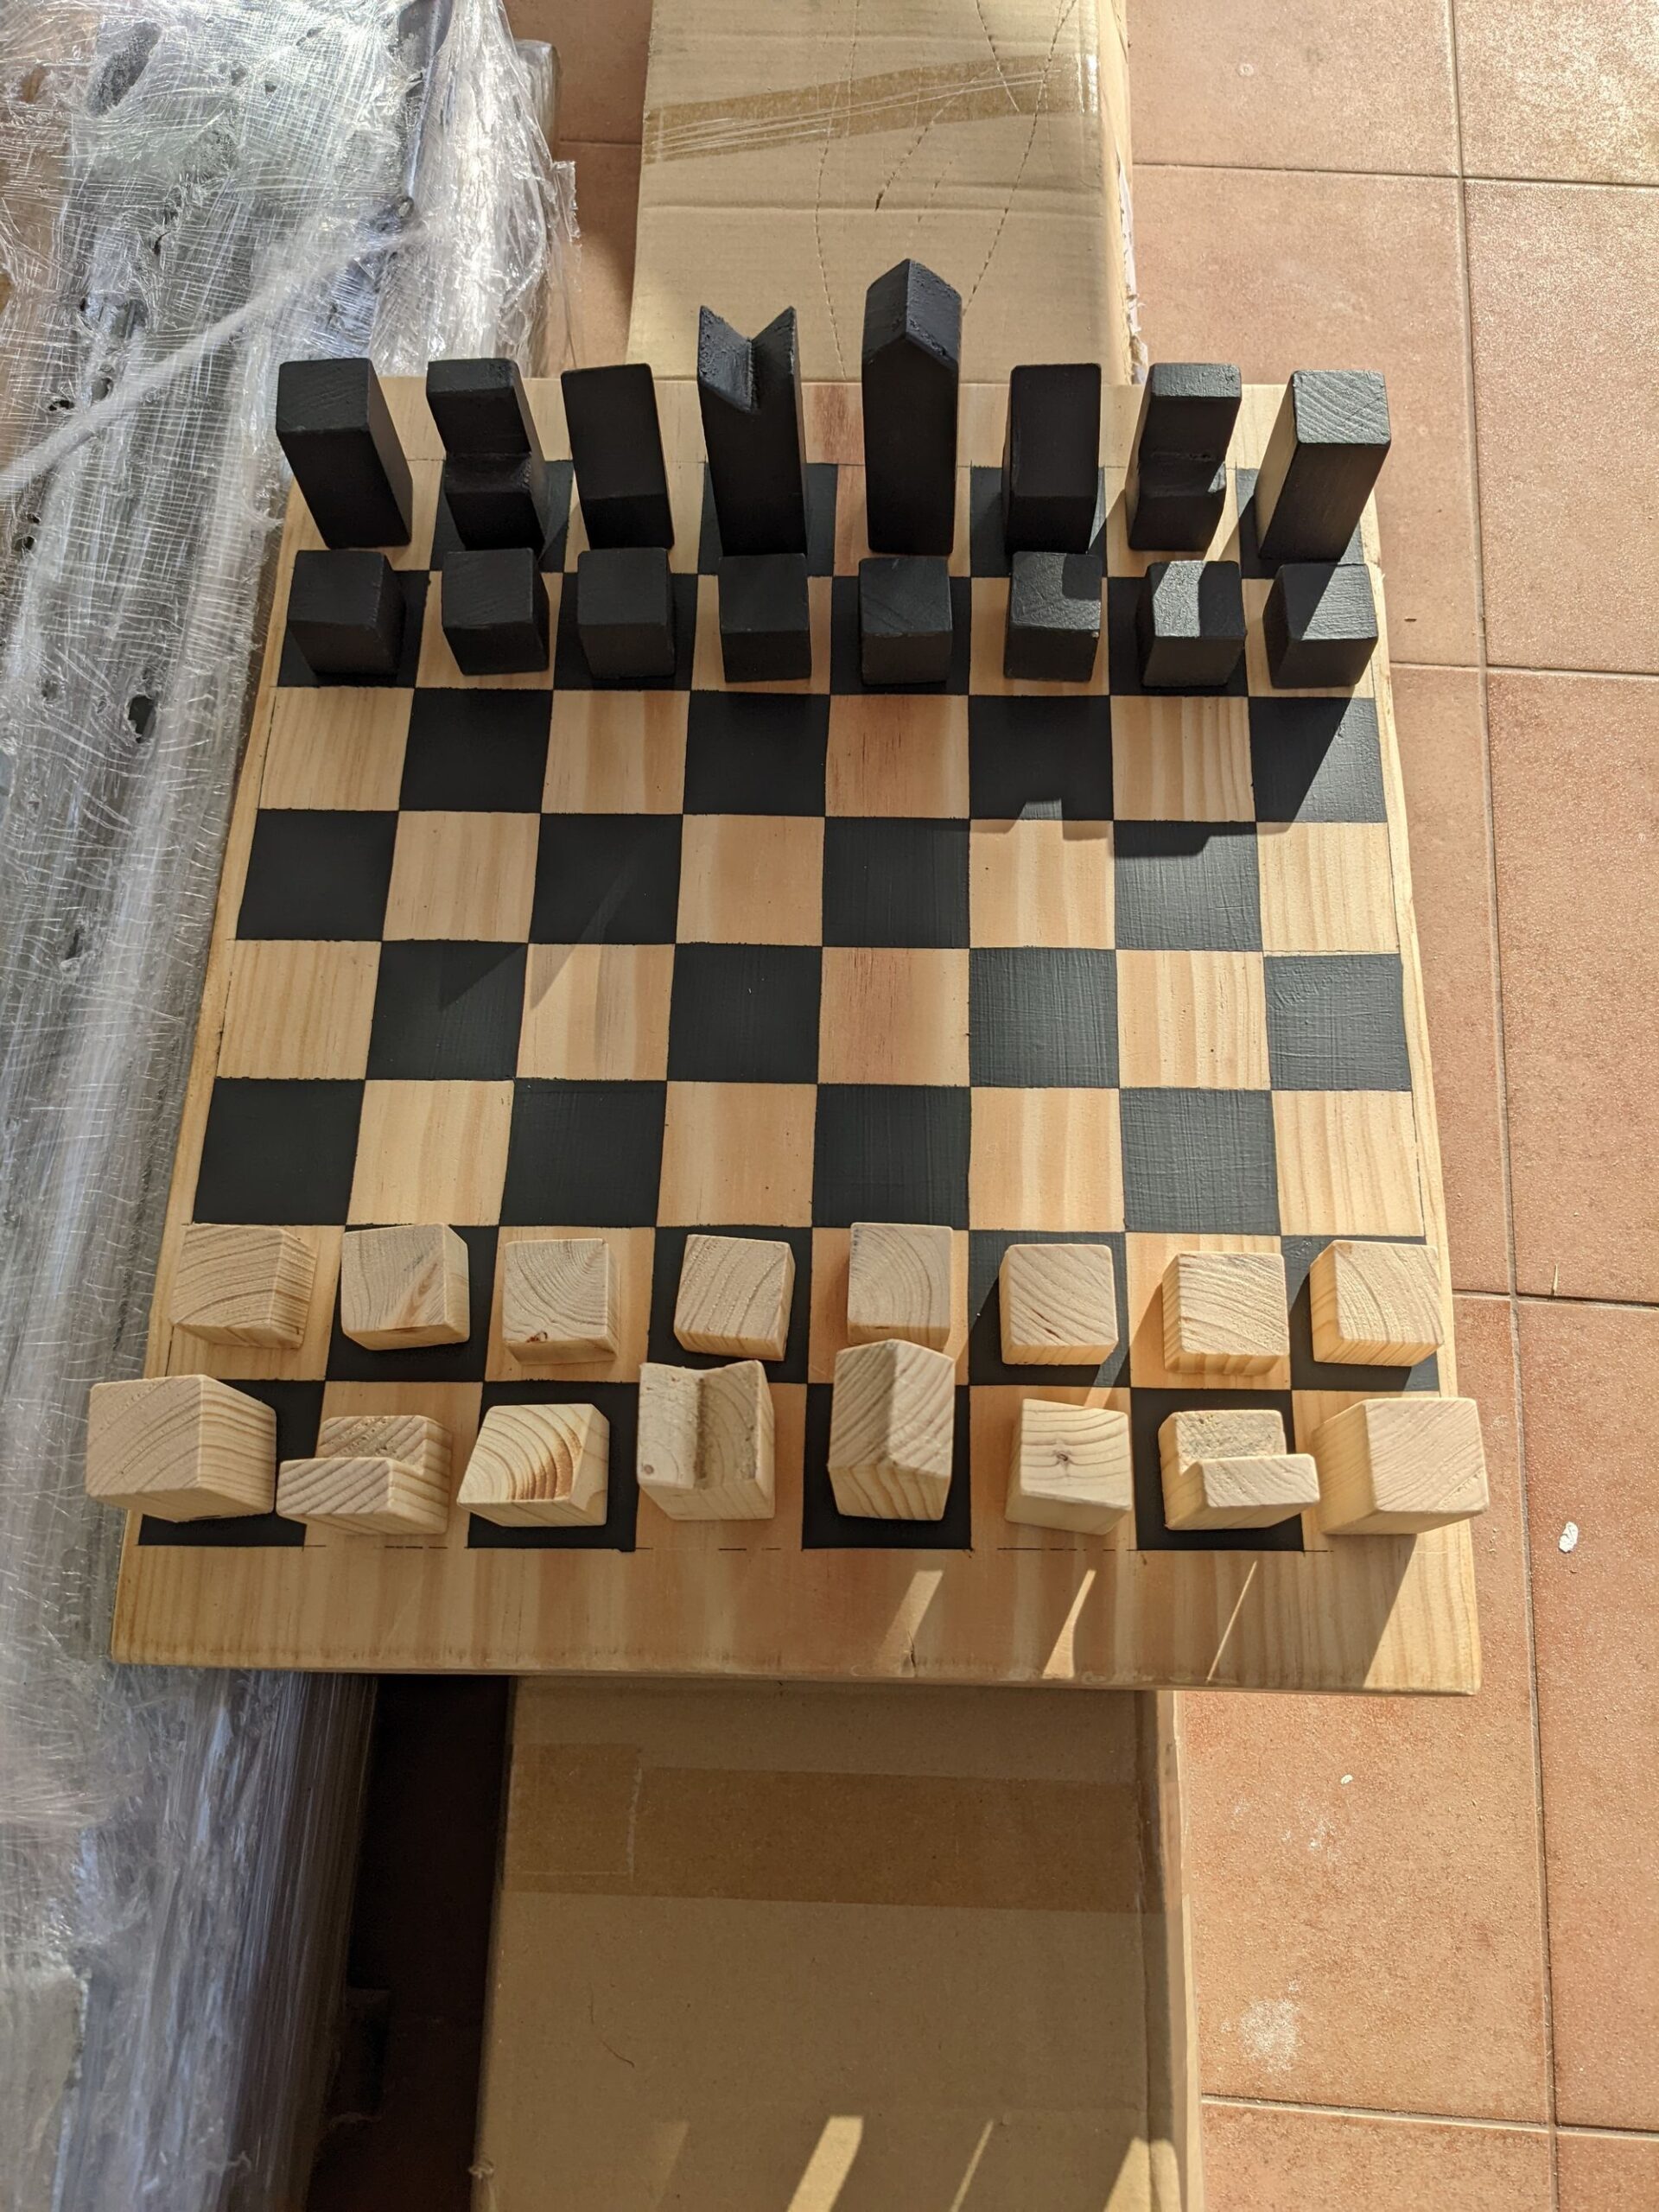
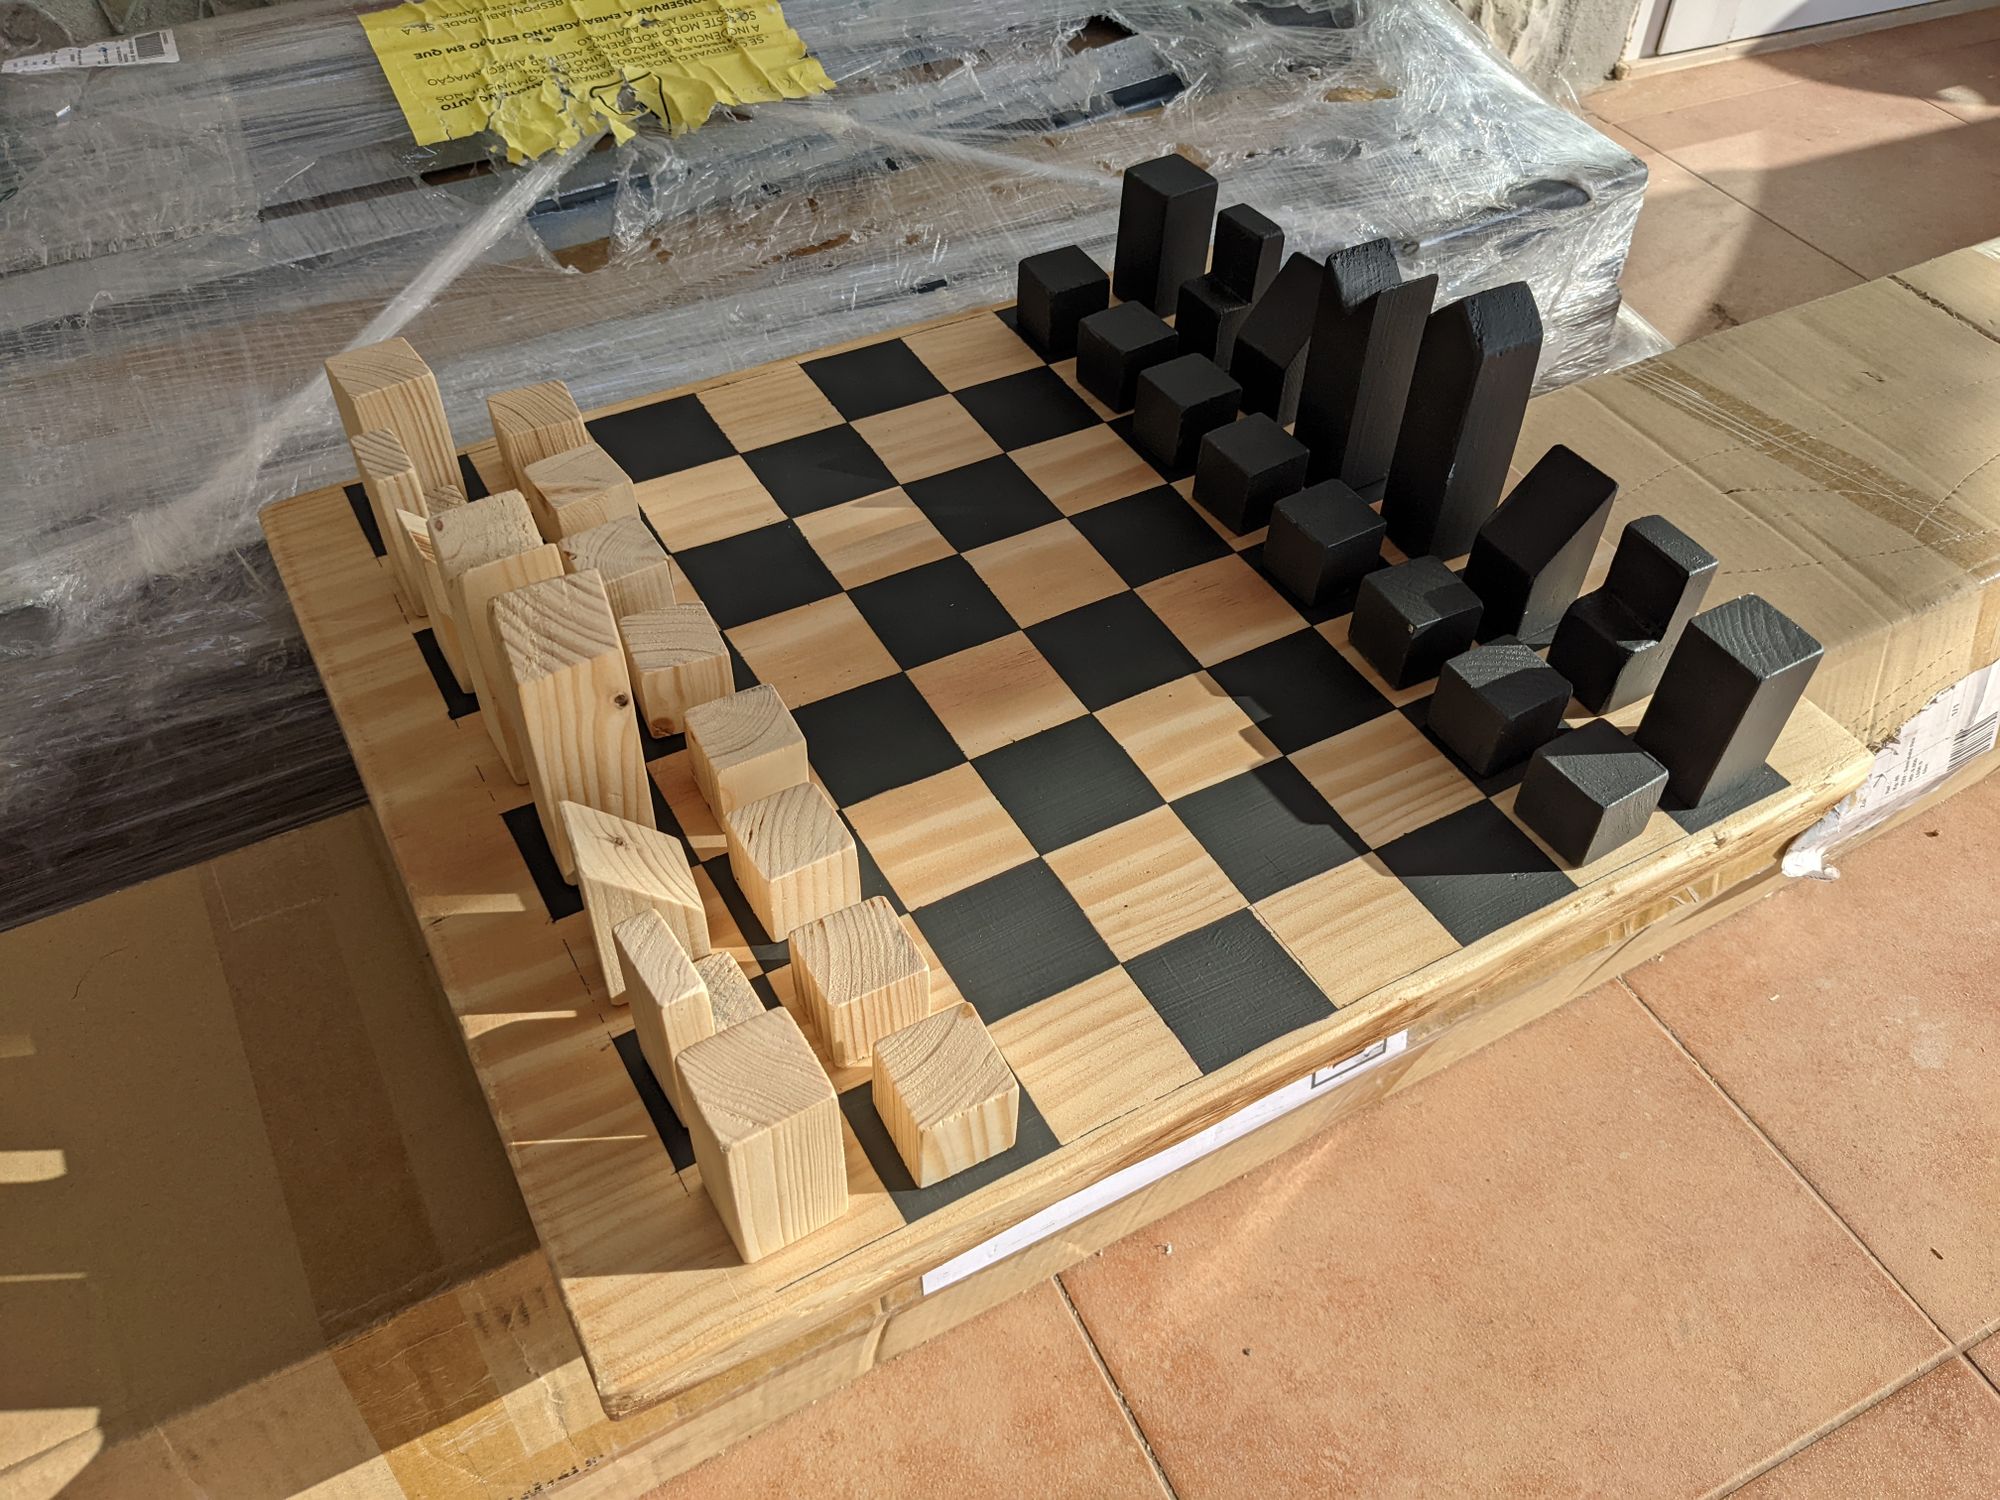
The idea and supplies for this chess set had been sitting around for a while, waiting for the right moment. I was planning to use this minimalist design for the pieces (no plans available, but easy to figure out) and a massive, heavy single piece board. It would all be made of inexpensive soft wood so that mistakes and failures wouldn’t be too costly.
Execution began without planning on it, when I realized that the 30*30mm Douglas fir offcuts from another project were suitable for the pieces. I had initially planned to make them smaller, but these seemed suitable too.
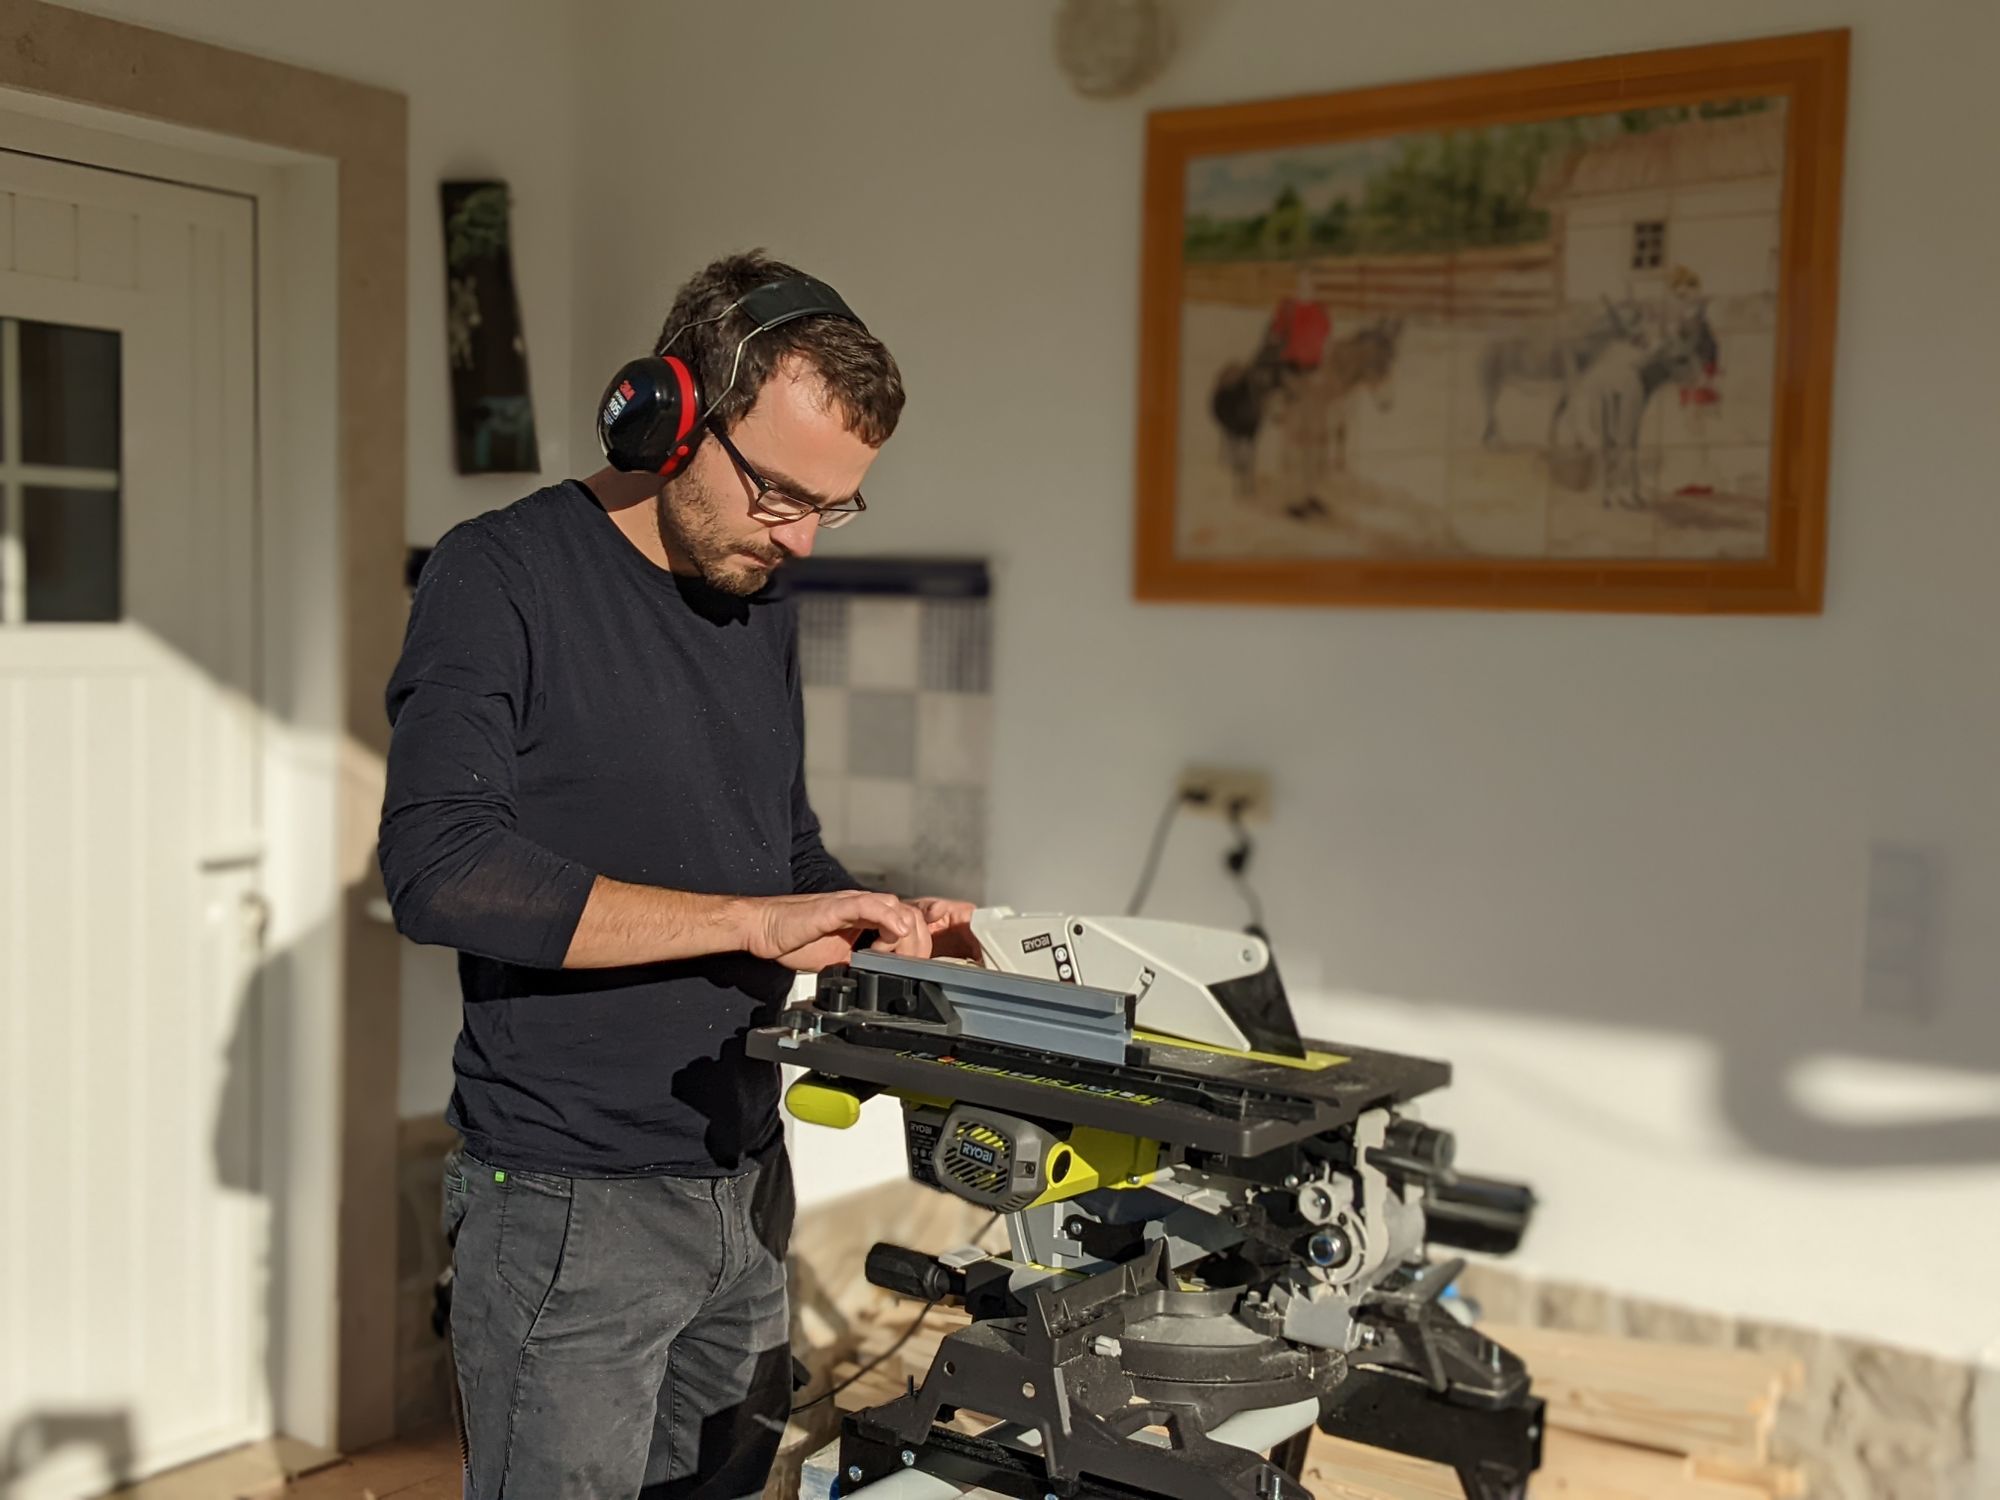
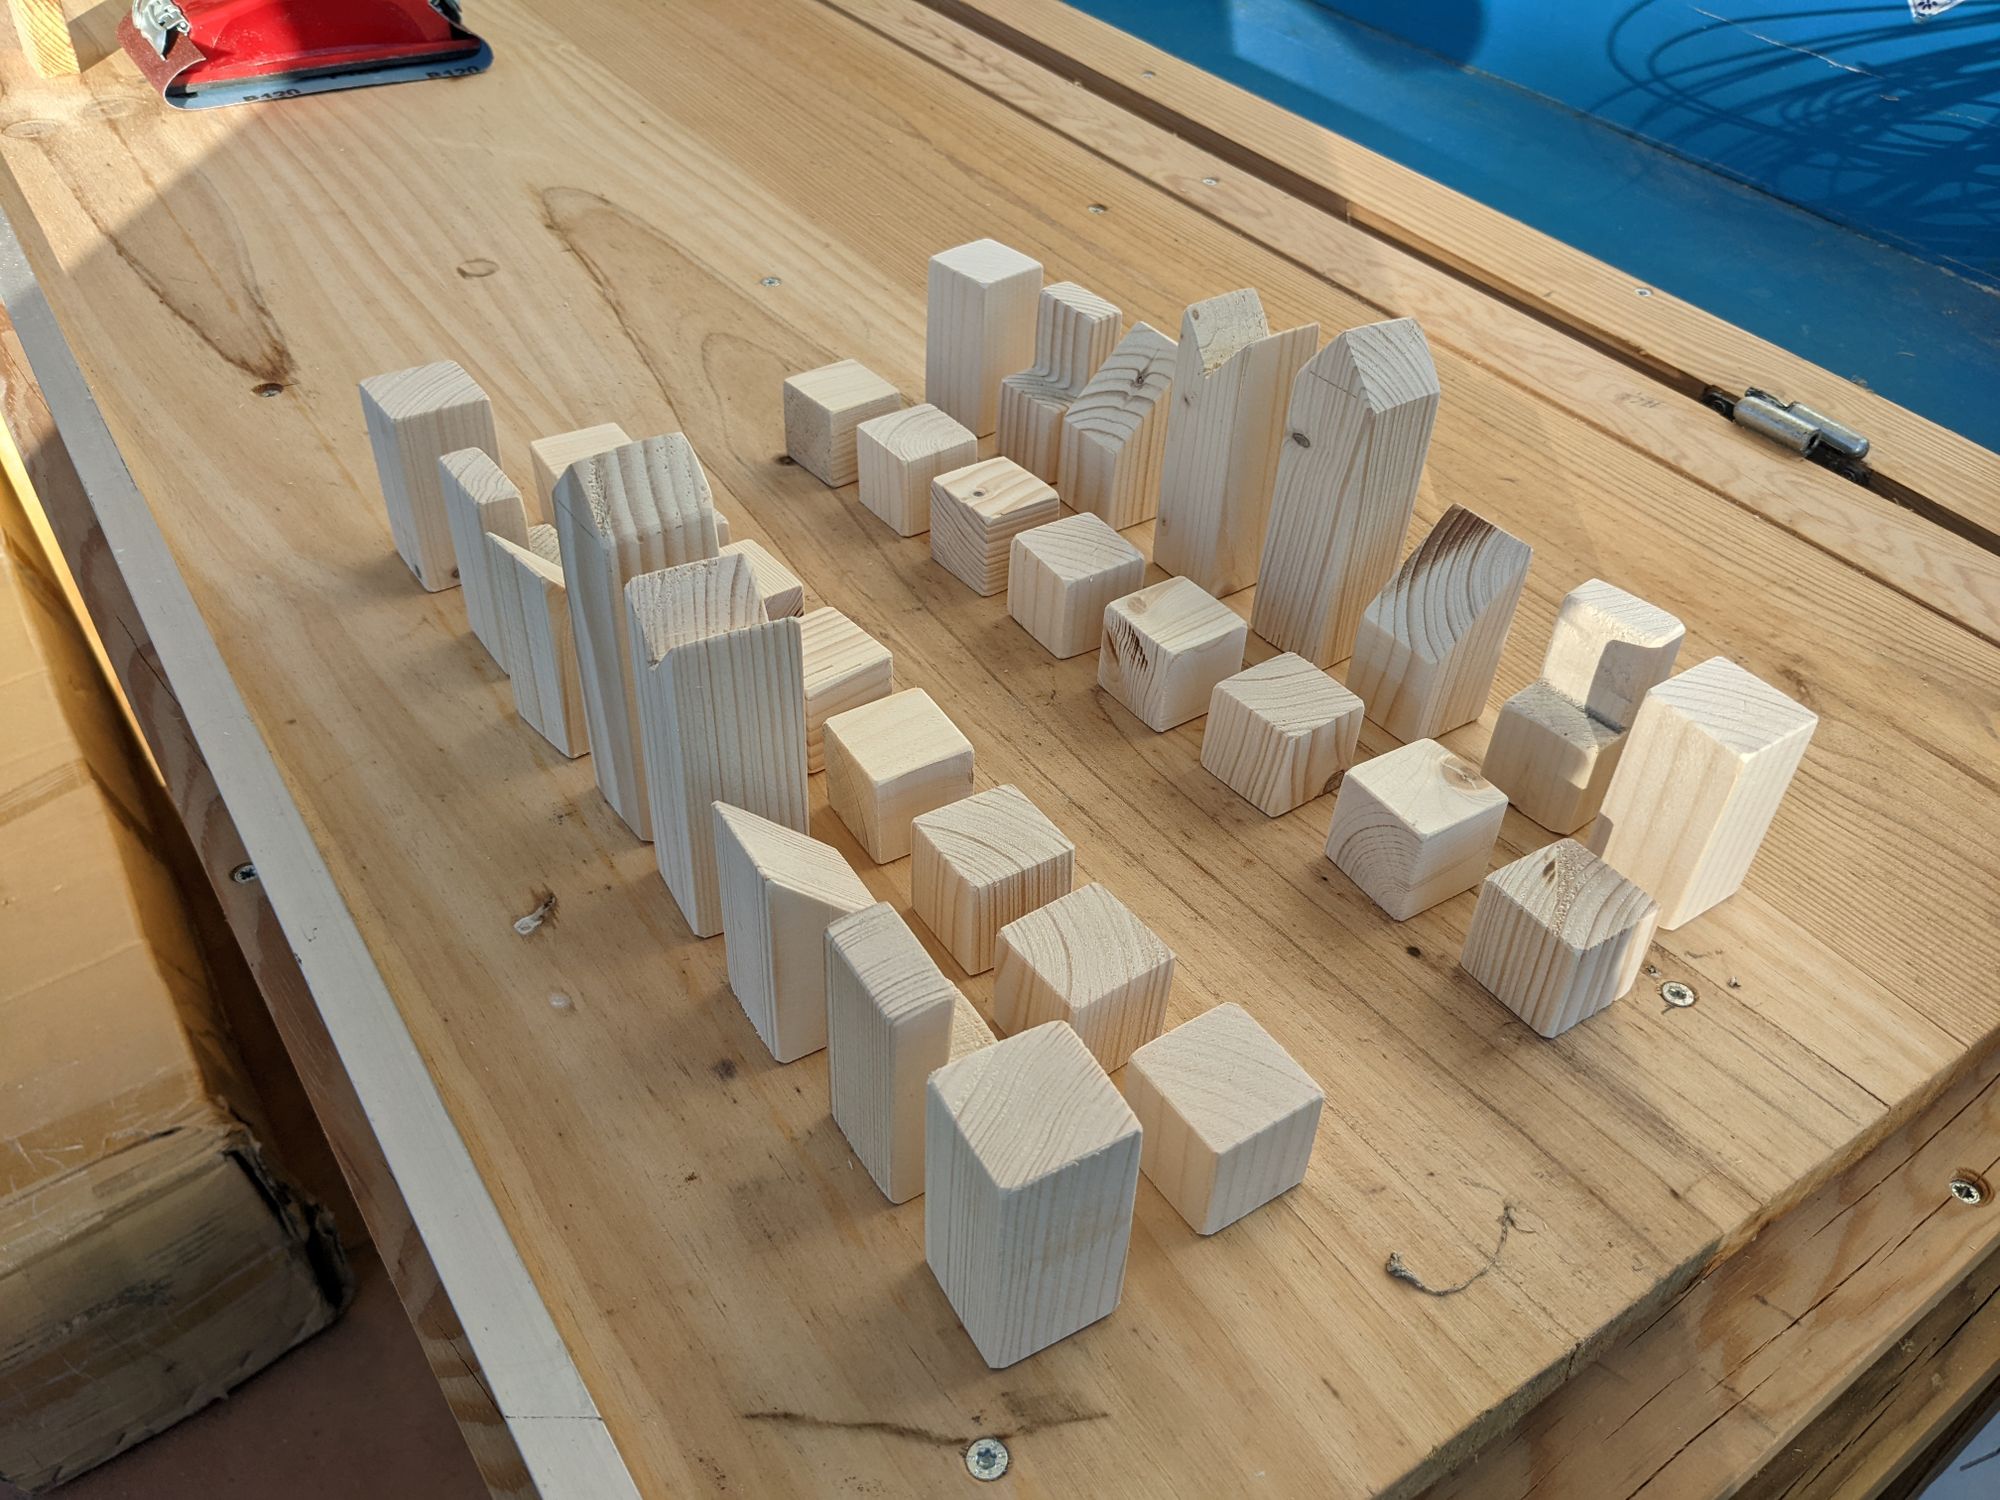

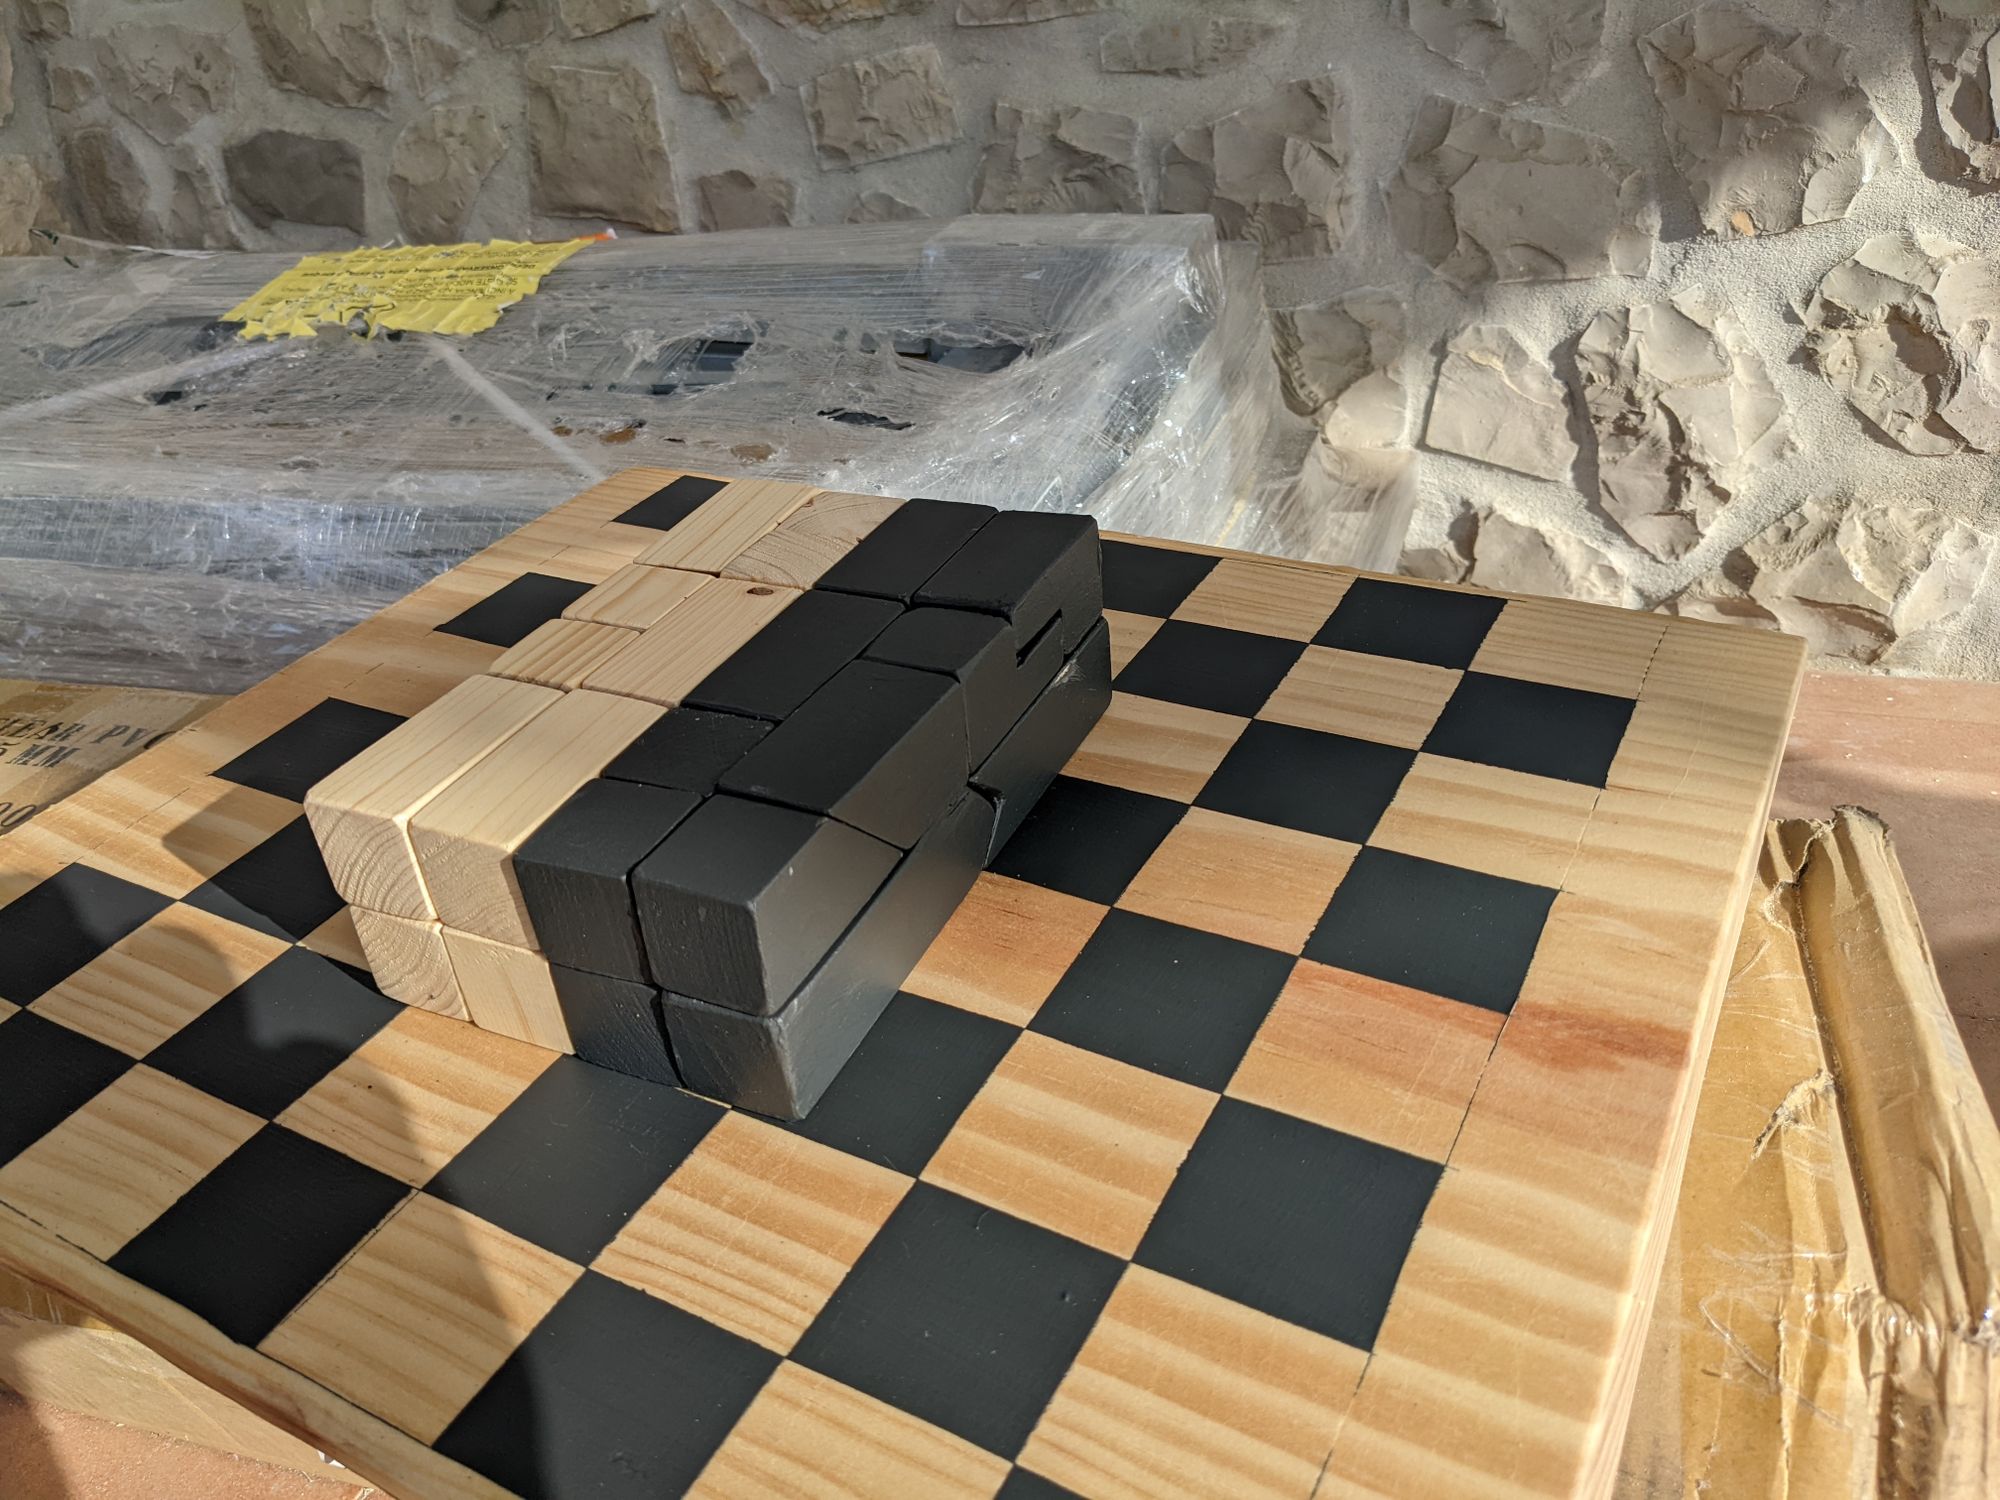
I used a combo miter/table saw (uncomfortably exciting – it was one of my first times using it) to make most of the cuts. The top part of the rooks, queens, and kings were cut with a hand saw and are thus visibly imperfect. I evened them up with a file and sandpaper until they were good enough. In hindsight, the top of the queens would have been easier and nicer to cut with the miter saw.
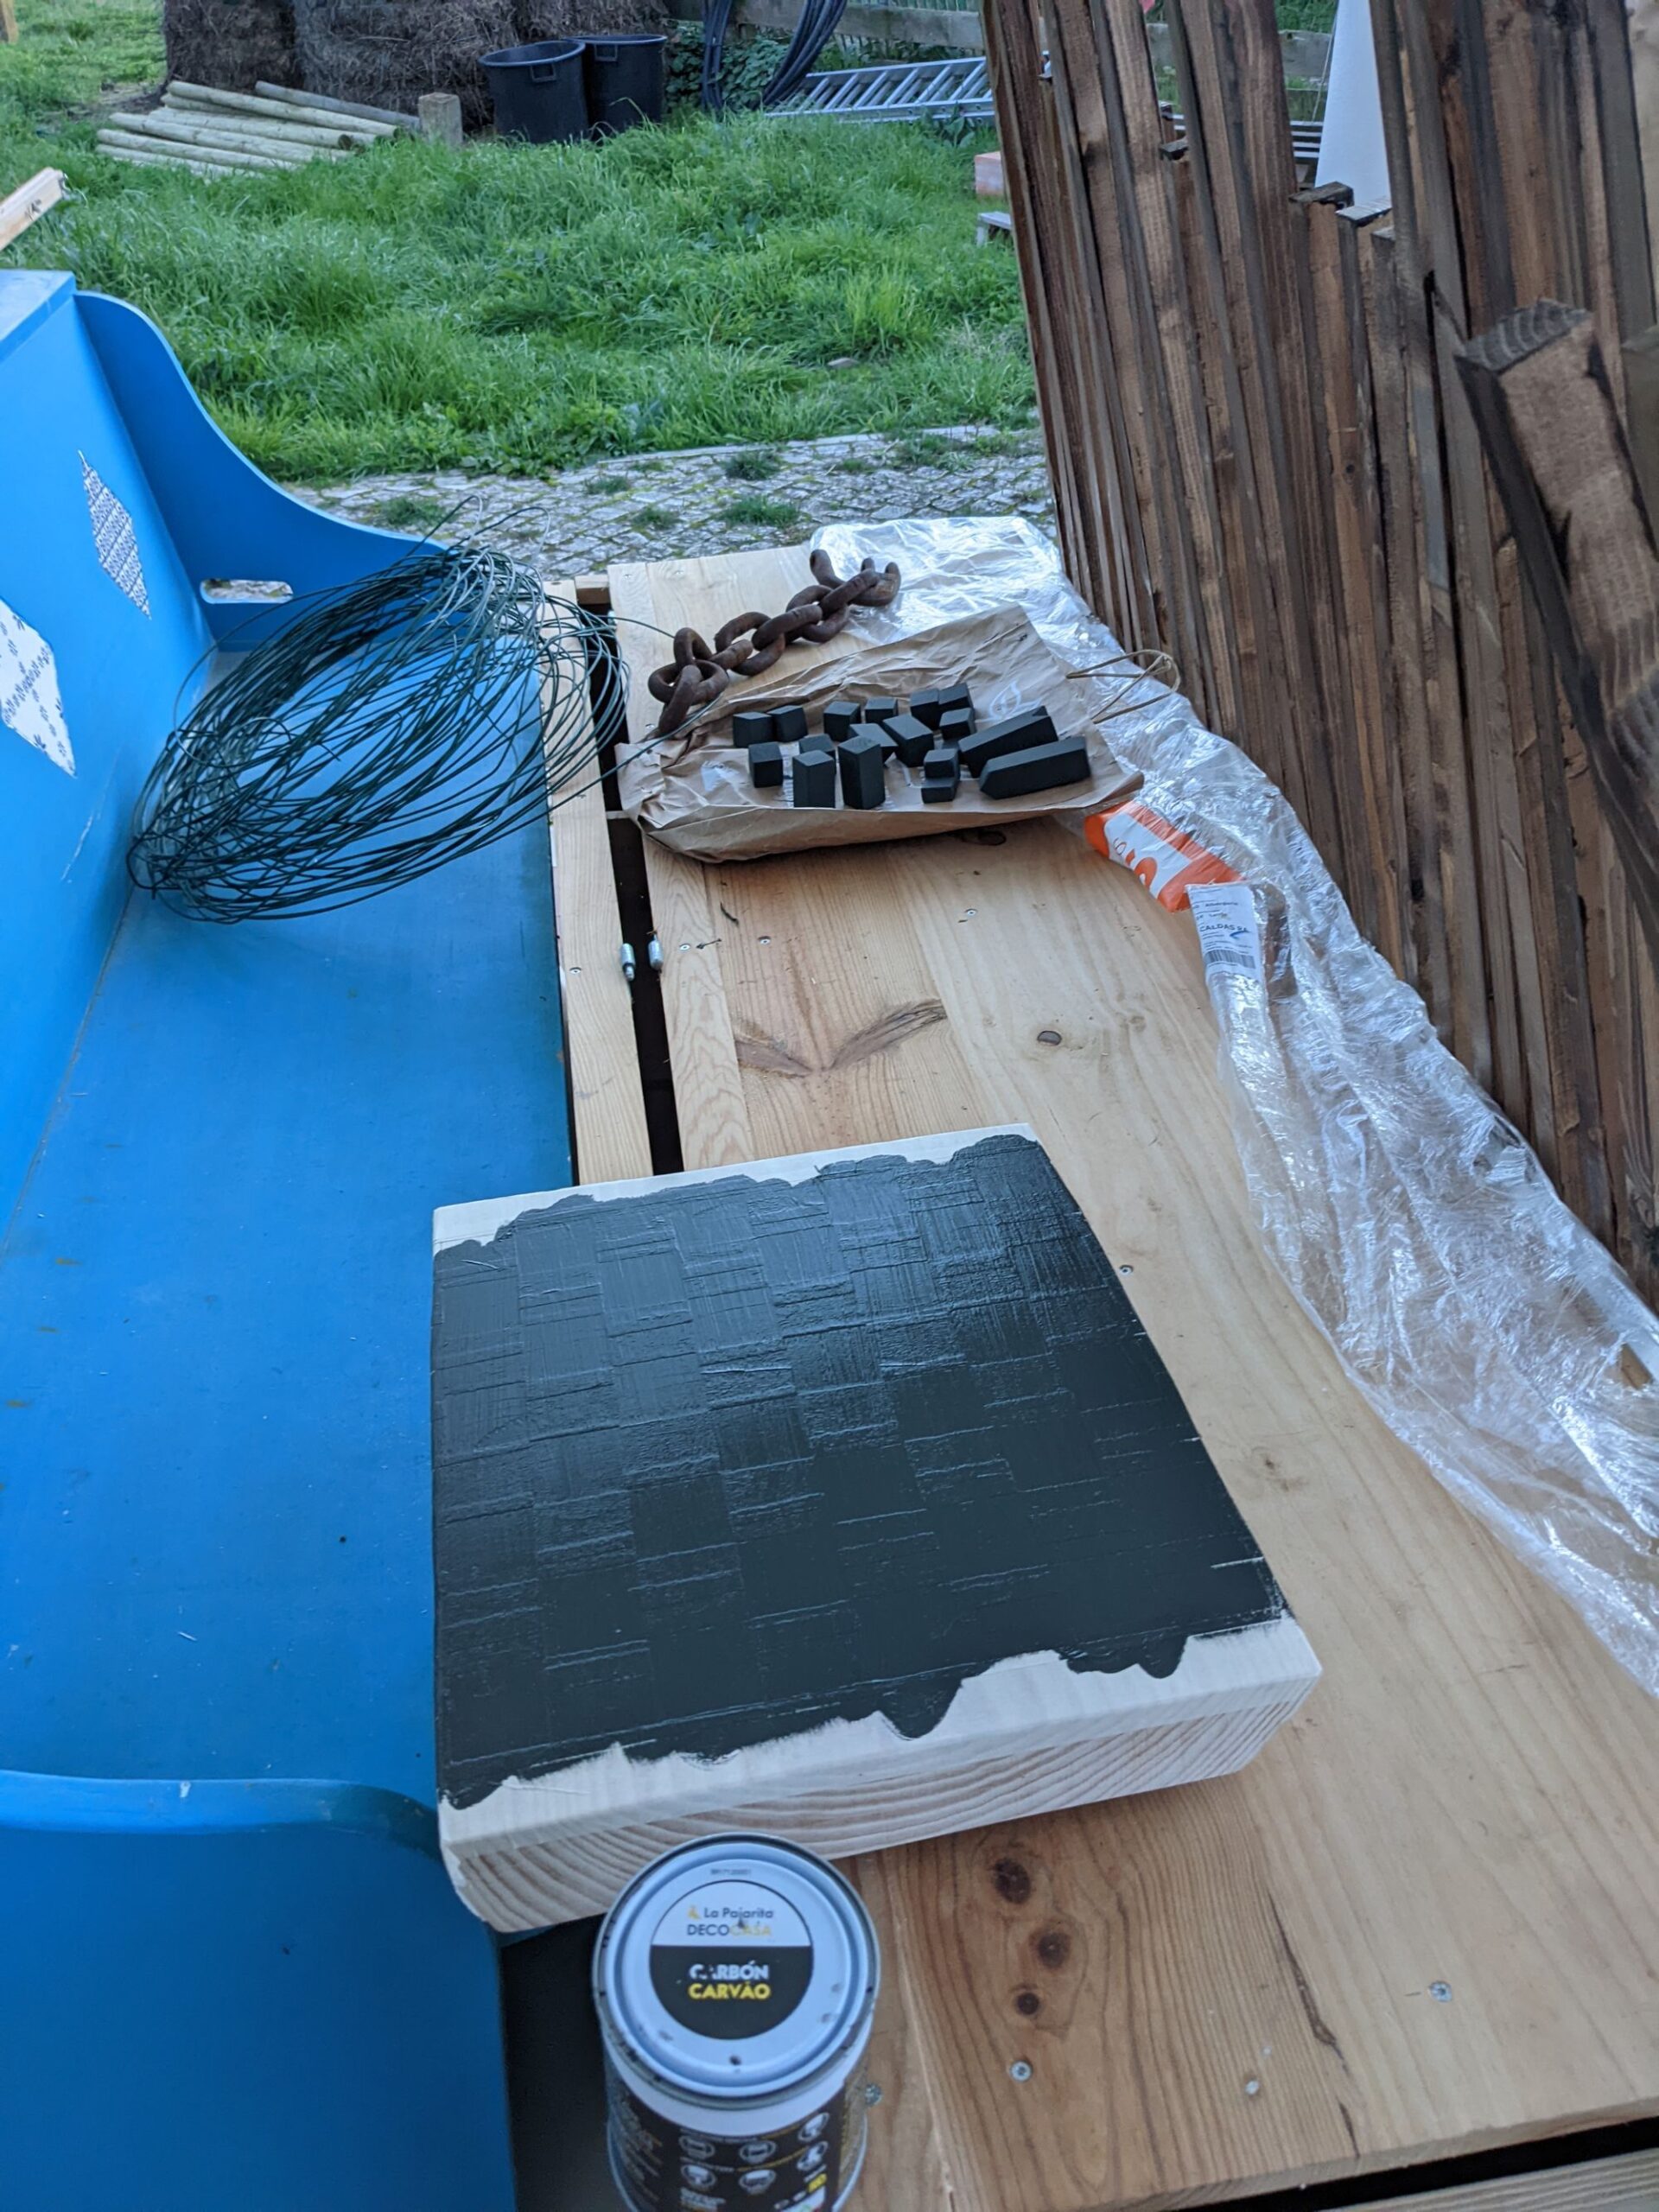
All pieces got finished with sandpaper to have smooth sides and round edges and corners. I painted the black ones with two coats of toy safe matte carbon black paint.
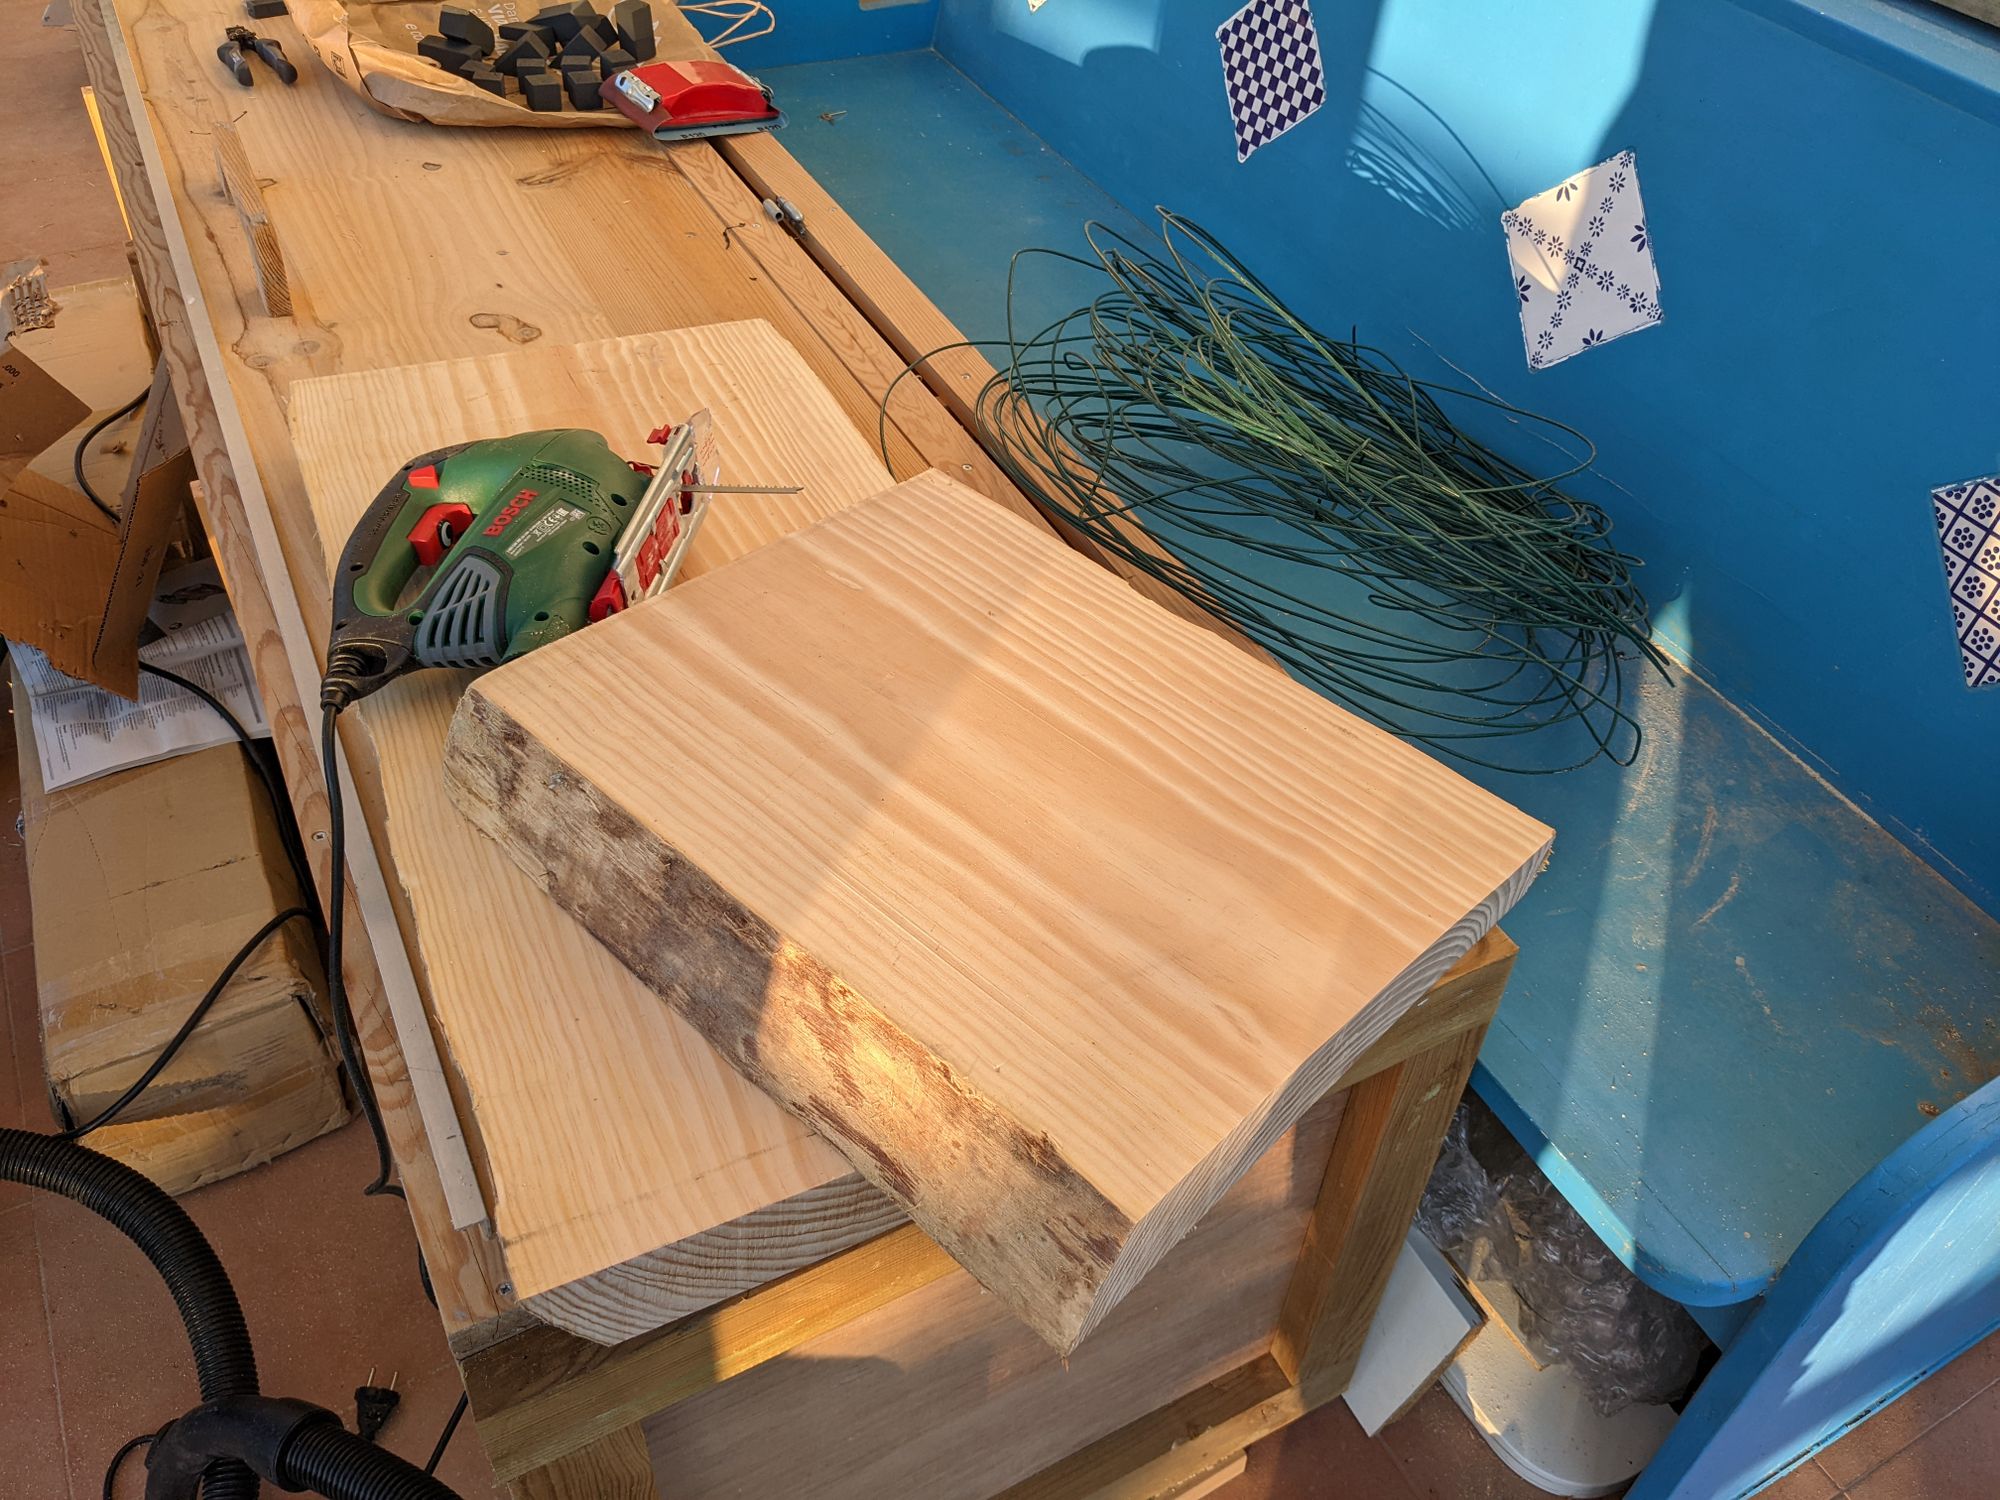
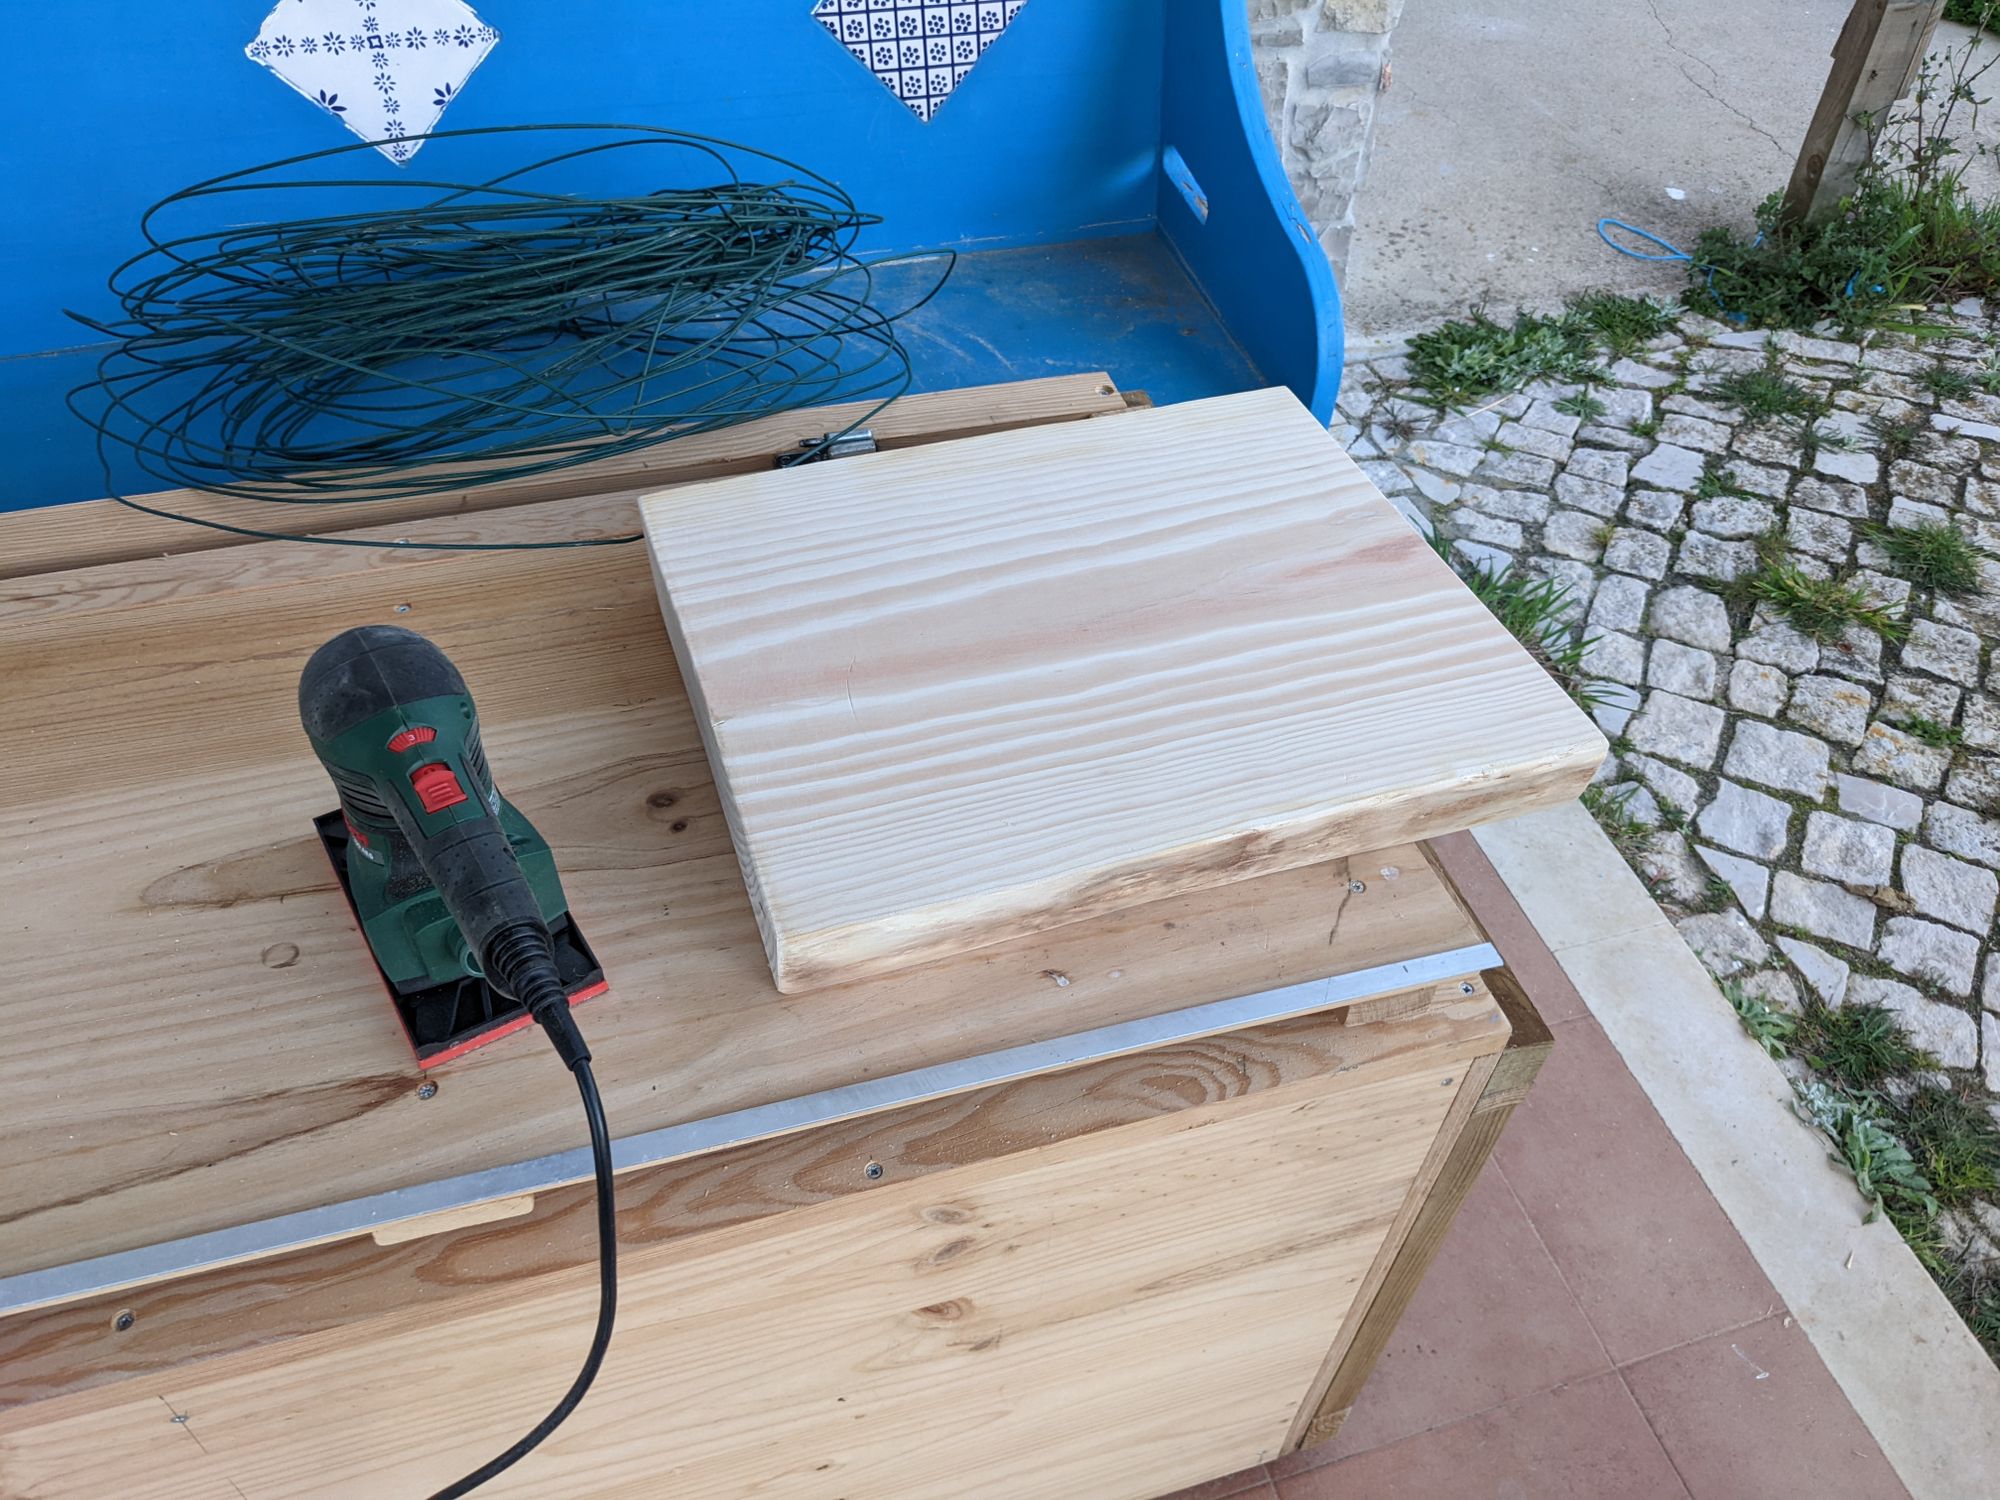
I cut the board from a large plank of raw pine sold to use for rustic table tops. The piece I needed was too wide to cut on the compromise combo table saw I have, way too wide for the miter saw, and too thick for the circular saw. I managed to do it with a jigsaw. The resulting cut isn’t perfectly plane but it’s close enough. I sanded all sides afterwards.
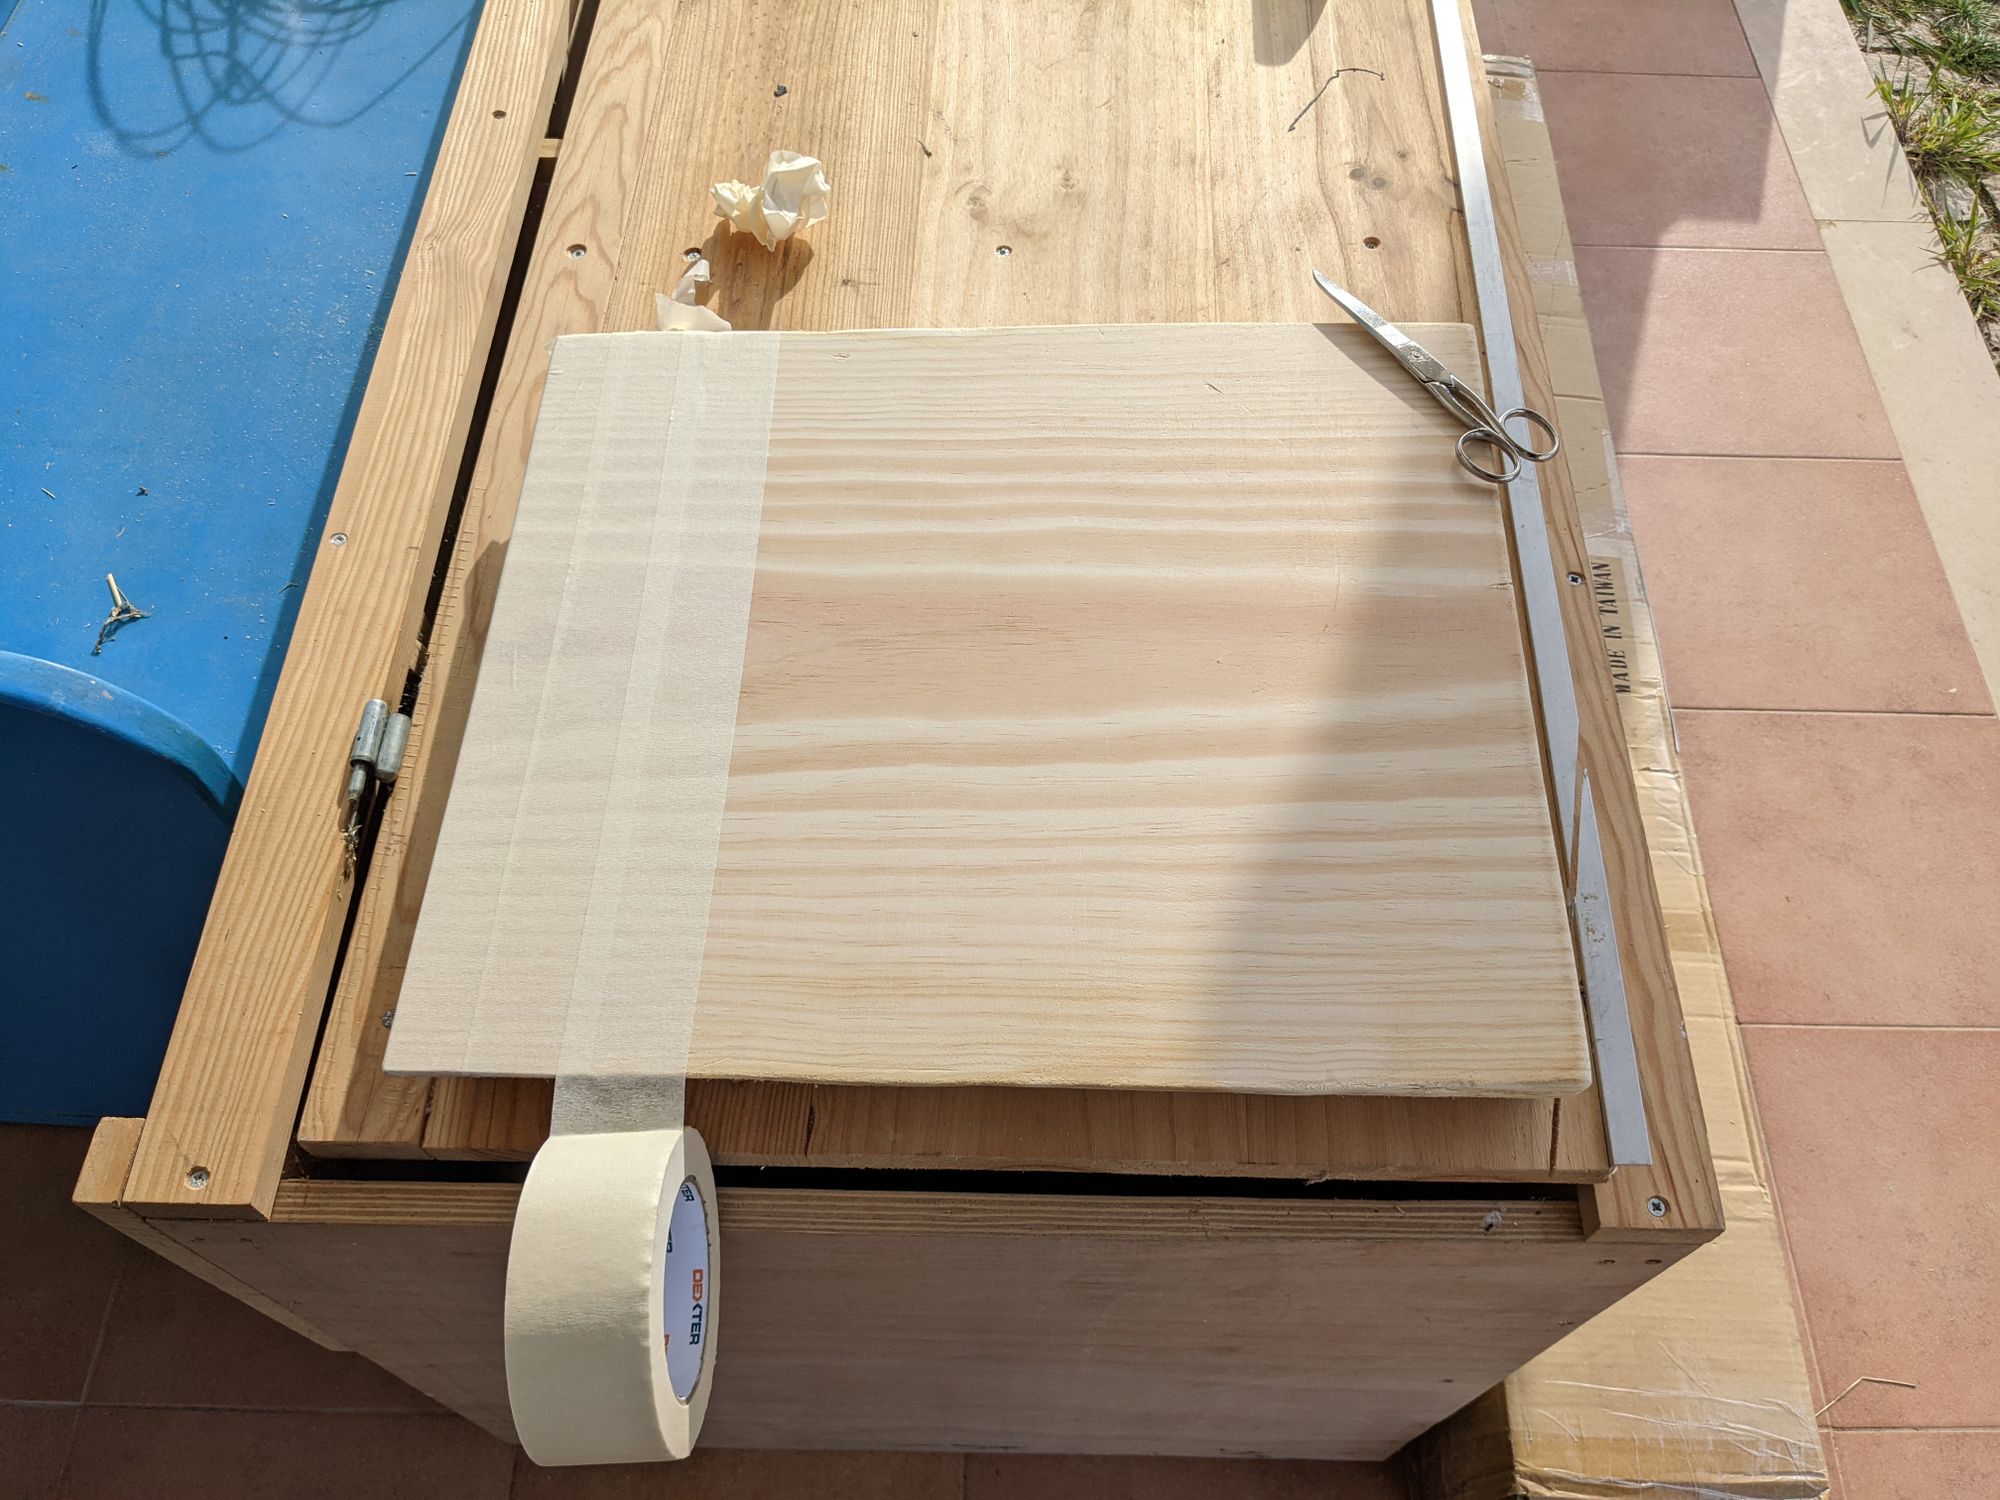
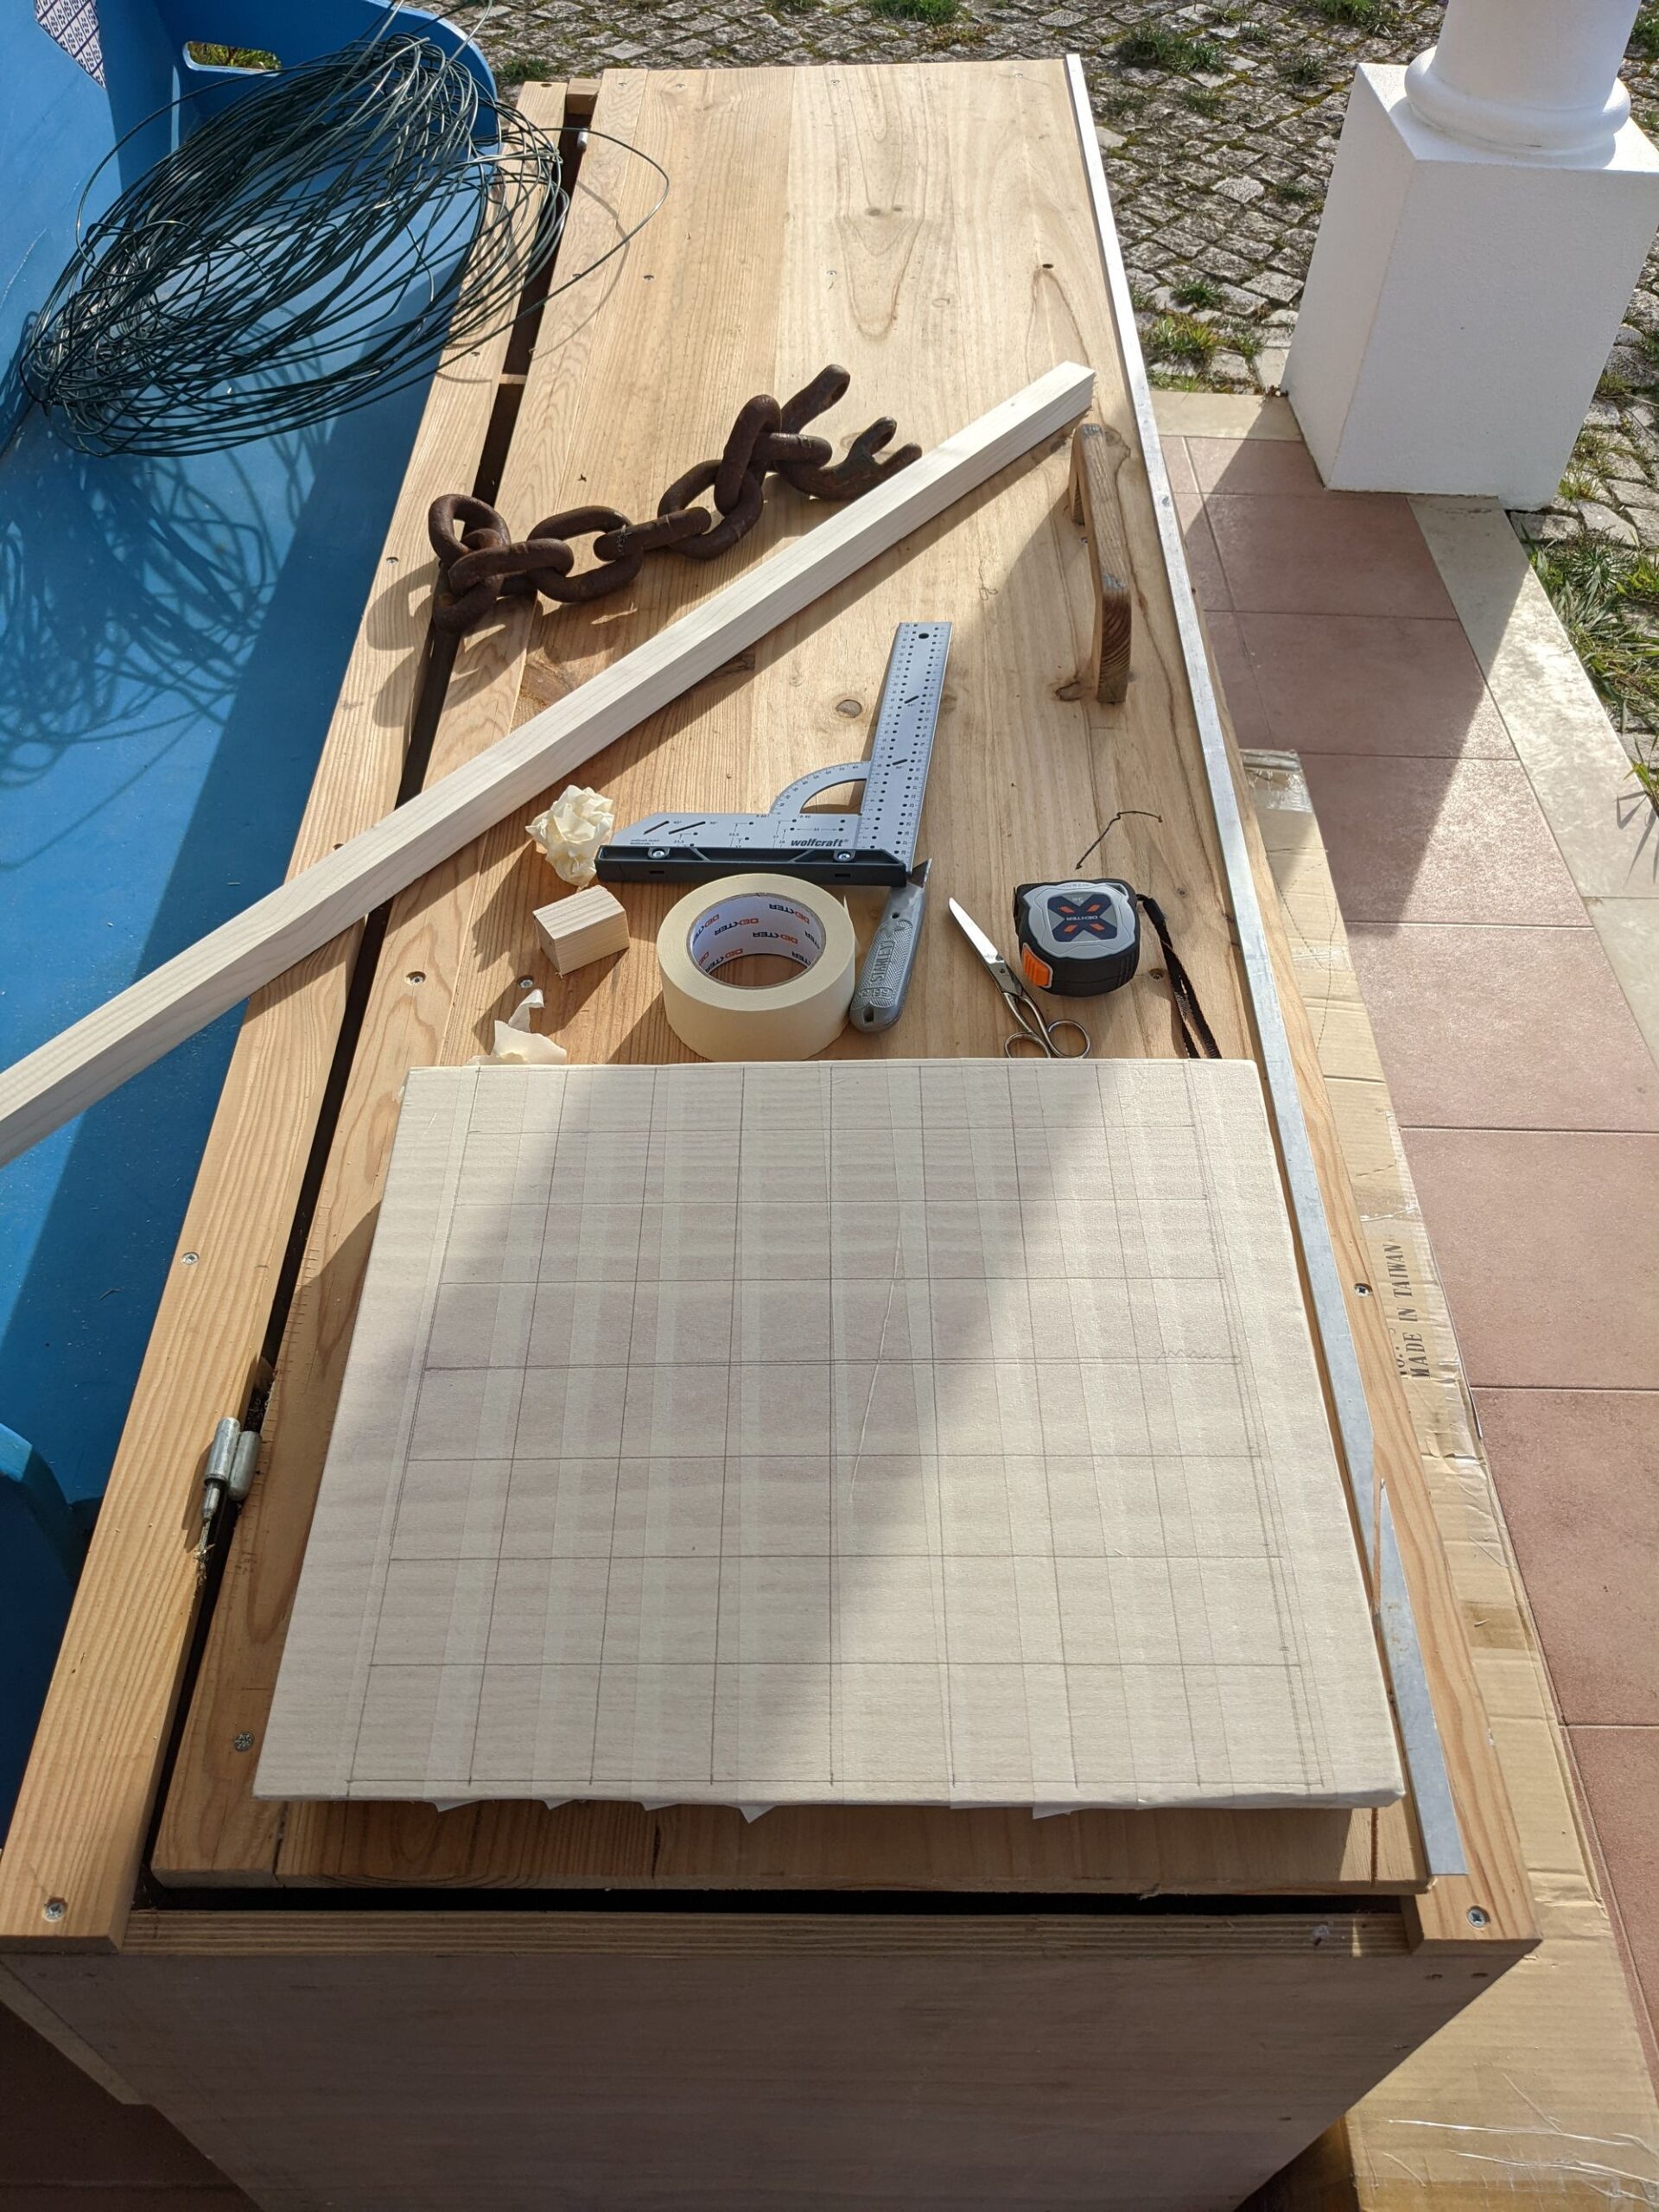
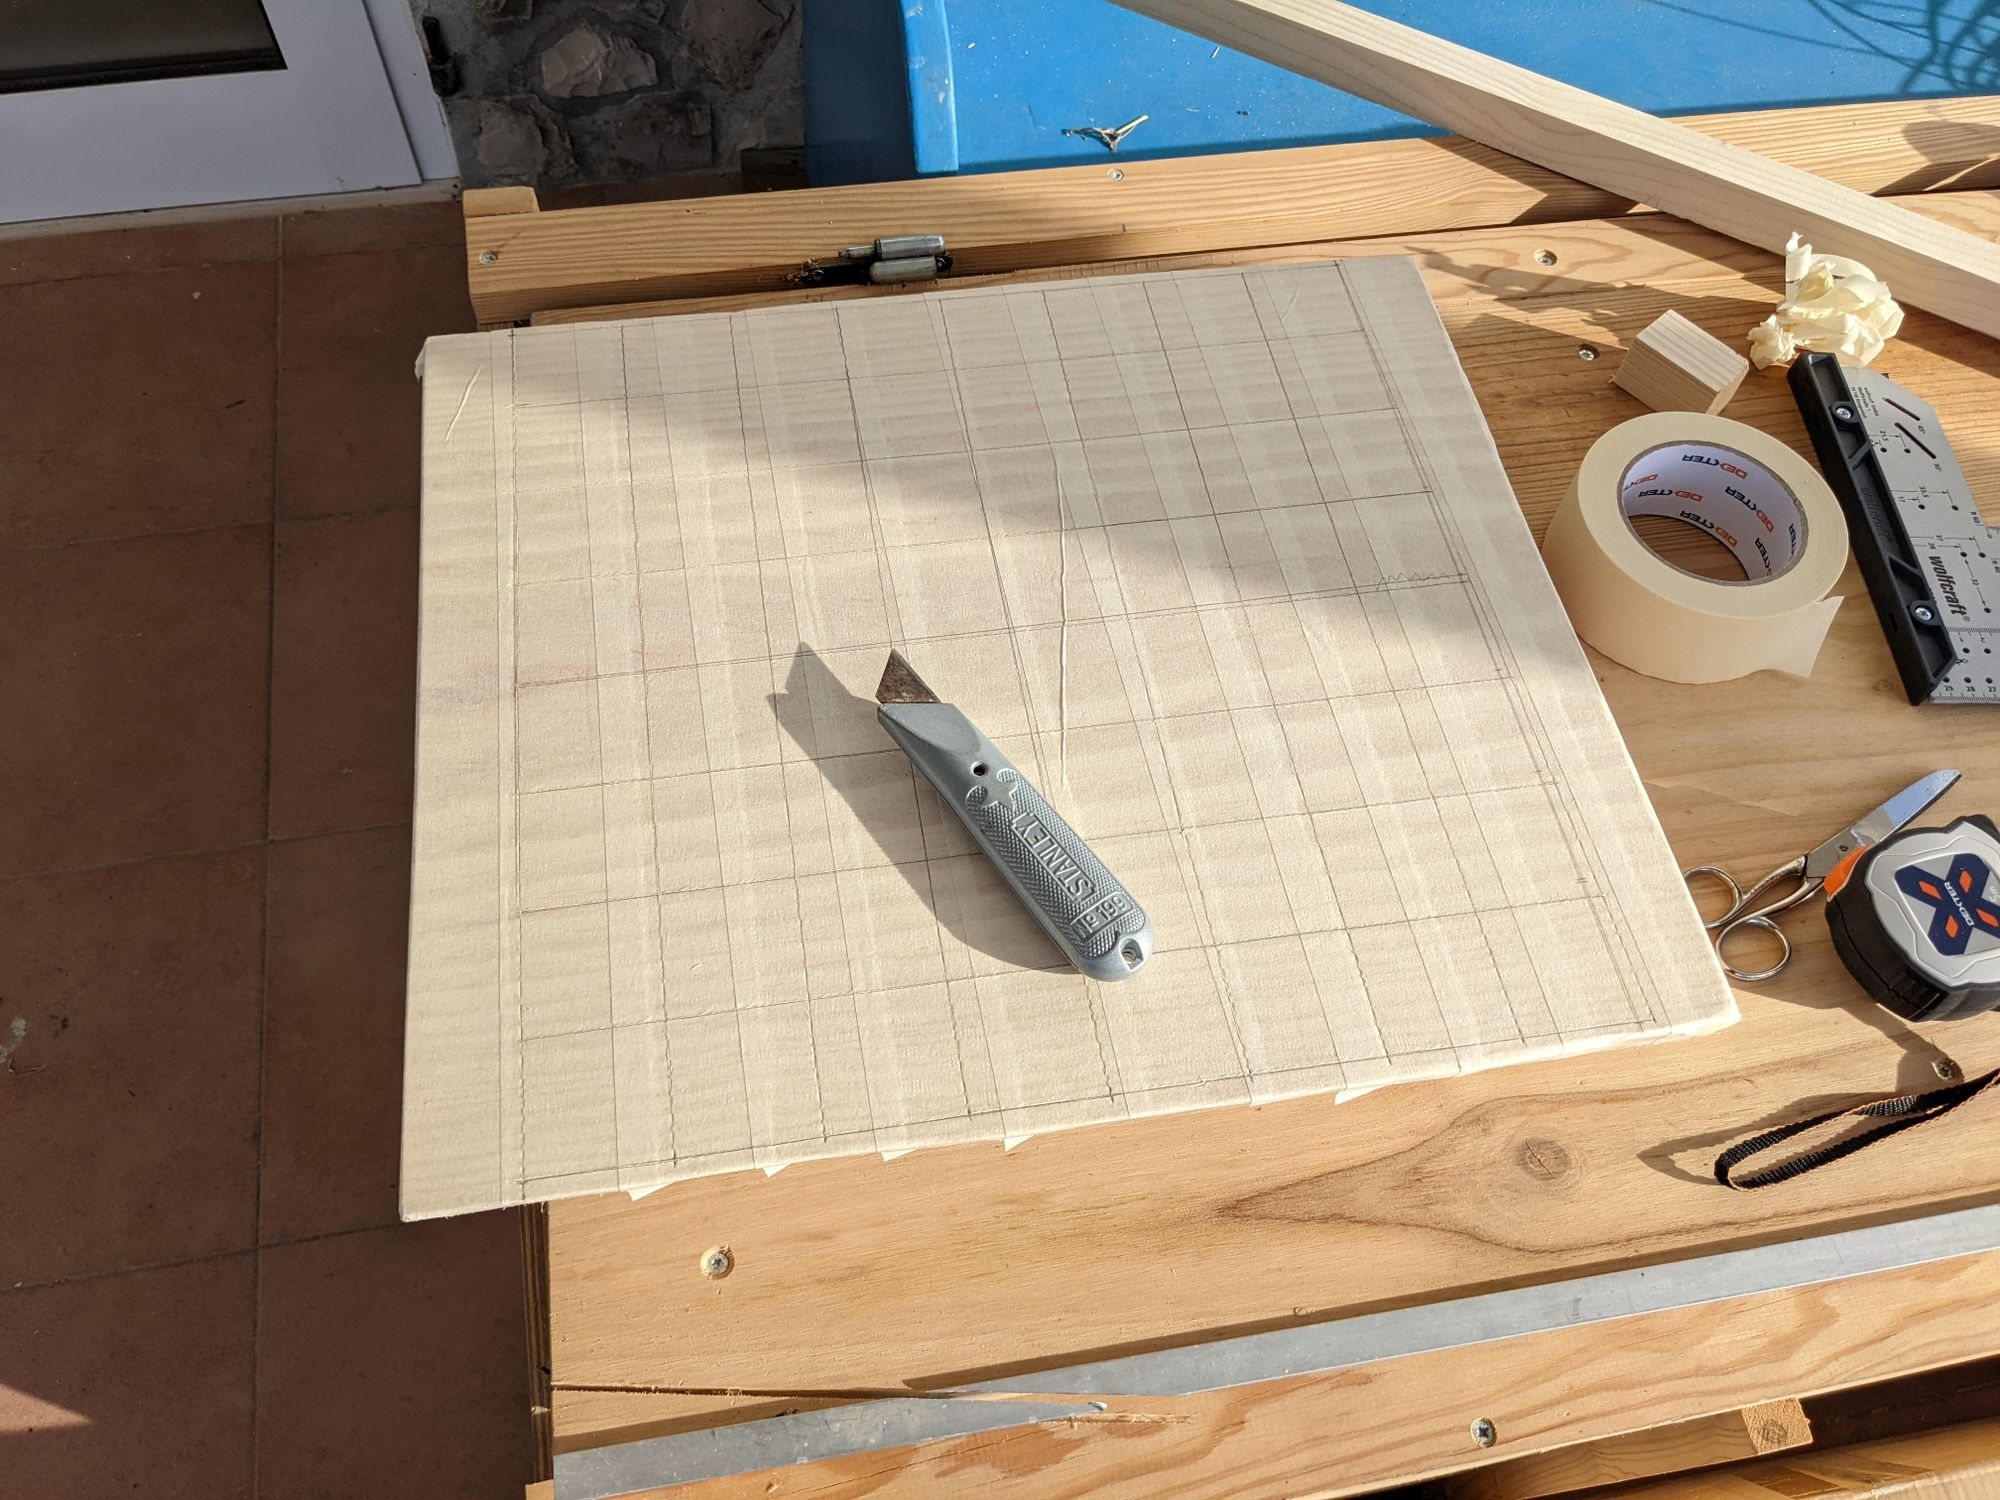
To make the squares, I covered the board with painter’s tape, measured – 47mm was the largest I could make the squares – and drew lines with a pencil. Two of the columns are slightly narrower, but oh well. I then cut along the lines with a utility knife. This left grooves in the soft top of the board, which turned out not to be a big issue after painting.
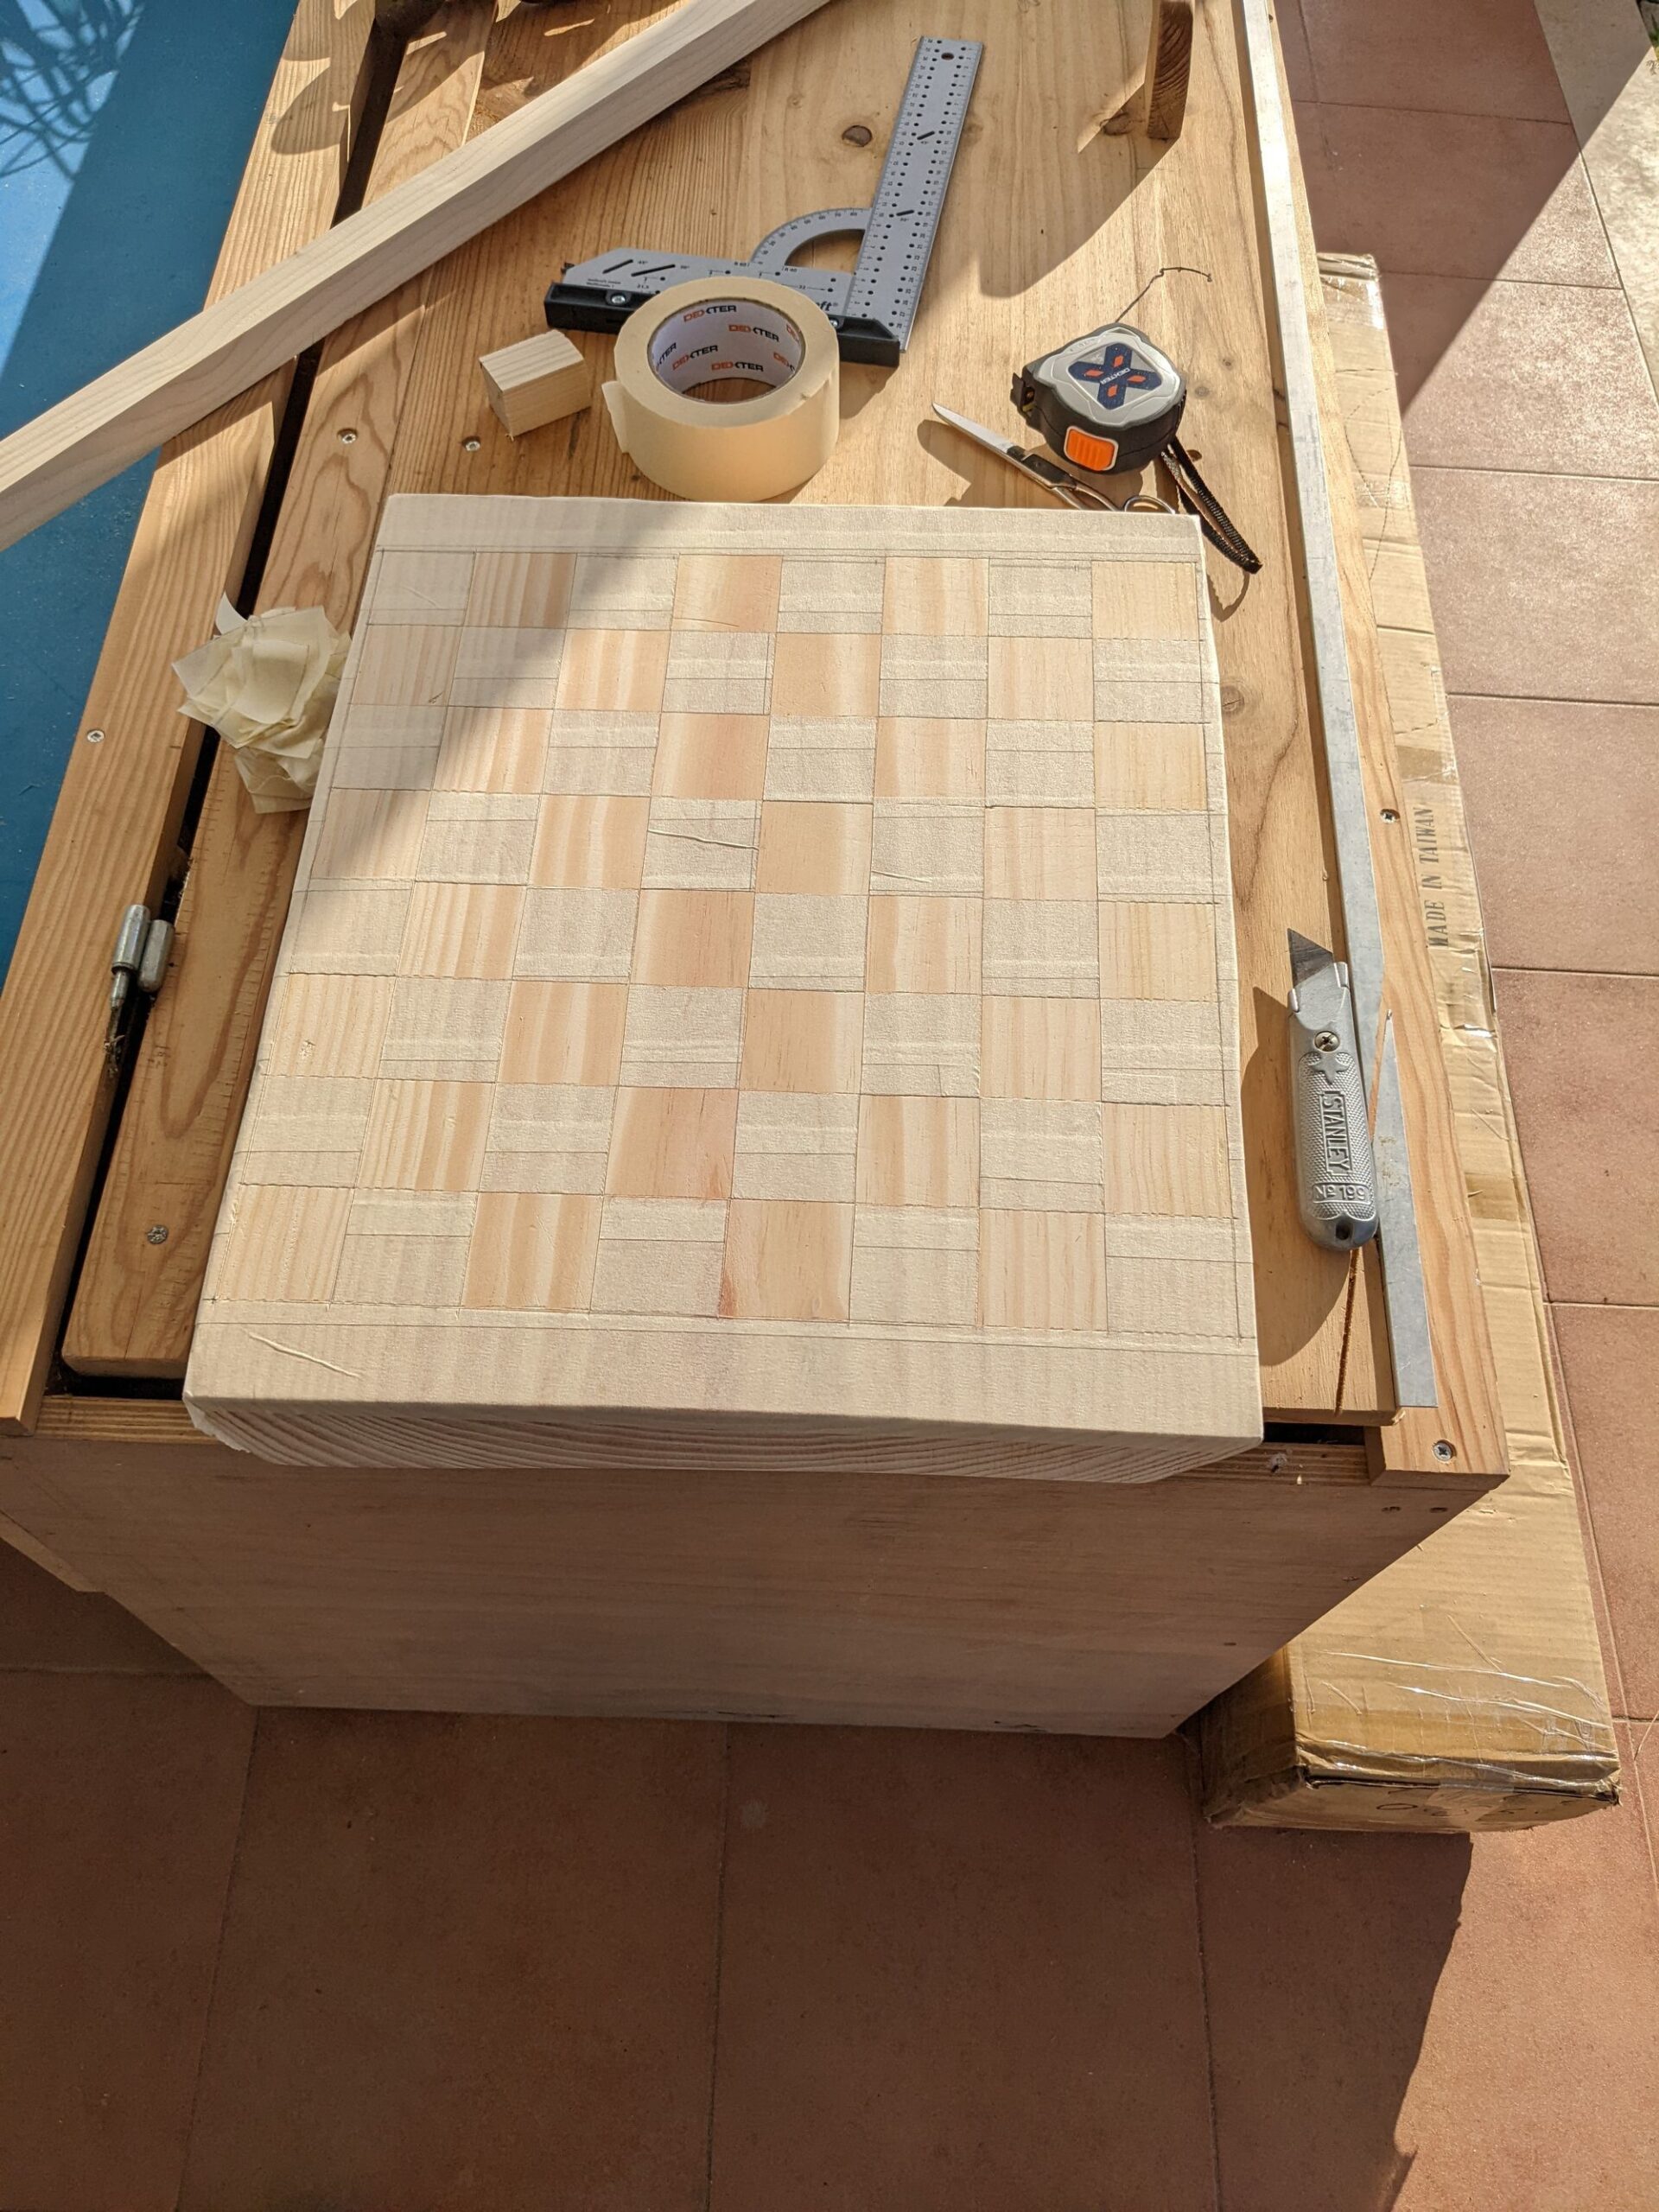
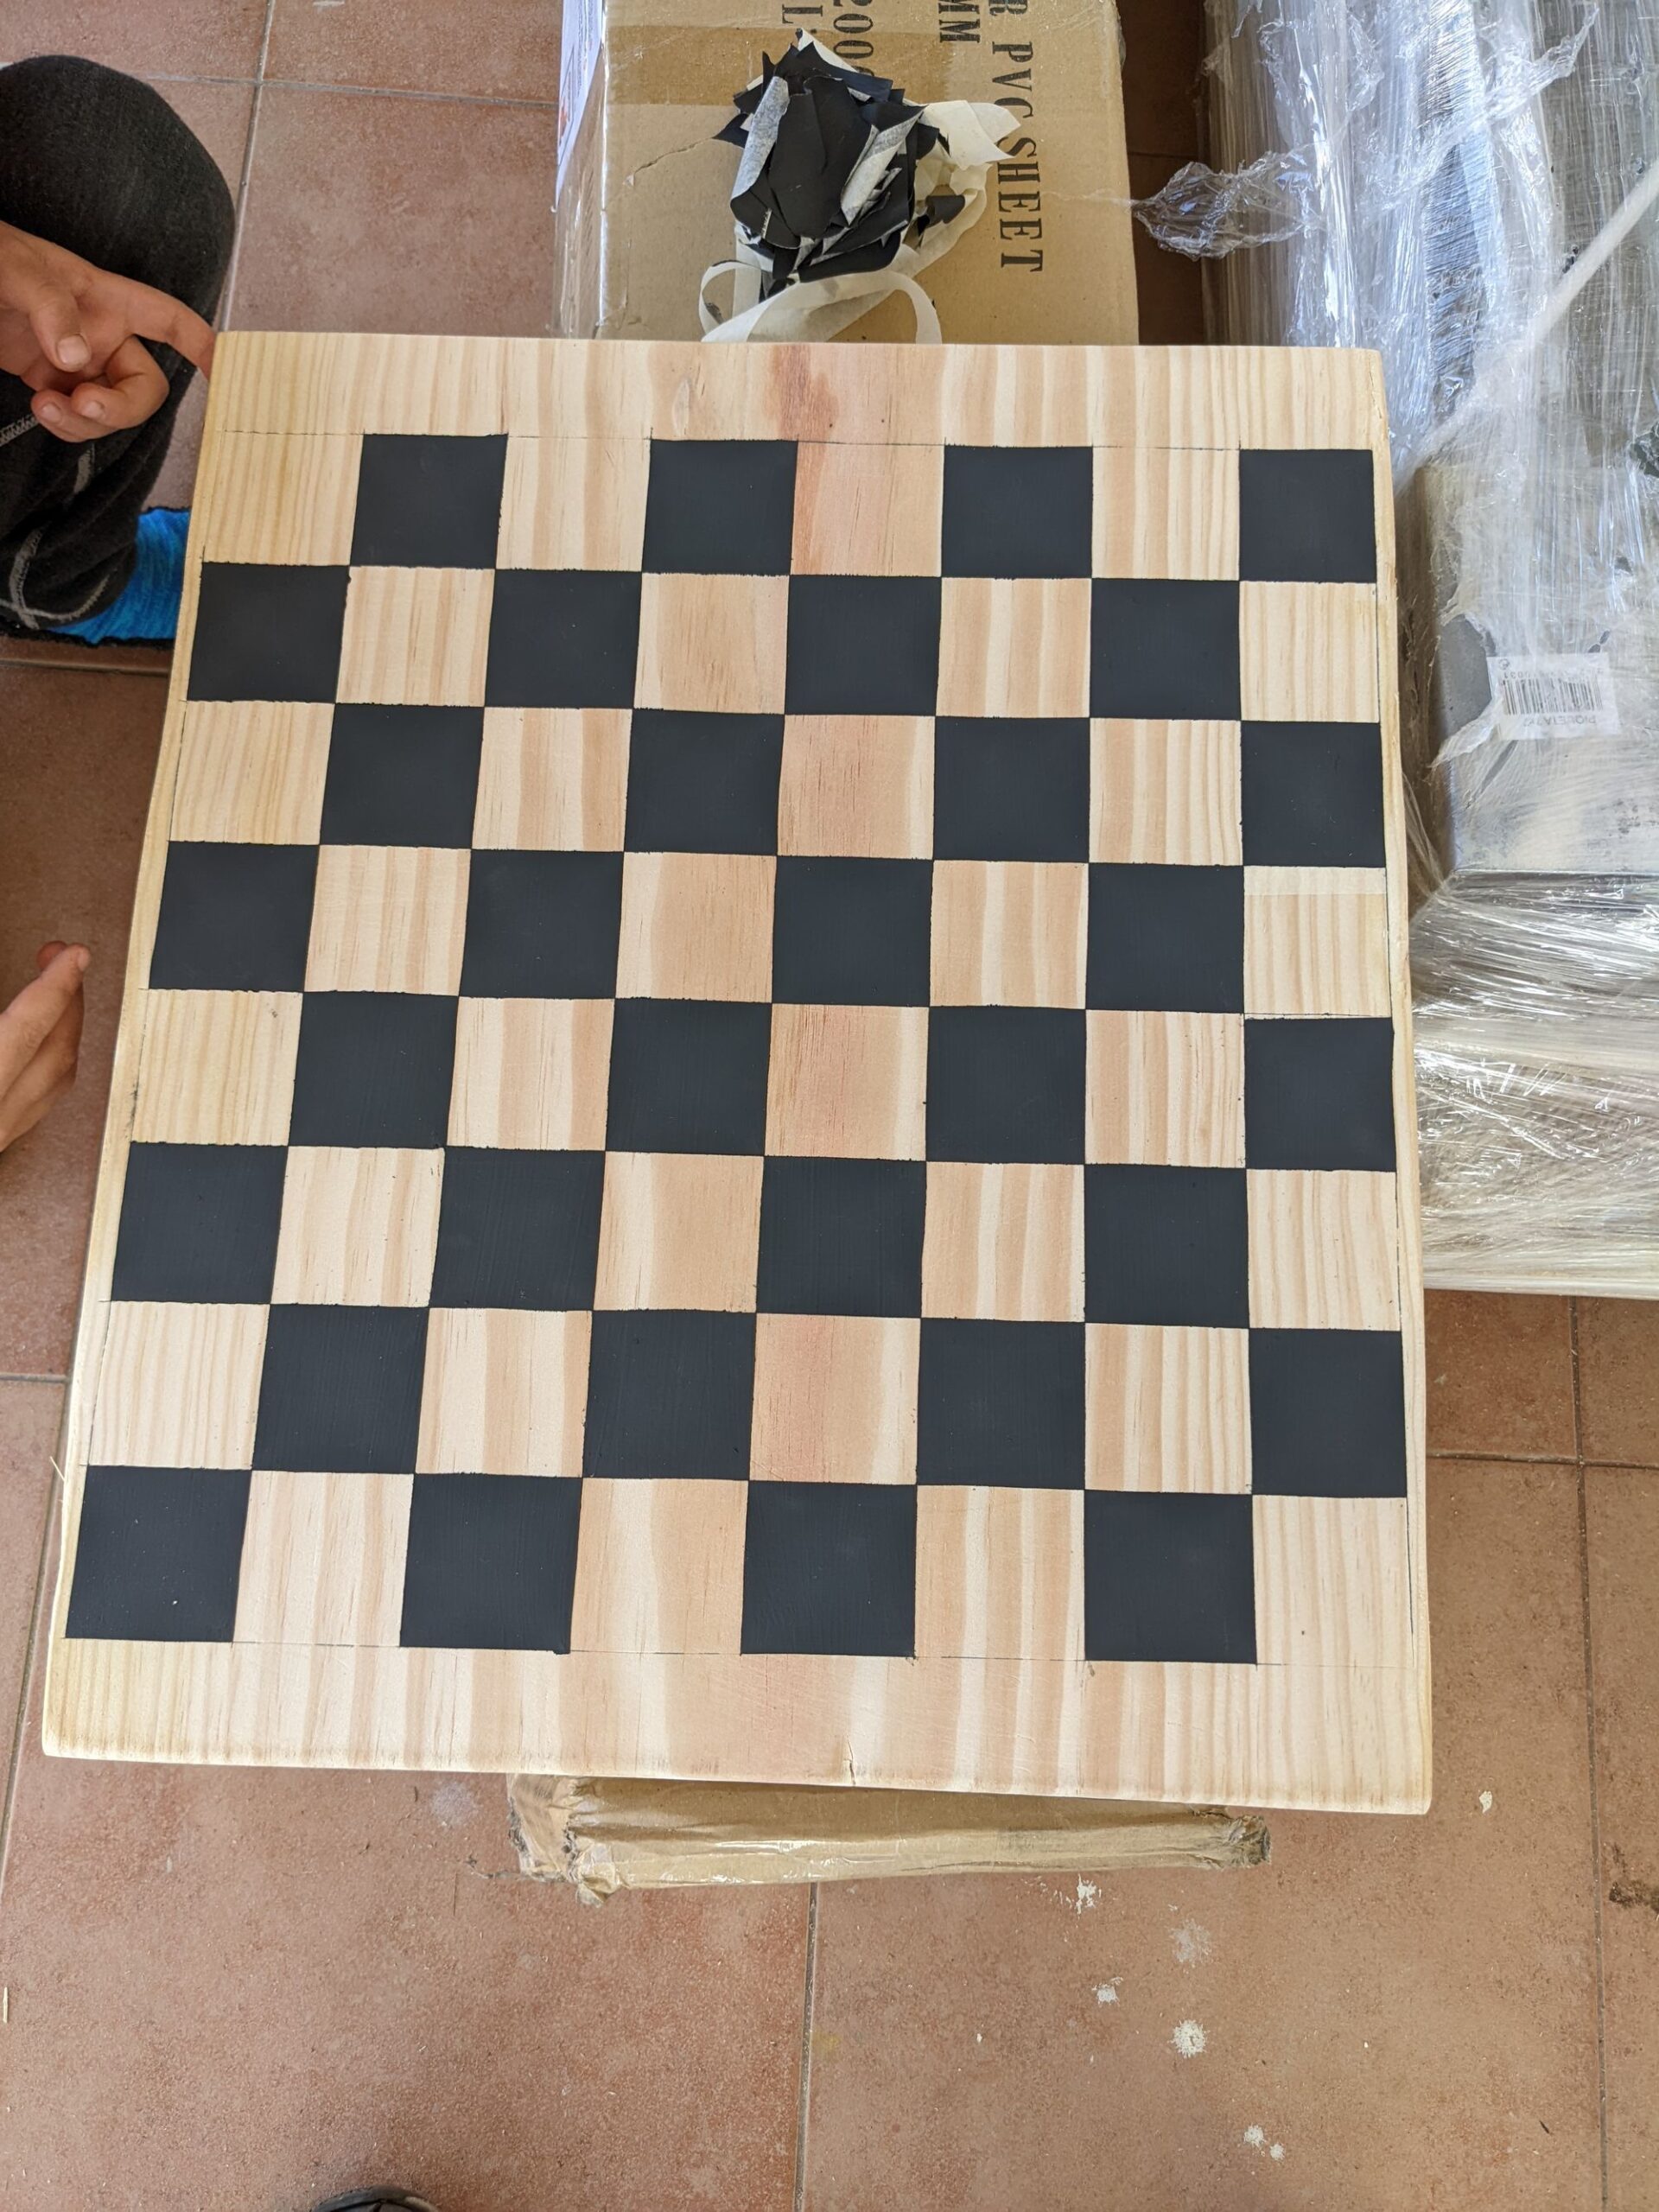
After removing the tape from the squares meant to be black, I painted them with two coats of the same black paint. There’s a couple smears, most of them from not being careful enough when removing the masking tape.

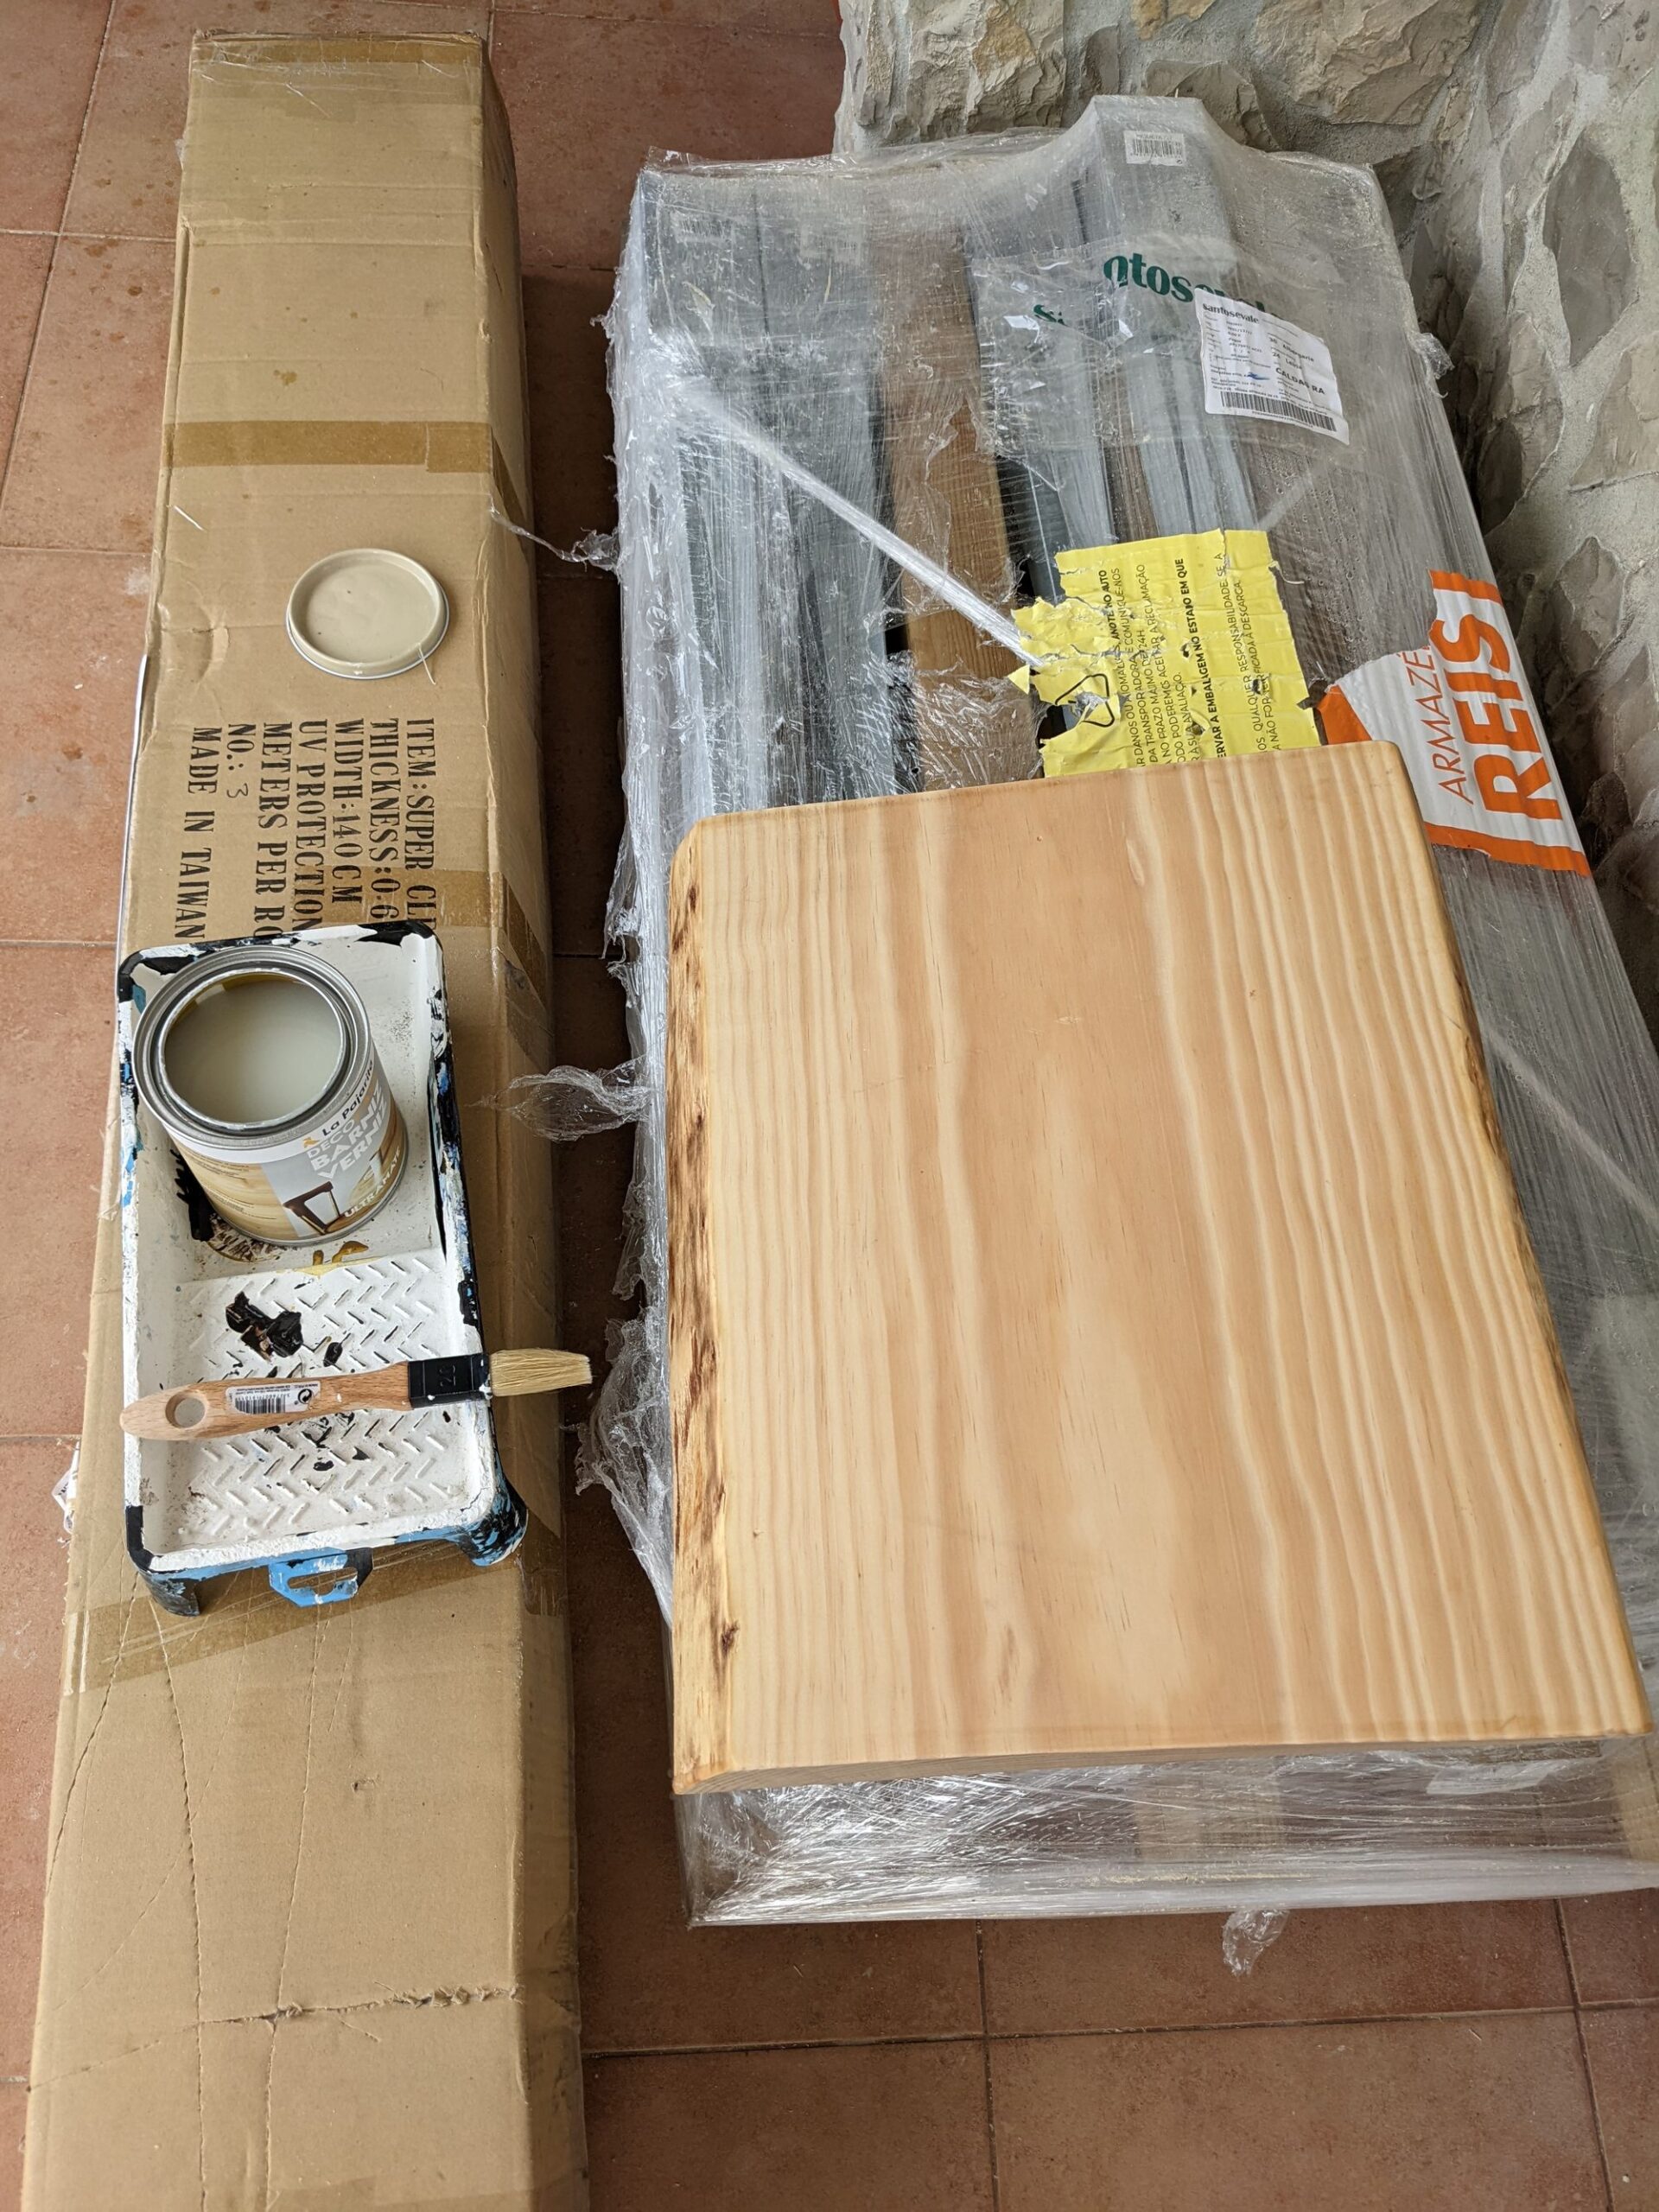
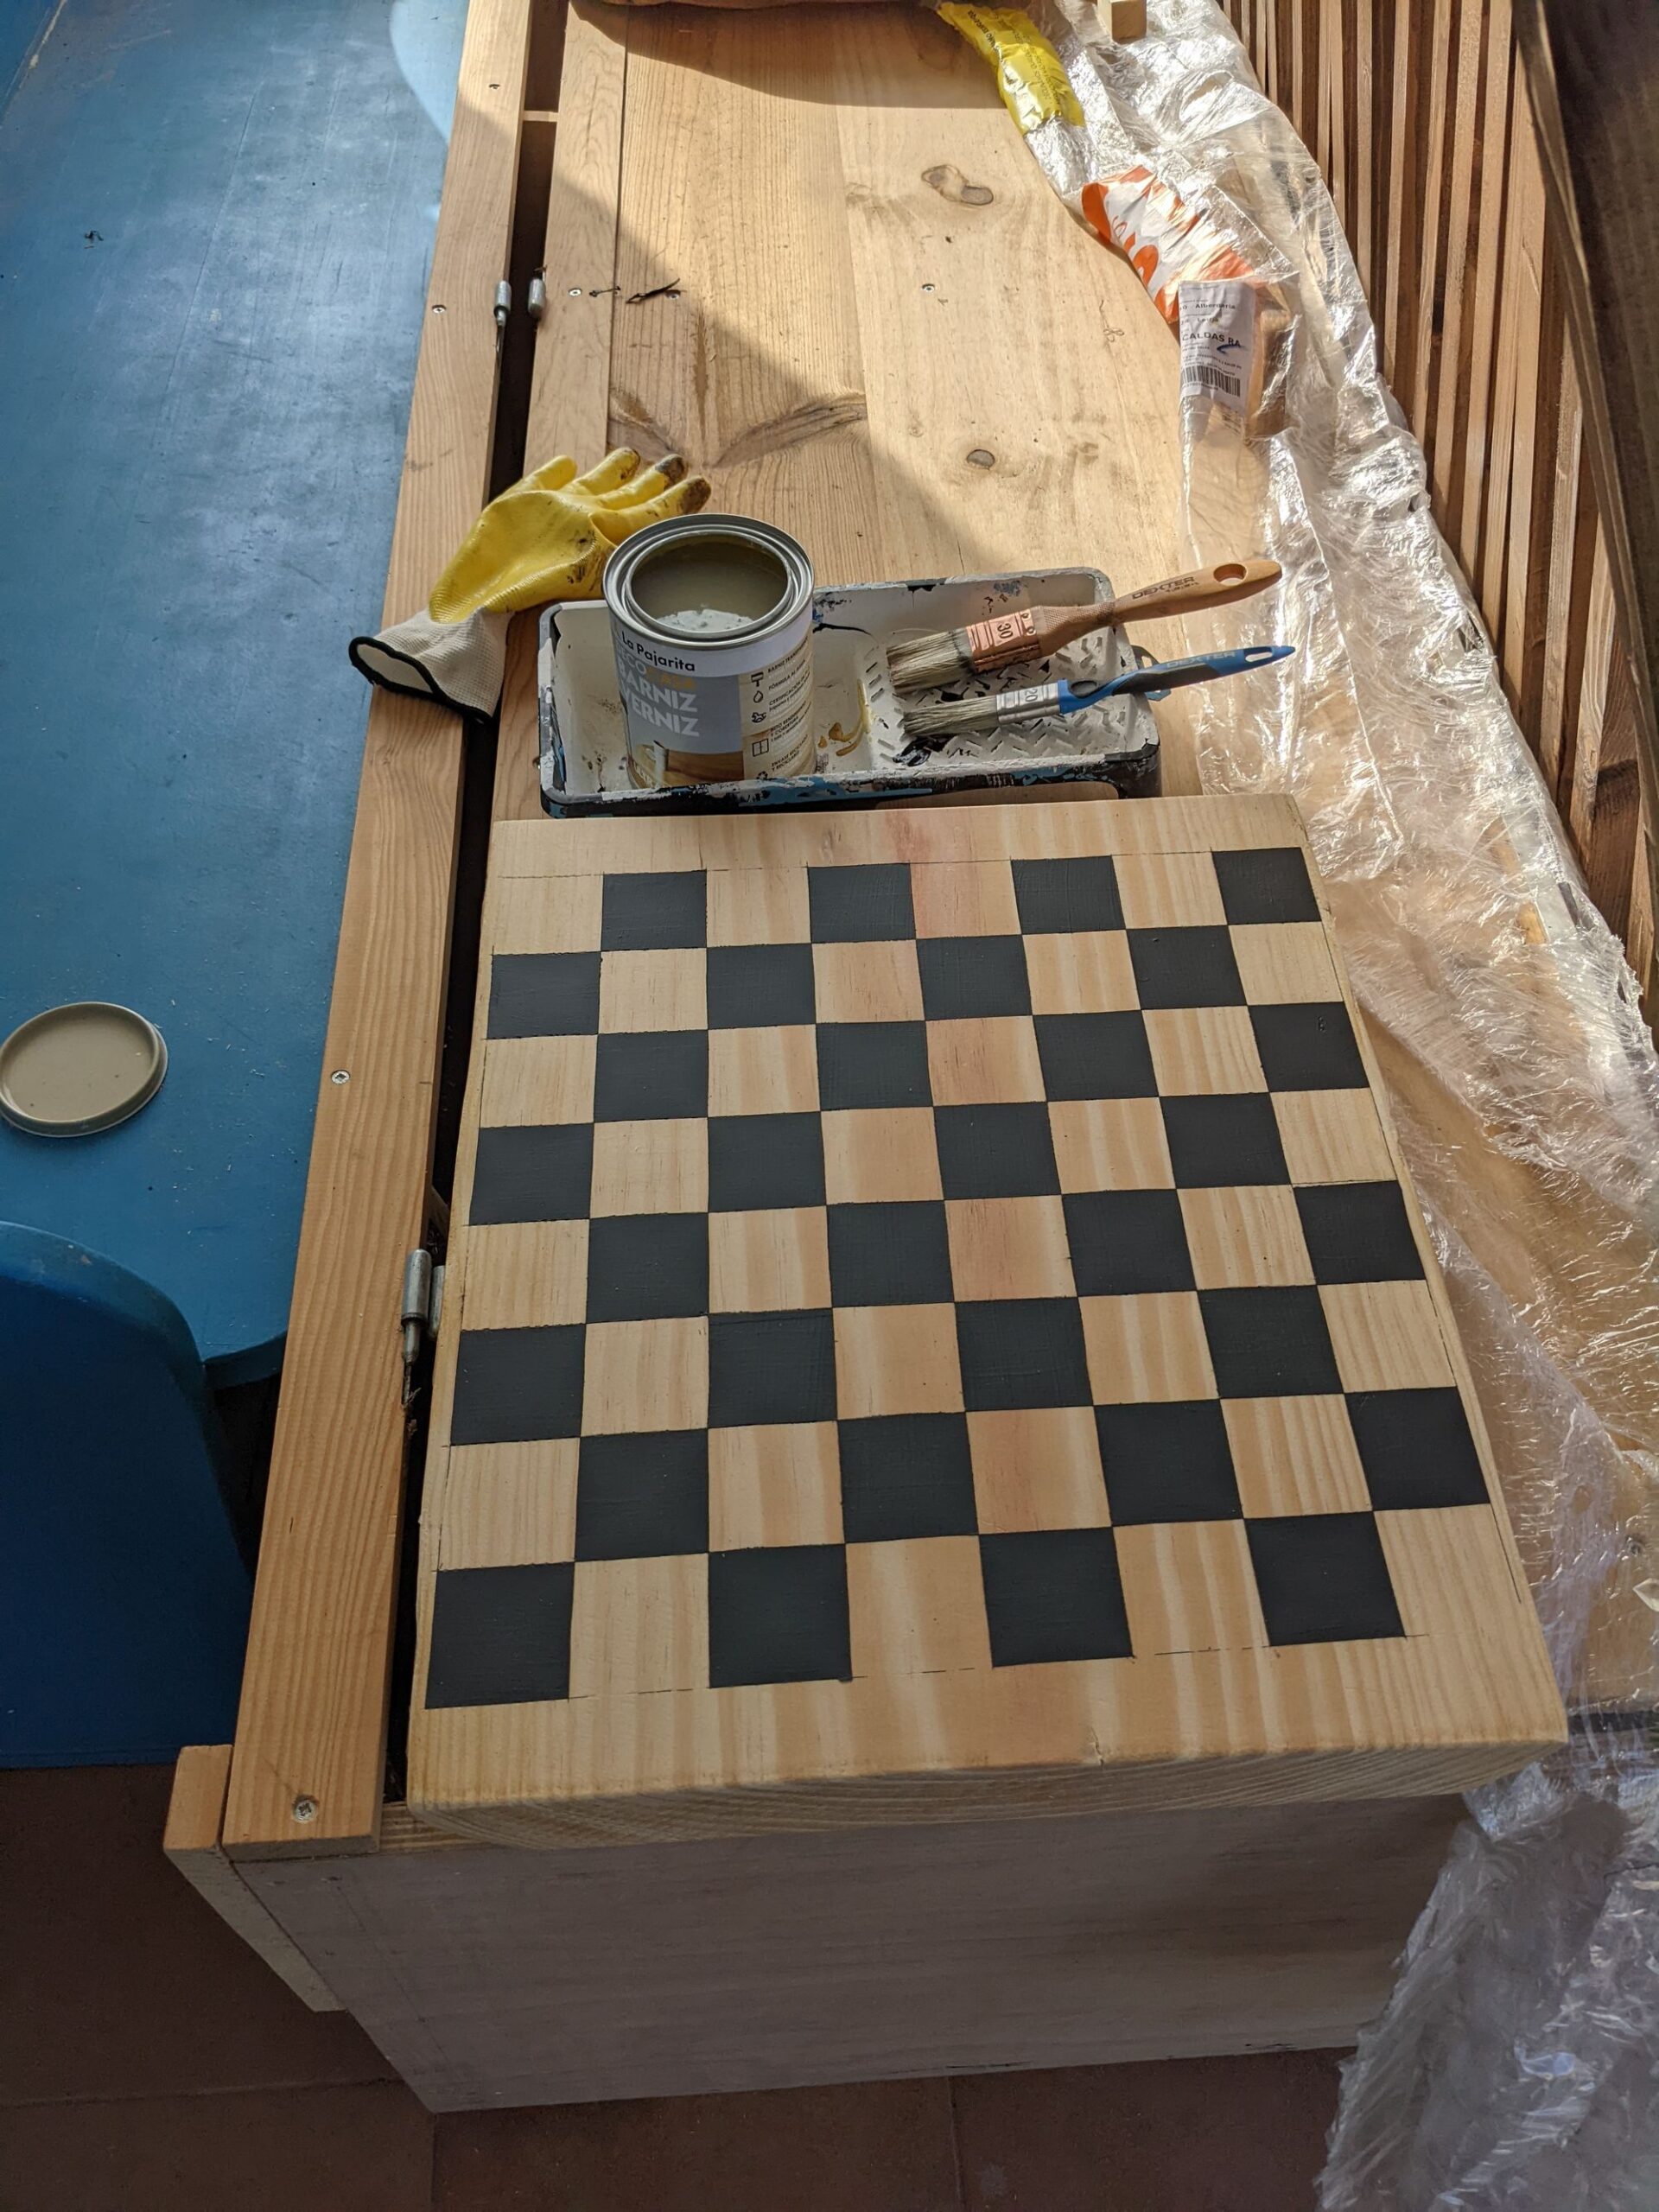
Lastly, all pieces and the board got two coats of toy safe clear matte varnish. The pieces were drying on a piece of paper and, despite trying to be careful and keeping one side dry, some got stuck to it. This left visible imperfections, but oh well.
The result might not be perfect, but it’s functional and was very satisfying to build.