If you are looking for a recipe, you should get it right away. Milk Kefir benefits and background story are below the recipe. Enjoy!
Recipe
You will need:
- 1 liter of milk, preferably whole cow milk, pasteurized but not UHT
- Milk kefir grains
- 1 jar with at least 1,2L capacity
- 1 non metal spatula or spoon
- 1 non metal sieve
- Thin cloth, baking paper, coffee filter or other clean breathable material to use as a lid. If you are using other fermentation starters (bread, yogurt, etc.) in the same room, then you will need an airtight lid.
- String or elastic band to secure the lid
Set up:
- Place the kefir grains in the clean jar
- Add the milk, leaving at least 2,5 cm headspace in the jar
- Stir thoroughly
- Close the jar with a lid
- Take note of the date and time
- Let it rest for 12/24h. The exact time will depend on your preference, so taste it a few times if desired
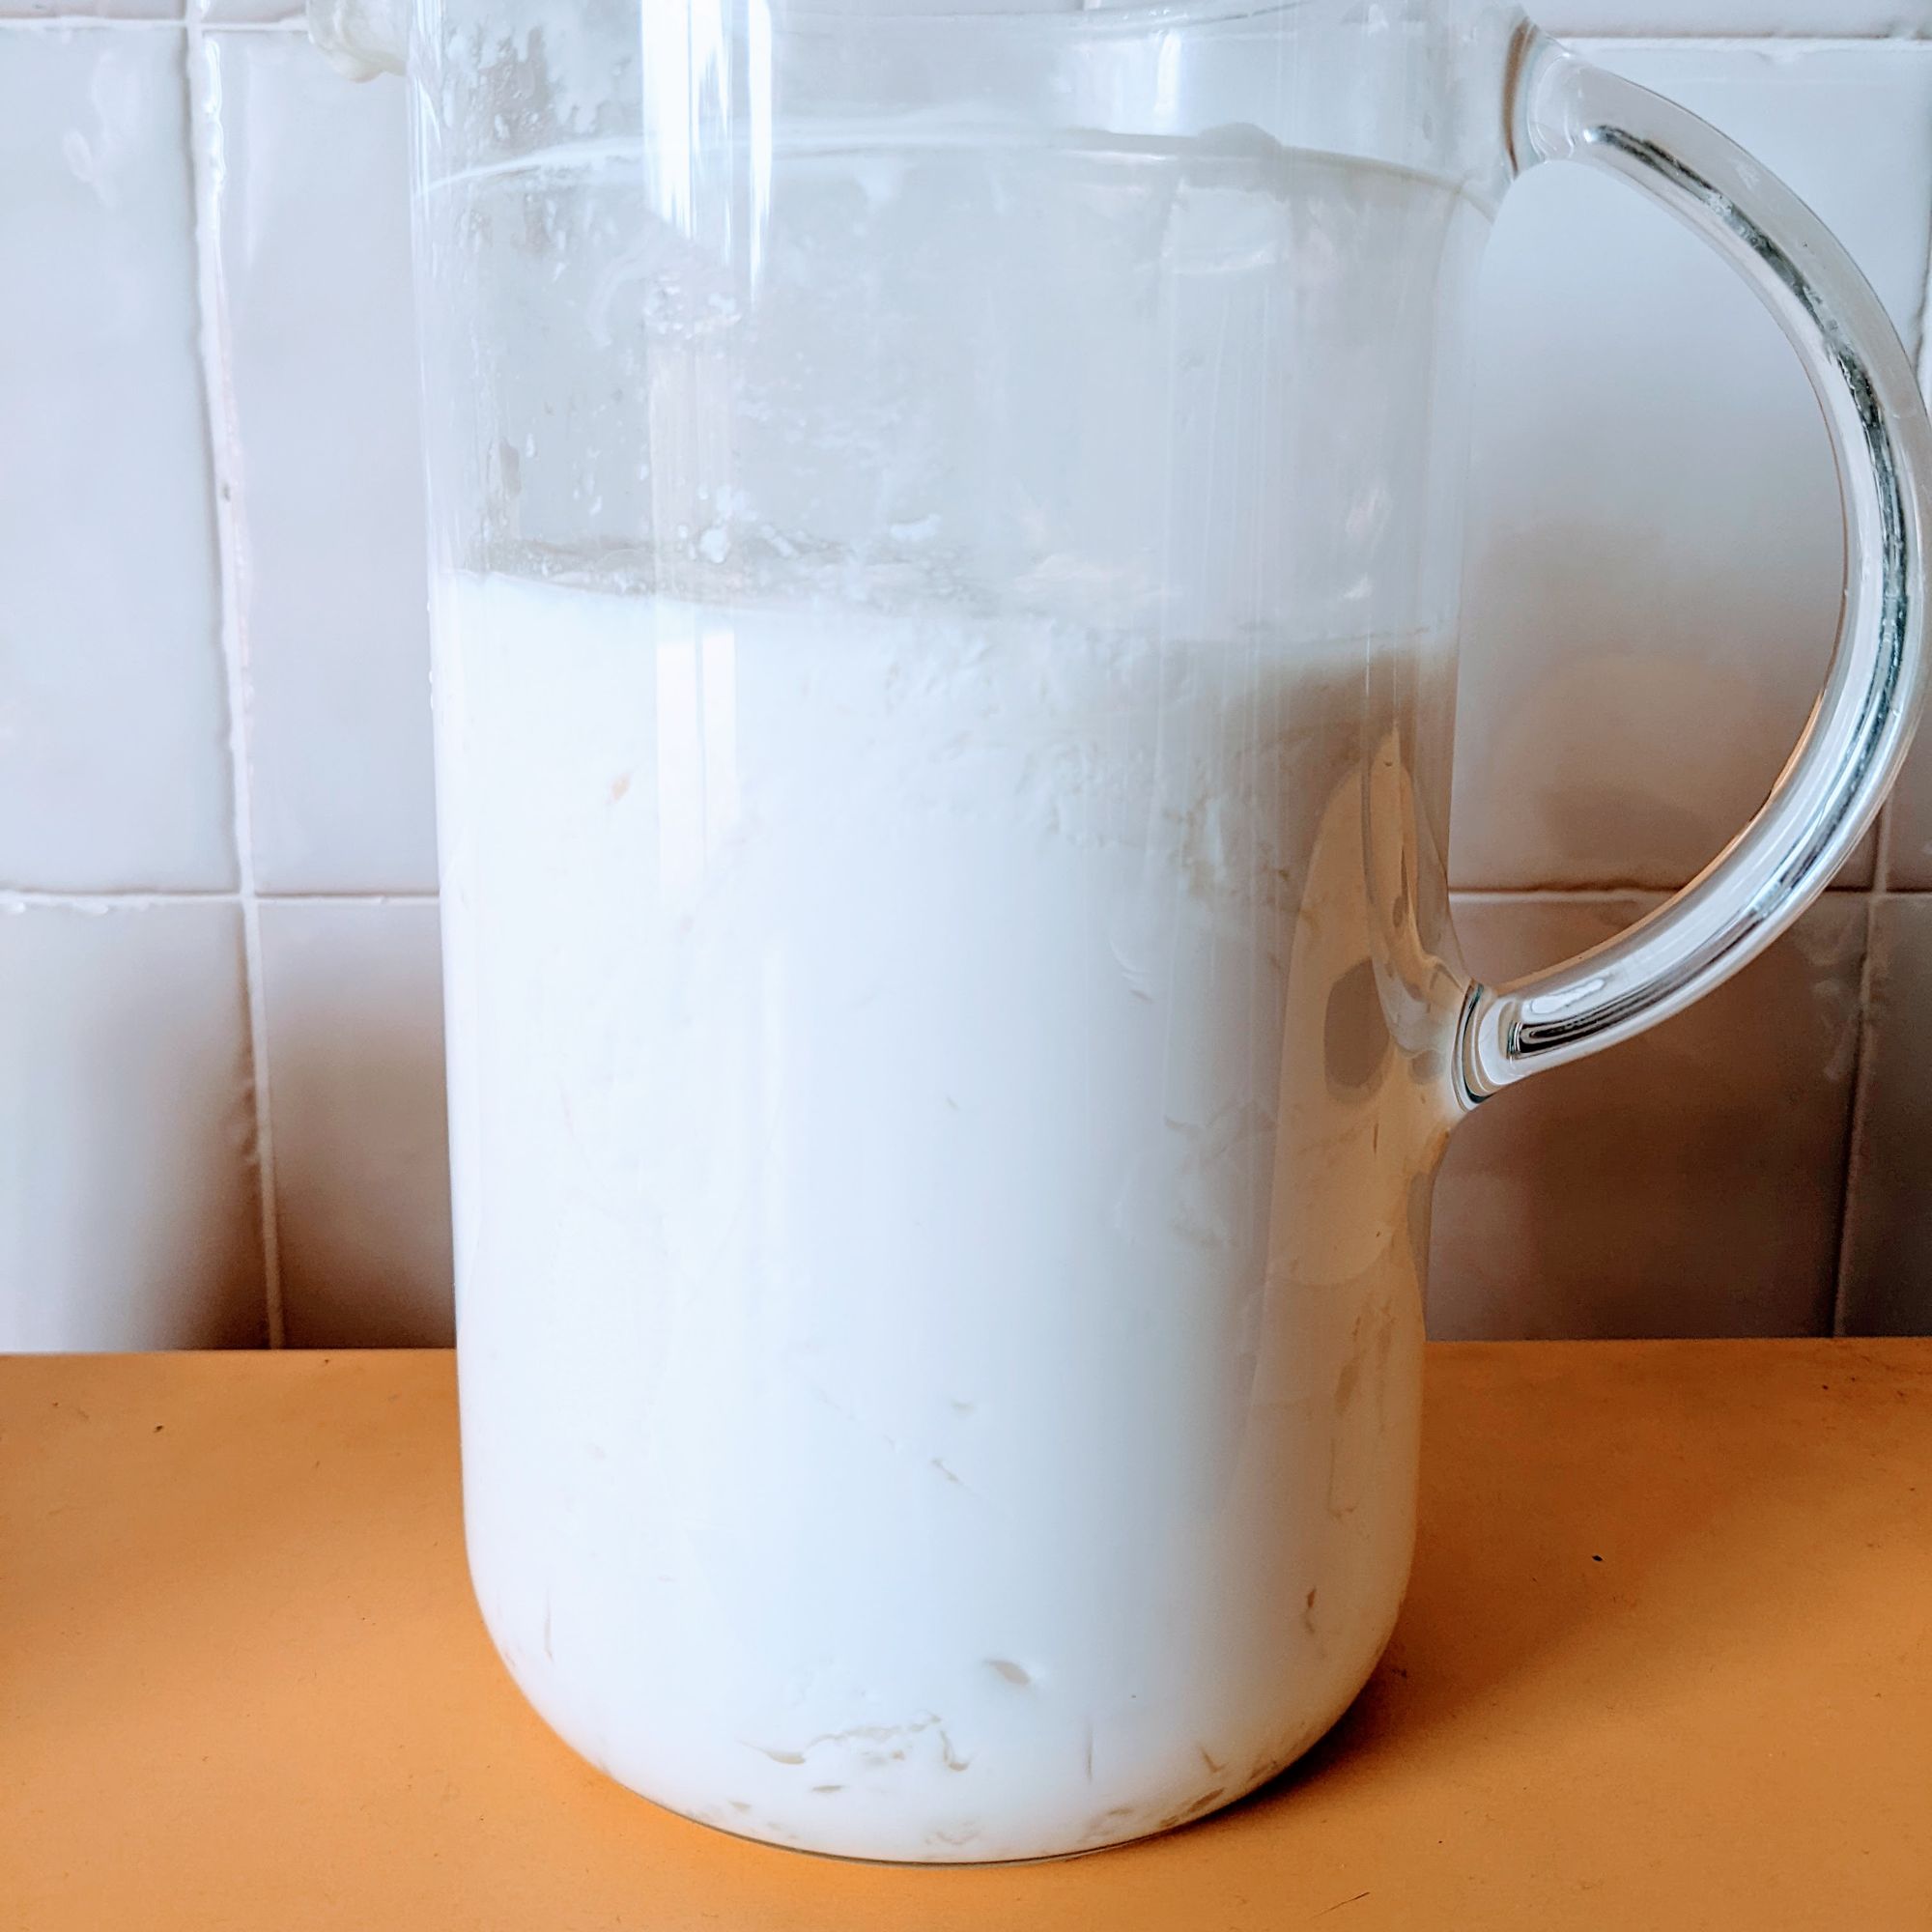
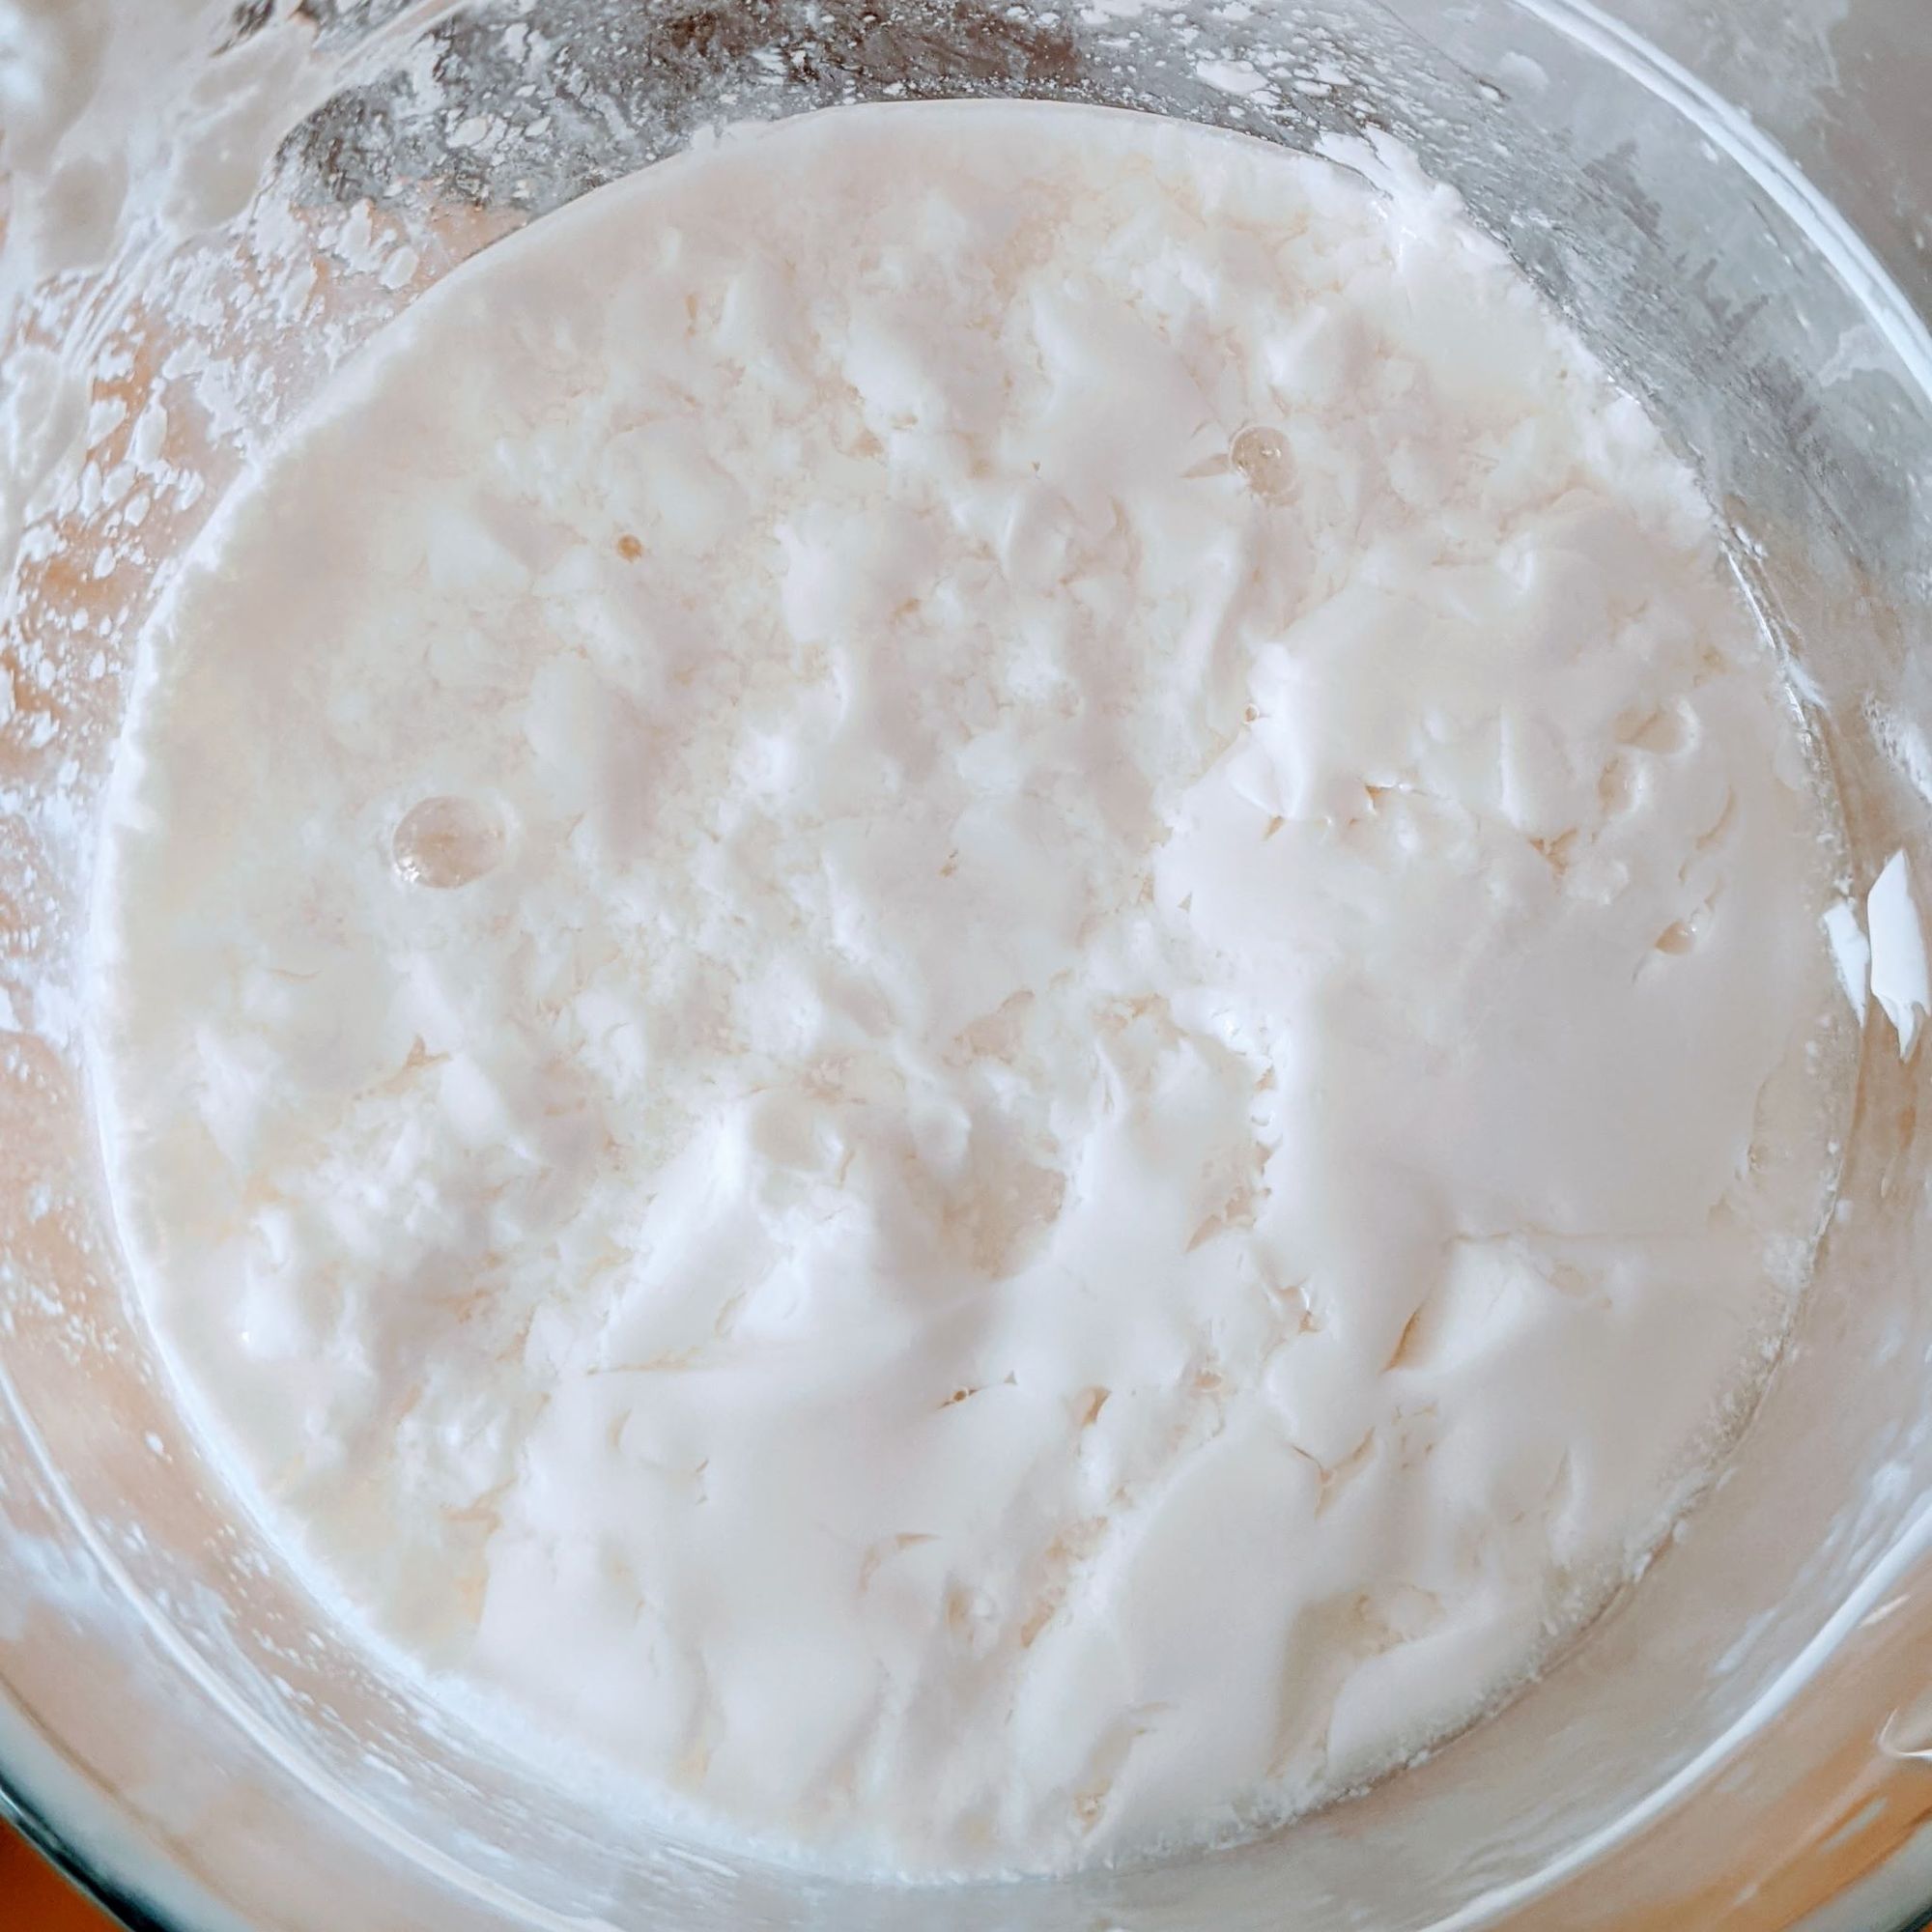
At that point you should have a thick, acid product that smells deliciously fermented.
Bottling it up:
- Sieve the kefir.
- Reserve the kefir in a bottle, it is ready to drink
- The grains can be immediately used for a new batch. Alternatively, store them with milk in an airtight container.
Second fermentation:
- if desired, add a few flavours to this bottle, without the grains. You can try fruits and or spices, as you would with a smoothie.
- Let it rest for another 12/24h at room temperature, with an airtight lid.
Tips
While it might seem a bit overwhelming at first, milk kefir is really easy to make. After a few attempts, it will take you very little time and energy to prepare. These days, it feels easier than preparing a cup of tea. The only difference, of course, is that the kefir I am preparing is to be drank a few days later. Because I am now preparing it every day, there is fresh kefir ready to be served at any time.
Out of all the drinks we are having, this one is the easiest to set up. The main effort happens when the first fermentation is done. As you need to sieve the drink from the grains, preferably without using any metal, attention is required. In the beginning sorting through kefir grains vs coagulated kefir is tricky but soon enough it becomes fun. There was an adjustment period, sorting out which jars and spatulas to use. Once you find out what works for you, this will also be a very smooth process.
I was initially using two small narrow opening bottles, a rubber funnel, and a nylon sieve for each batch. Now I am using only one bottle with a large opening and a sieve, making it much faster and cleaner. Smaller openings will keep more gas in the jar during the second fermentation but that is not something we are hoping to achieve at the moment.
Then I just pour the kefir over the sieve and “paint it” with the spatula against the sieve. The back and forth movement, like painting, is very grounding and feels a bit like a meditation exercise. Just a bit of pressure will be enough to get the kefir through the mesh while the grains will become very evident, and you can easily set them aside in a little bowl, waiting for a fresh batch of milk.
Currently we mostly drink it plain, as everyone seems to enjoy it like that. Occasionally, we do stir things up a little. Today, for example, we mixed red cabbage, berries, sesame seeds and a banana. Once this was turned into a paste, we added in the kefir and got ourselves a delicious smoothie.
The next step is to try and find out if there is a way to have a continuous process for the milk kefir, similar to what you can do with Kombucha. I will share any findings we come across.

What is Milk Kefir and What Are the Benefits
Kefir is fermented milk produced from grains that comprise a specific and complex mixture of bacteria and yeasts that live in a symbiotic association.
Source: https://pubmed.ncbi.nlm.nih.gov/28222814/
These grains are originally from the Eastern Europe and Southwest Asia. Its name comes from the Turkish word “keyif,” which means joy, pleasure.
It looks similar to buttermilk or liquid yogurt, and it tastes tangy and fizzy.
After the fermentation, it becomes quite versatile as it can become the basis for a variety of drinks and sauces. Care should be taken if you want to keep the culture alive and avoid heating it.
Some main benefits seem to include:
- good source of Protein, Calcium, Phosphorus,Vitamin B12,Riboflavin, Magnesium, and vitamin D
- improved digestion and tolerance to lactose,
- antibacterial effect,
- hypocholesterolaemic effect,
- control of plasma glucose,
- anti-hypertensive effect,
- anti-inflammatory effect,
- antioxidant activity,
- anti-carcinogenic activity,
- anti-allergenic activity and healing effects.
Here is an in-depth study on the benefits: https://www.cambridge.org/core/journals/nutrition-research-reviews/article/milk-kefir-nutritional-microbiological-and-health-benefits/1393DC2B8E5F08B0BE7BD58F030D387
Resources:
- Kombucha, Kefir and Beyond, Alex Lewin and Raquel Guajardo, Fair Winds
- Kefiralia
Background
This homesteading world is quite exciting. Every day, you get a chance of learning new skills or spot new opportunities. And to top it all up, many of them are ways of making our lives and/or Nature better.
One of the opportunities in the menu is, of course, food. The idea that we can use food as a way to thrive and be healthy is glorious, albeit not new at all. It is such a departure from my relationship with food throughout my life that it still doesn’t come naturally. But natural it is.
The approach we have identified ourselves with the most at the moment is eating good, natural food. No grains, little eggs, no sugar or added salt (particularly for the kids). We do eat meat and fish and some dairy. We try to get it from sustainable sources.
In any case, the idea is that, more and more, our food should come from our garden. We can’t find a better way to make sure it is the healthiest food possible, not only avoiding damage to the environment, but actually making it better. It is a dream goal, but a goal nonetheless.
This requires skills we only like to think we have, such as planning or basic cooking; and many new ones, such as preserving, gardening and raising animals throughout their lifecycle.
As a part of preserving, three four main categories are in focus:
- Cold: we are already using a fridge and a freezer, but there is more to learn, particularly on how to freeze some produce without losing their nutrients.
- Dehydration: we have been experimented with this, but very little, last year. The results were very promising, and we will surely be relying on it more and more. One of the next steps here, apart from having excess product to dehydrate, is a clear way to store afterwards: what kind of containers (avoiding plastic), organization system, to easily find things afterwards.
- Fermenting: the opportunities here and endless and extremely appealing. We have started with a few things, like yogurt and sauerkraut, but there is so much more to explore. This milk kefir is just one of the many experiments yet to come.
- Canning: I have mixed feelings about this option. Sure, preserving some things canned is appealing, but is it really that much better than freezing? The process appears quite involved and precise in order to avoid disastrous consequences. It seems to require following exact instructions, something that I profoundly dislike, particularly in the kitchen. Beyond dislike, the stress of wondering if I missed something would remove any pleasure of eating that food and just made me worry whenever I shared it with my family. Still, learning more might change my mind.