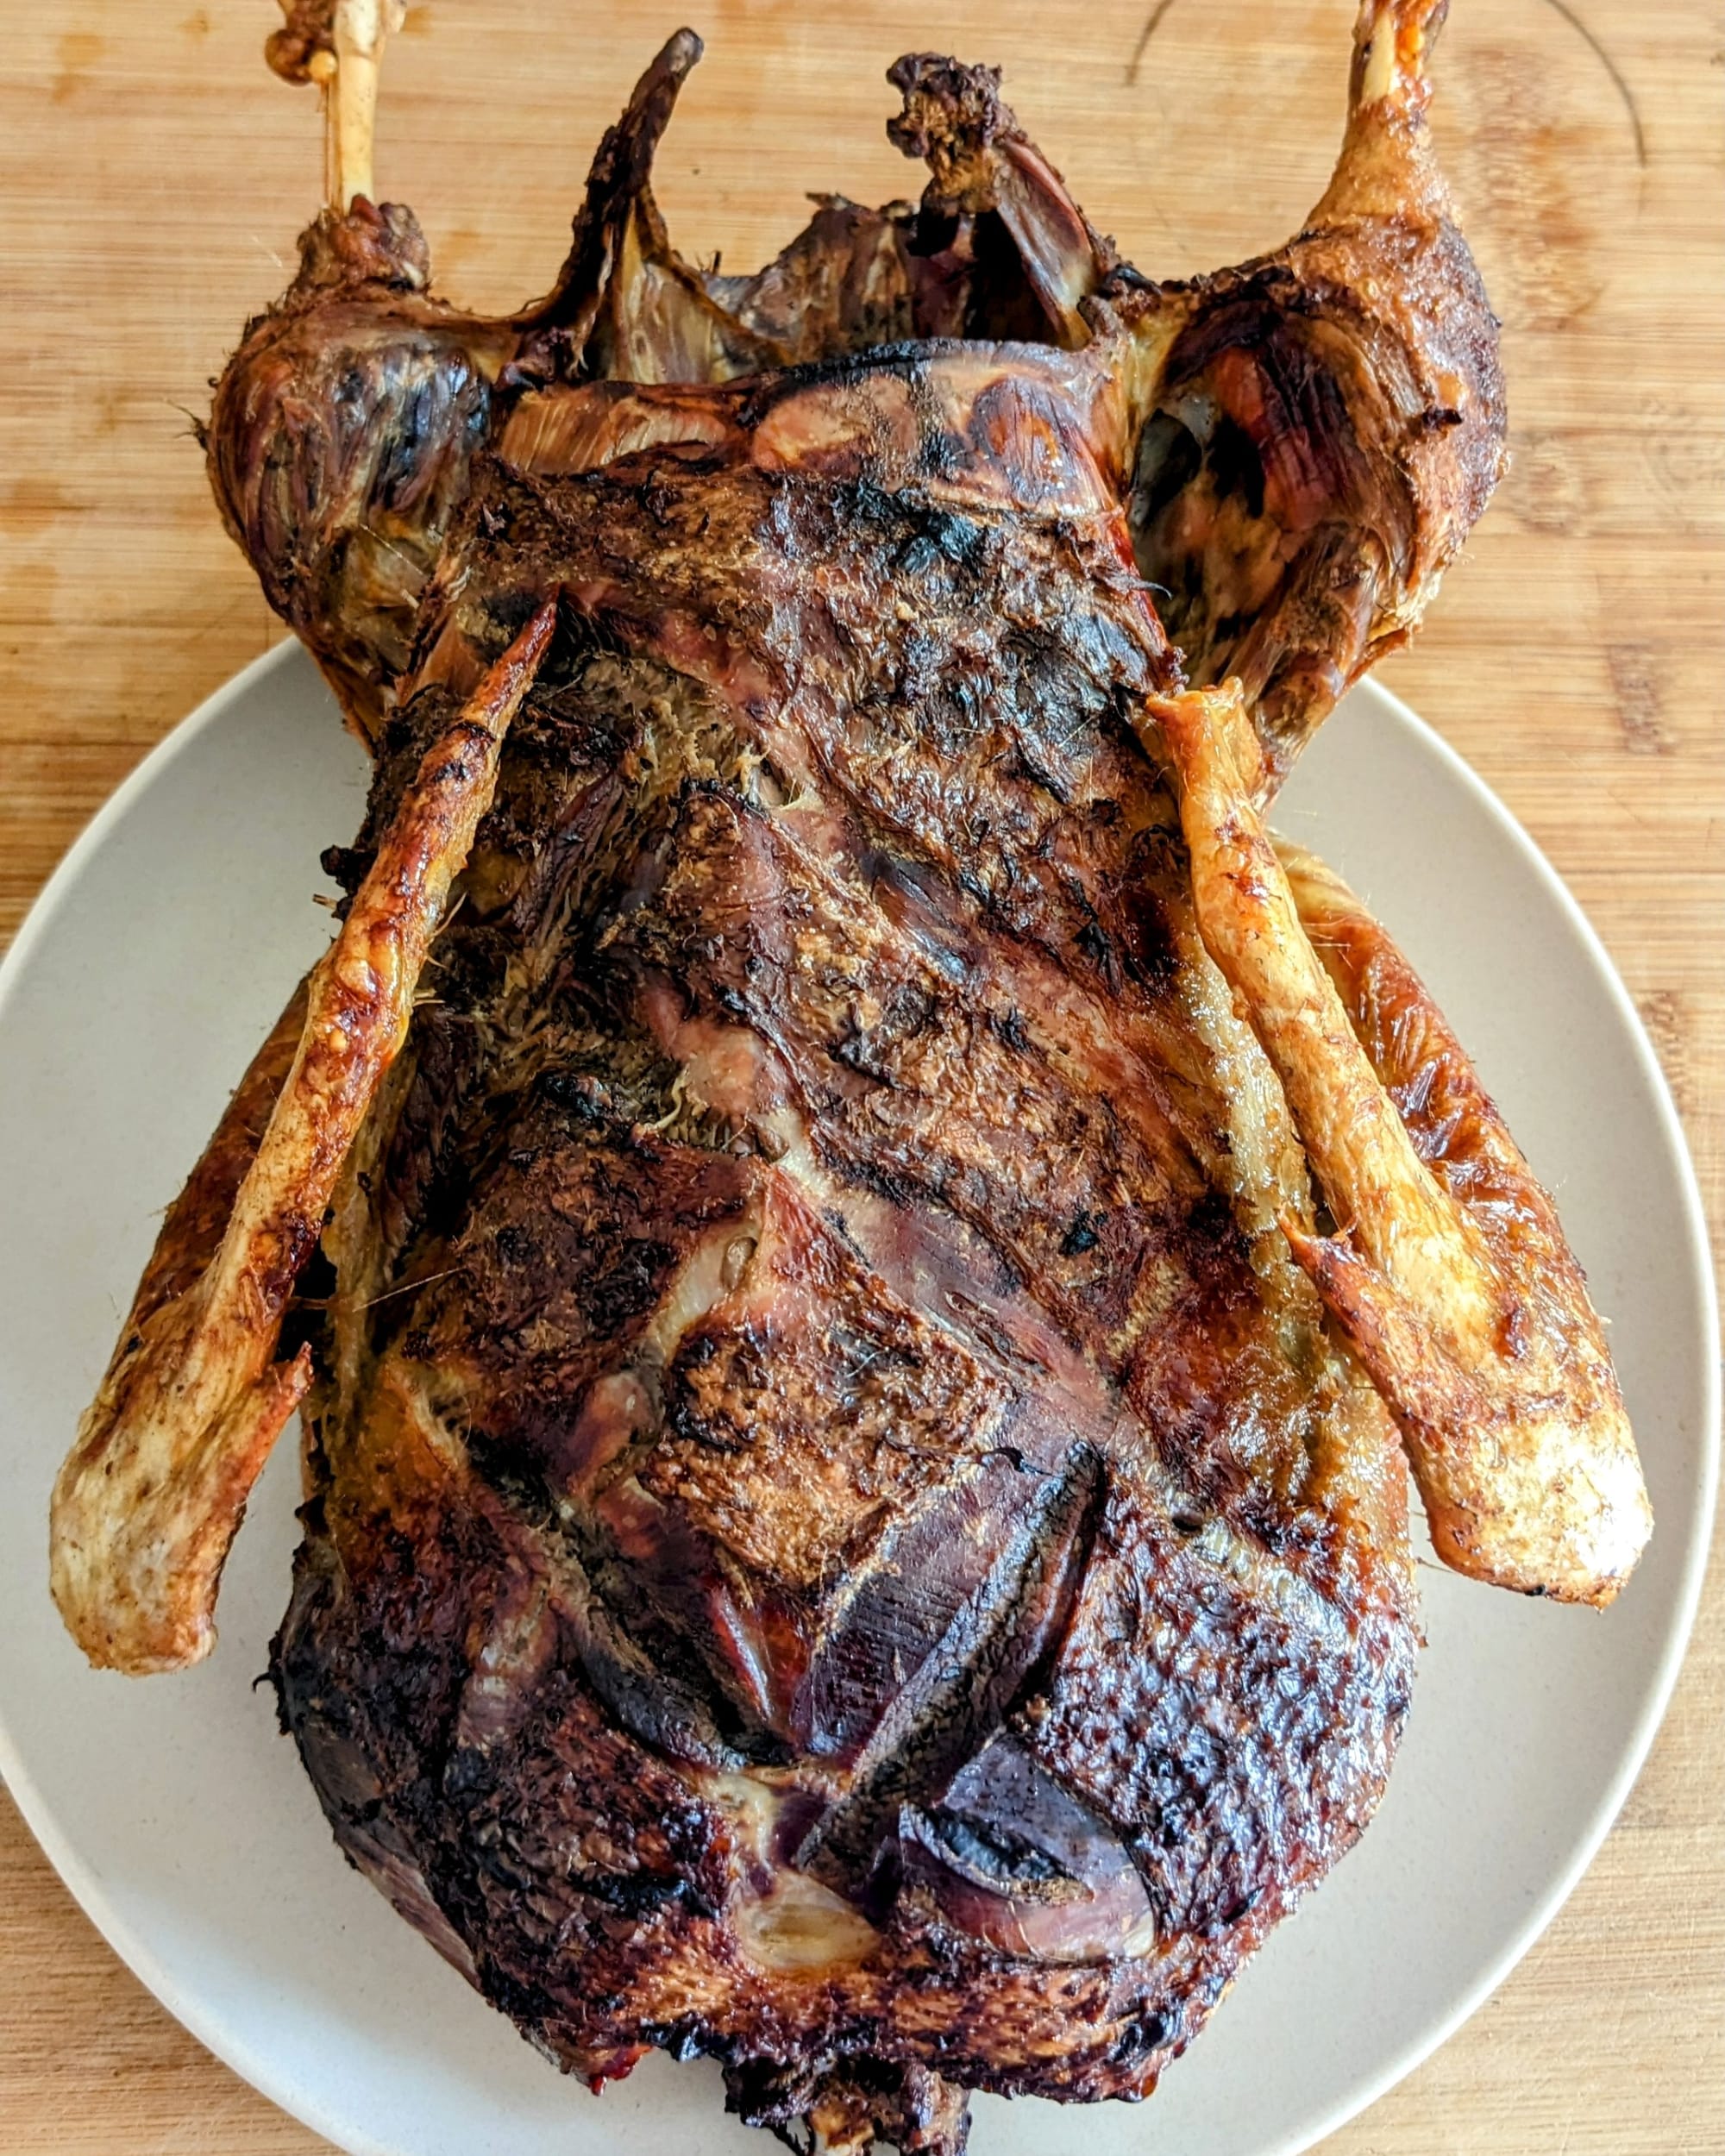
He was walking slower than usual. His face was as serious and dignified as always, though a little puzzled. Not bad after losing so much blood and landing a backflip fall from three times his height. I caught him again and put him back in the cone, this time holding on for a while longer. He was number 19 and we roasted him for Christmas dinner. I need to build a bigger killing cone.
The first one was exactly one year before. I’d seen plenty of animals being slaughtered – as a child, at my grandparents’ in the countryside – but doing it myself was a different story. He had an inquisitive look on his face, as if he was curious to see what adventure he would go on that day. I didn’t manage to dispatch him as quickly as I’d hoped. He kept blinking for a long time while bleeding. I had to get better at it.
Raising and harvesting our own meat is an emotional affair. It’s a way forward that bypasses the horrors of industrial animal farming and the challenges of a vegetarian or vegan diet. It yields tasty, nutrient dense food while building soil. The animals live the best life they can have until that very last moment. We get to pamper them, but we also have to kill them.
We harvested and ate 19 poultry in the past year: 14 Muscovy ducks, 3 Khaki Campbell ducks, and a pair of turkeys. I handle the slaughtering and butchering, then Inês cooks them into delicious meals. We’ve learned a bit each time and there’s still a lot to learn. Here is a summary:
Slaughtering
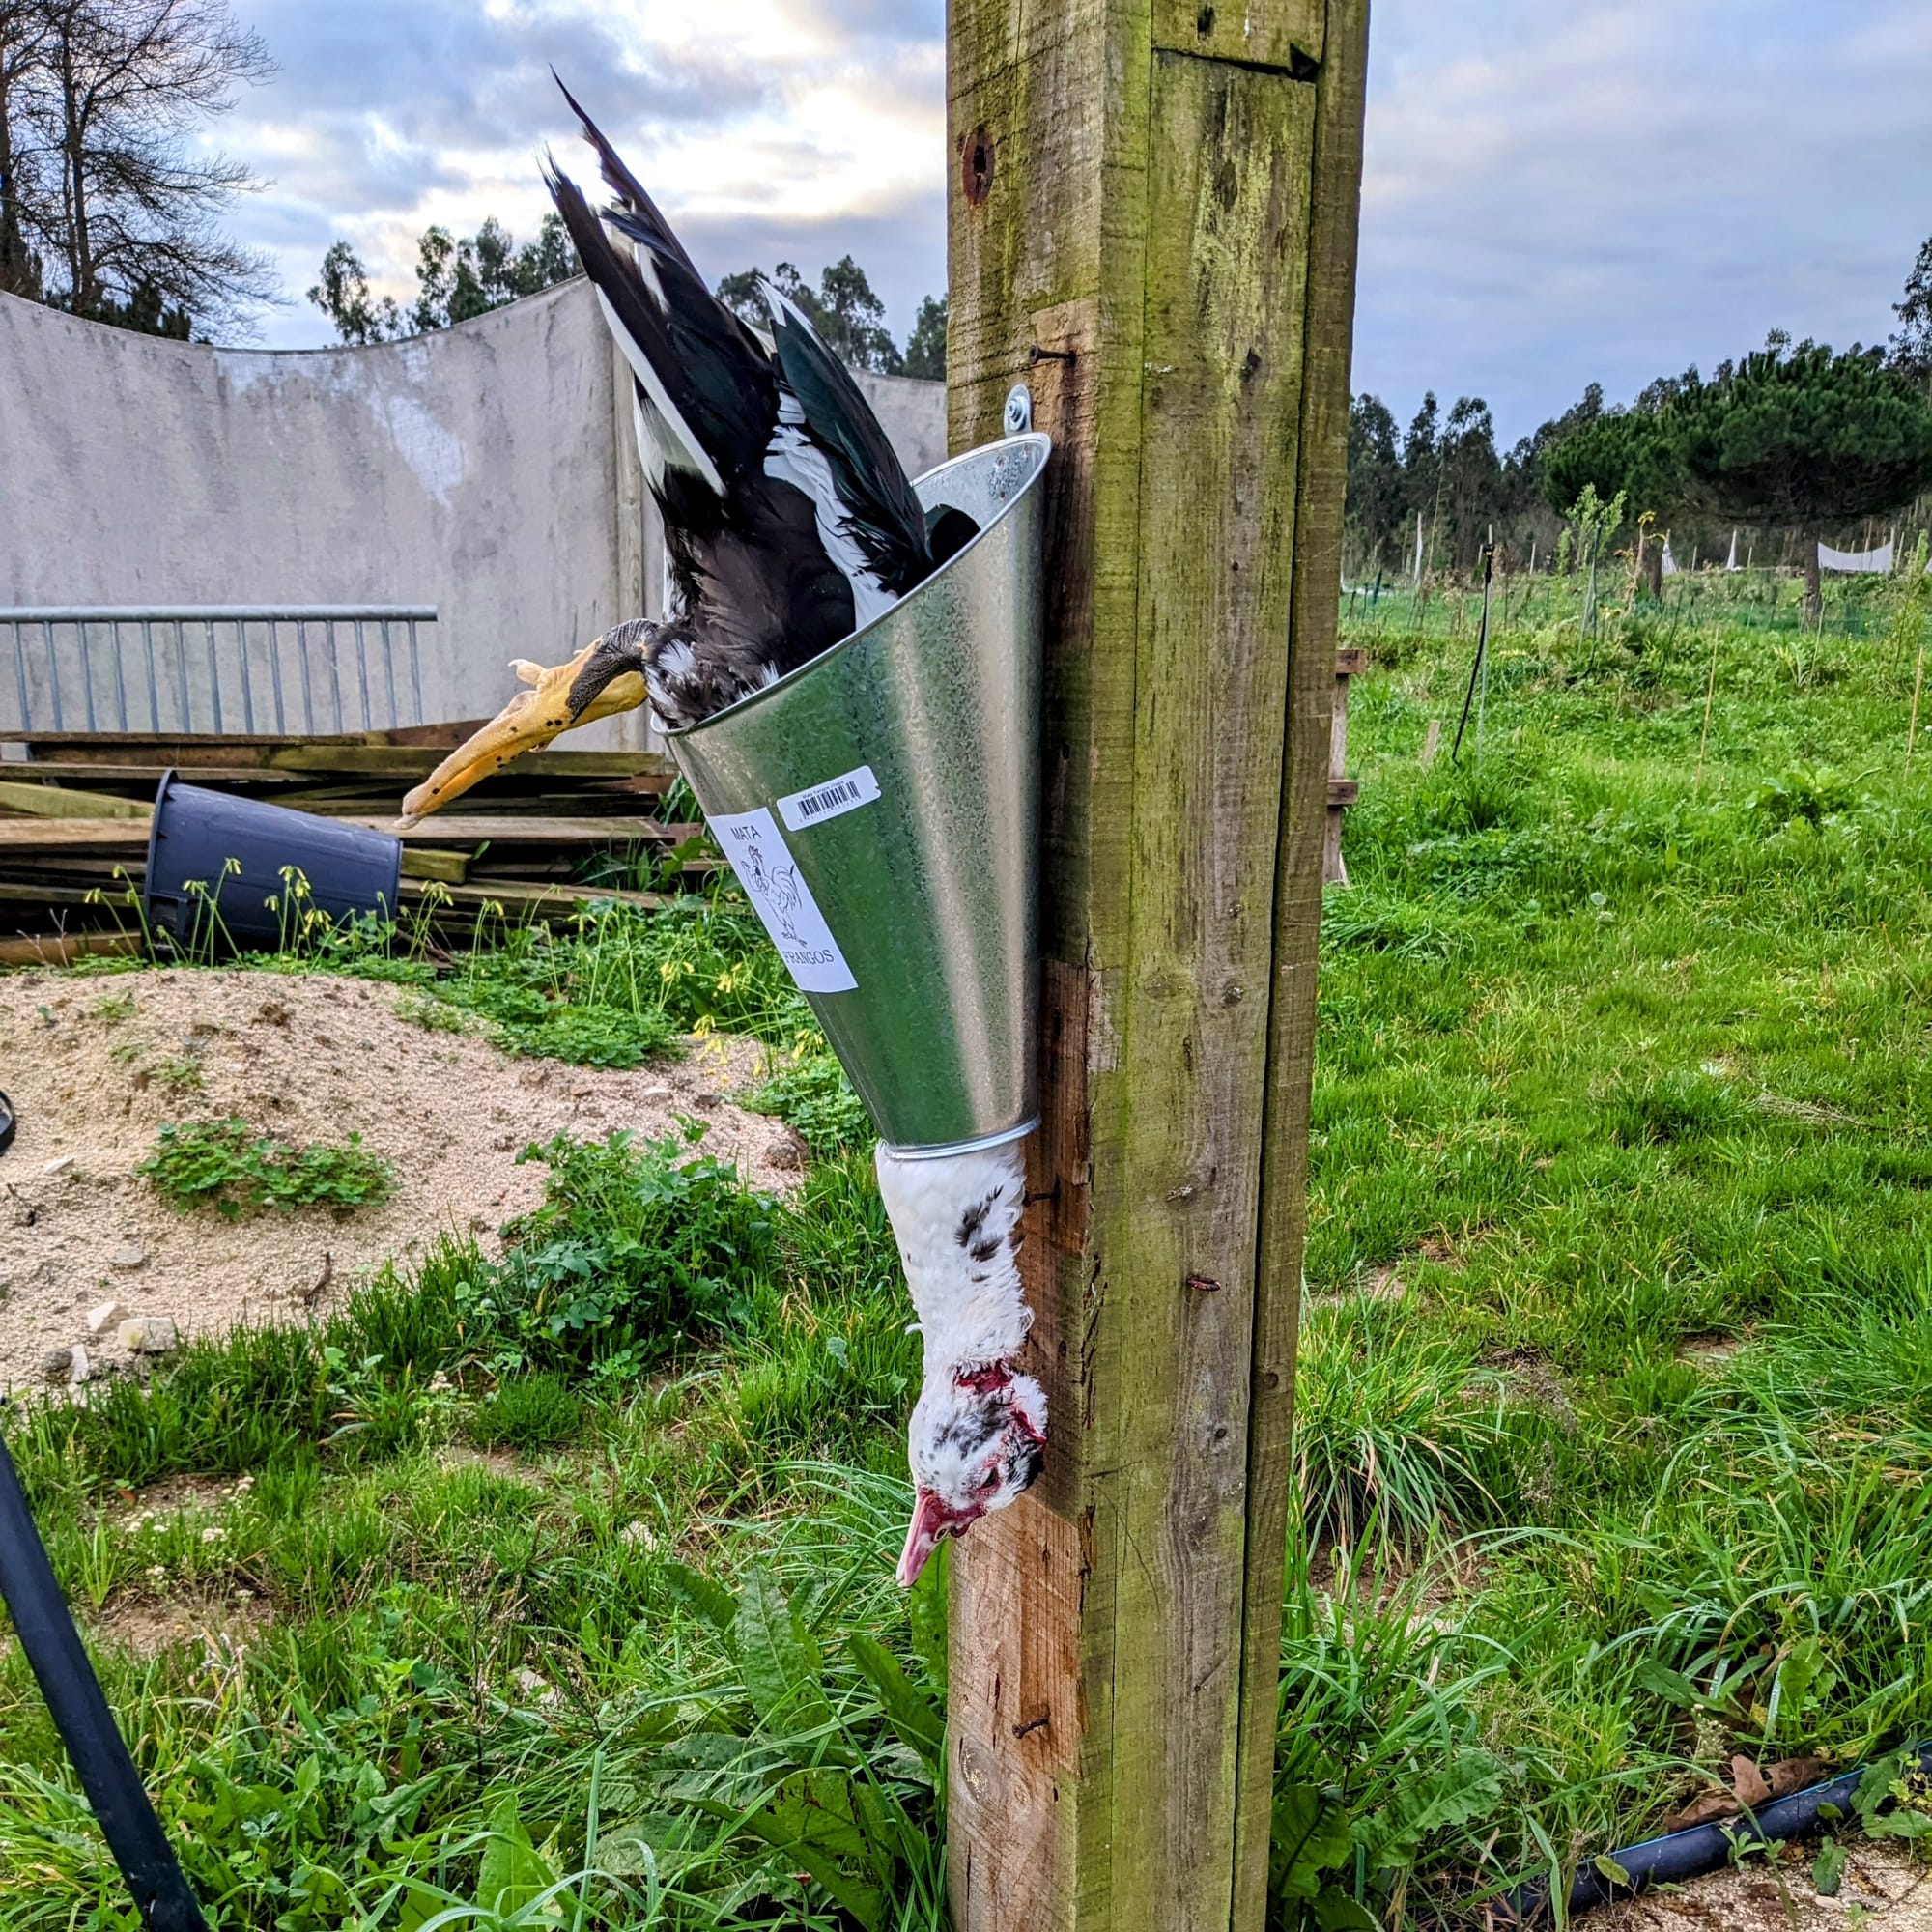
The standard way of cutting the carotid arteries and letting the bird bleed out works, but doesn’t feel entirely right. Muscovy ducks take a long time to die this way. They don’t make noise but keep staring and blinking. It’s disturbing and doesn’t feel very humane.
Based on online advice I tried using a pithing tool intended for hunters. One would ideally use it before exsanguination to minimize suffering. I have yet to manage that because the tip is not very sharp. Pressing it into the wrong spot just causes needless pain. It seems to also work if used after cutting the arteries. I want to (carefully) practice using it as the first step again since that seems to be the least painful way for the bird. At some point, I’d also like to try a combined pithing/exsanguination cut like shown in this video.
The birds are often too big to fit in and be safely restrained by the killing cone. I’ve been following the method demonstrated in this video: restrain the bird with my legs, cut the arteries, then soon after snap the neck at the base of the skull. It works, but a bigger killing cone would be better. I’ll need to make it myself since we’re already using the biggest one we could find for sale.
Defeathering
This is the most labor intensive part of the harvest. I tried all the different ways I found out about:
Wet plucking
This seems to be default choice for many people but it’s not a great one, especially not for waterfowl:
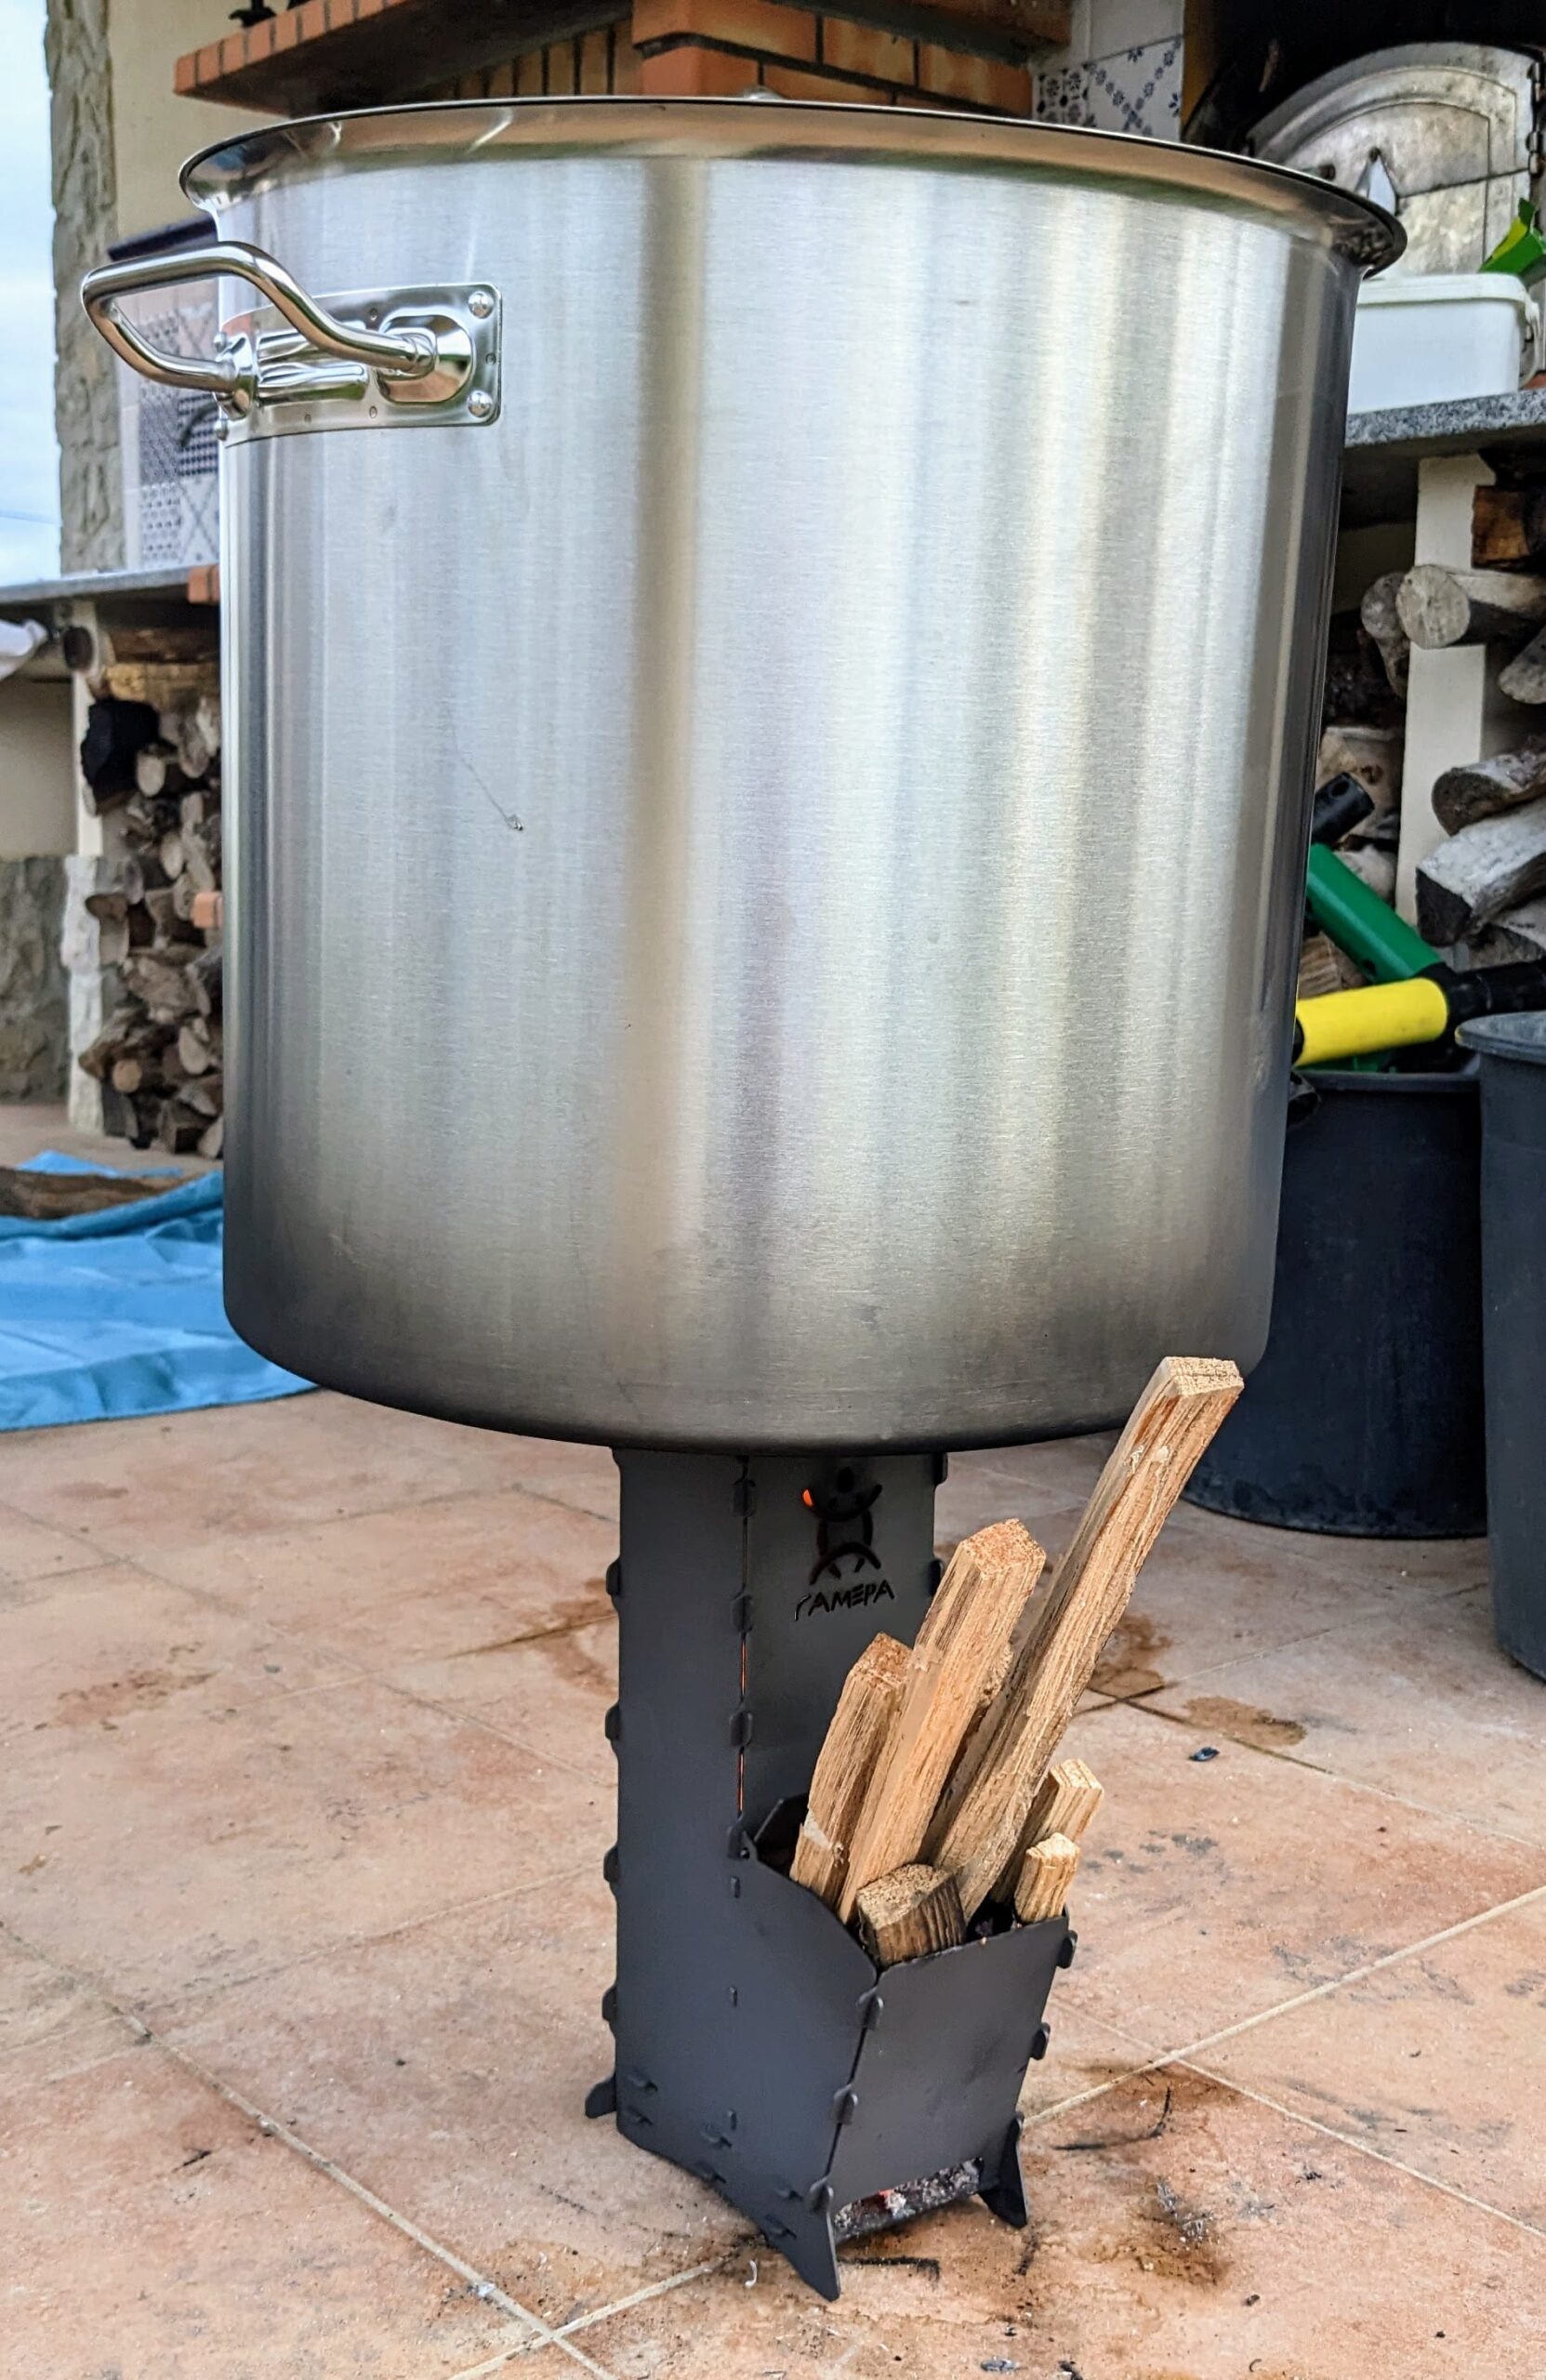
- Getting the feathers wet to allow the skin to scald is a lengthy (about 2 minutes) and difficult process. Adding vinegar and/or dishwashing detergent to the scalding water is supposed to help but didn’t seem to make a big difference. The bird is buoyant in the beginning and it helps to move it around. Ducks have short legs so your hands end up very close to the splashing hot water. Not pleasant.
- Getting and keeping the water to the required temperature – about 70°C – was a logistical challenge. After trying a few options, the best one was a 3kW electric immersion heater.
- It’s messy and smelly.
Wax plucking
I only tried this once. It seems to work much better than wet plucking, but it has its own challenges:
- The wax sticks to the scalding pot and to the immersion heater. Cleanup is messy.
- I had to discard the feathers instead of composting them as usual, because paraffin wax isn’t biodegradable.
- It adds a fossil fuel input to a process intended to make us more renewable and resilient. While you can re-melt, sift, and reuse the wax some of it still gets lost each time.
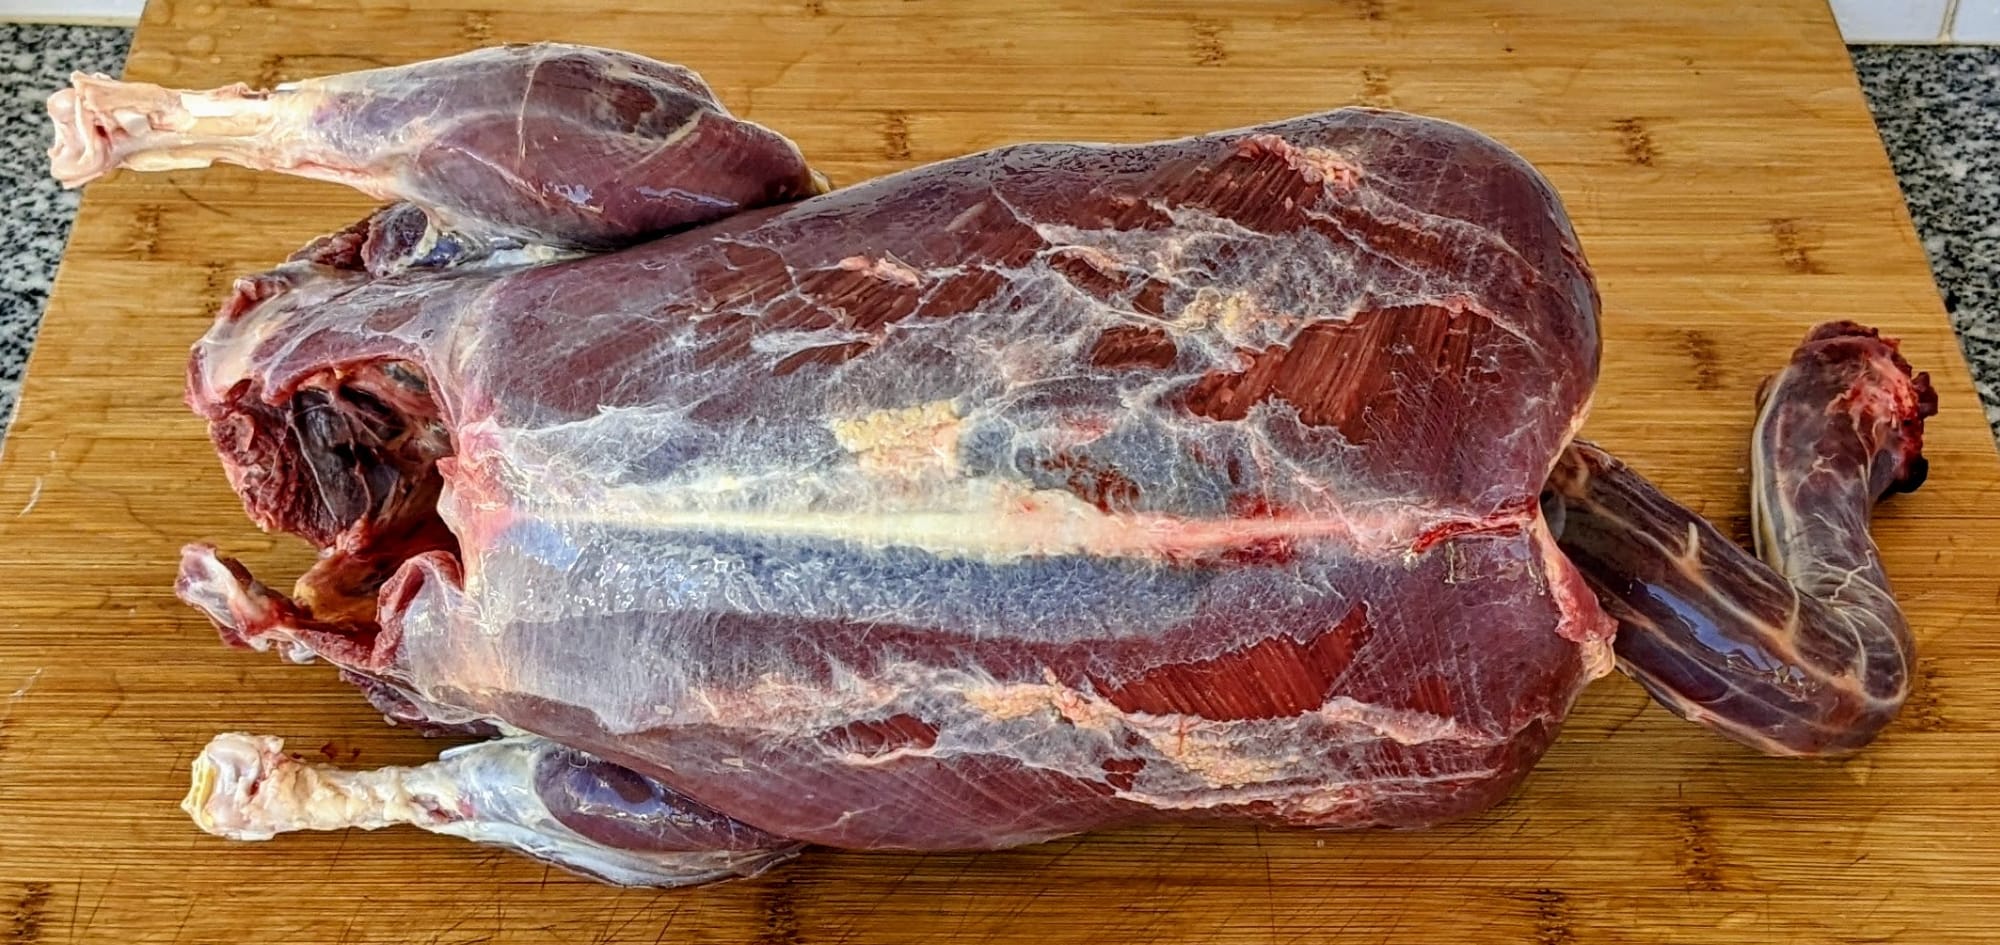
Skinning
Only done it once. It works better than any of the plucking methods and is remarkably quick. It’s however quite wasteful because it discards the skin, which is one of the tastiest things on a duck.
Dry plucking
I had seen this mentioned but didn’t understand how it could possibly work. It turns out that for about one hour after death, the feathers can just be plucked without scalding. Pithing during slaughter supposedly relaxes the feather follicles and makes dry plucking easier.
Dry plucking by hand was just as labor intensive as wet plucking by hand. There’s less prep and cleanup time because there’s no need to deal with the large pot of hot scalding water. The unpleasant smell is also gone.
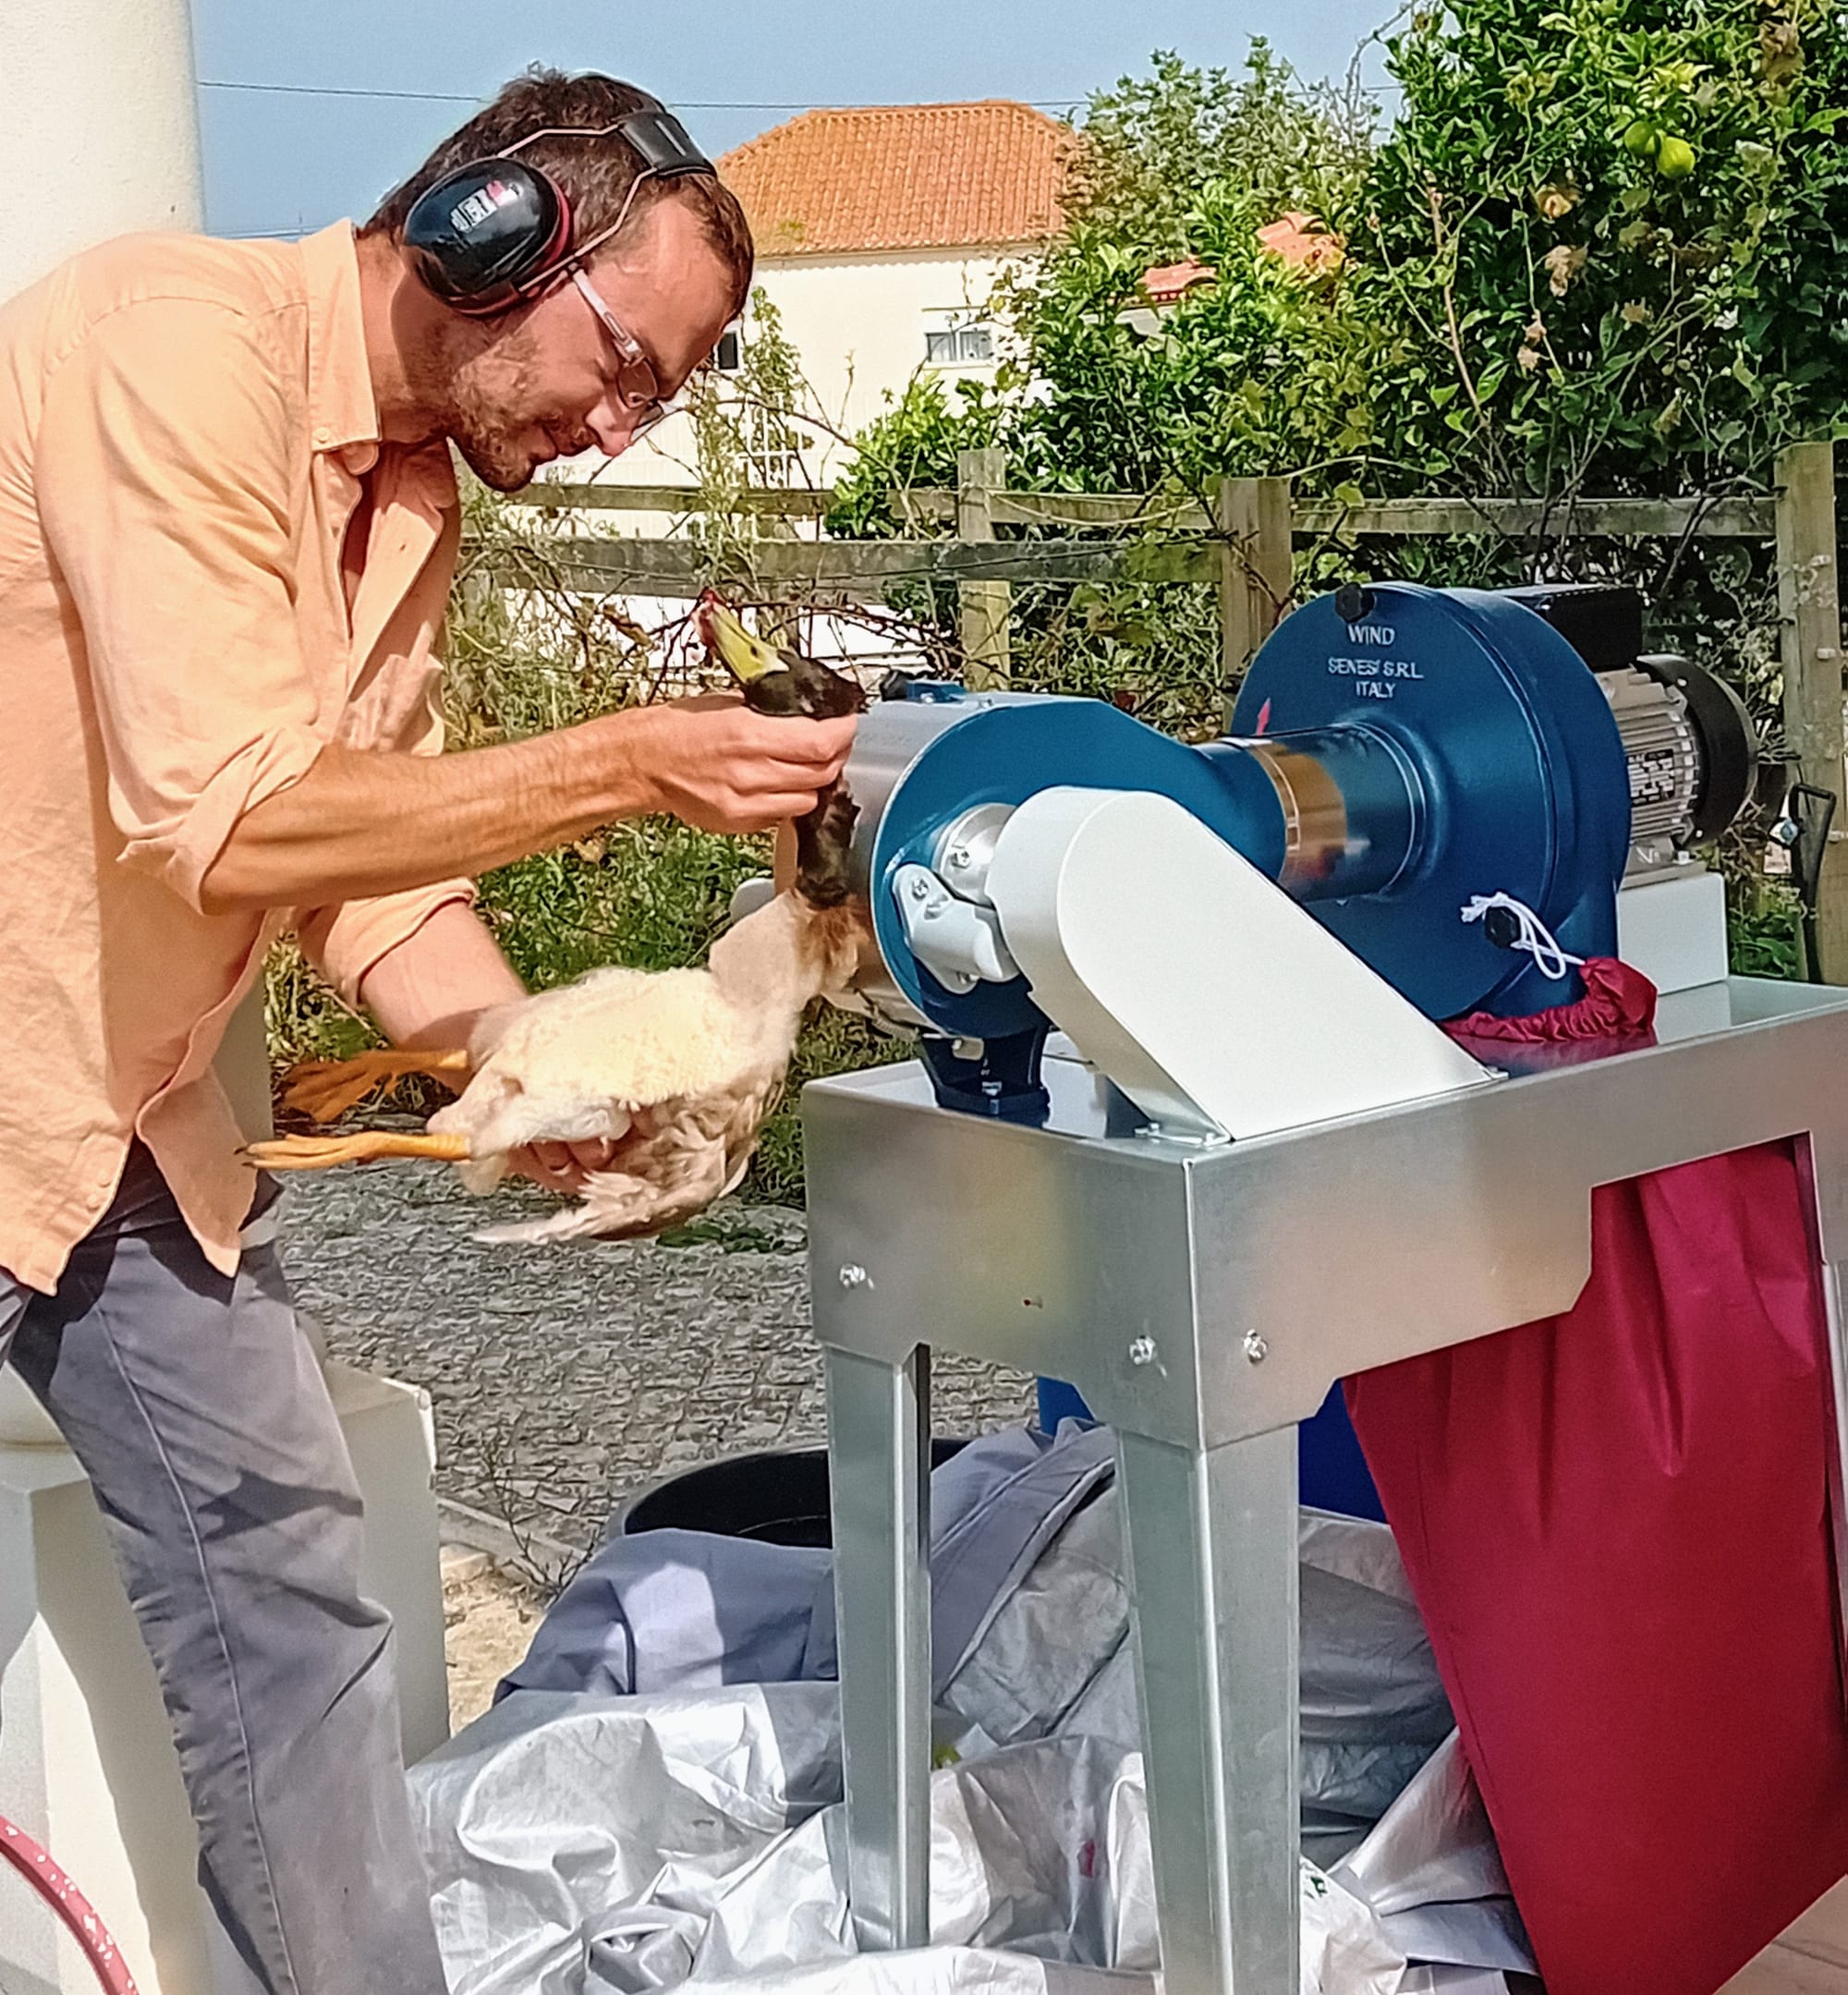
We eventually got a Senesi dry plucking machine. It works great and makes plucking faster, with some caveats:
- At least with Muscovy ducks, the machine struggles with the large flight feathers on the wings and tail. They either remain attached or break at the base. It’s fortunately quick and easy to just remove those by hand before using the machine.
- The machine needs to be cleaned after each plucking session. For a single duck, plucking and cleaning the machine is still faster than plucking by hand, but not by much. For multiple ducks, the cleanup time is well worth it.
- It’s quite loud. Hearing protection must be worn.
Finish plucking
After plucking, there’s usually still some down and pin feathers left in hard to reach areas of the carcass. I use a handheld gas blowtorch to burn them off. Needle nose pliers are also handy to remove large feather stubs broken off during plucking.
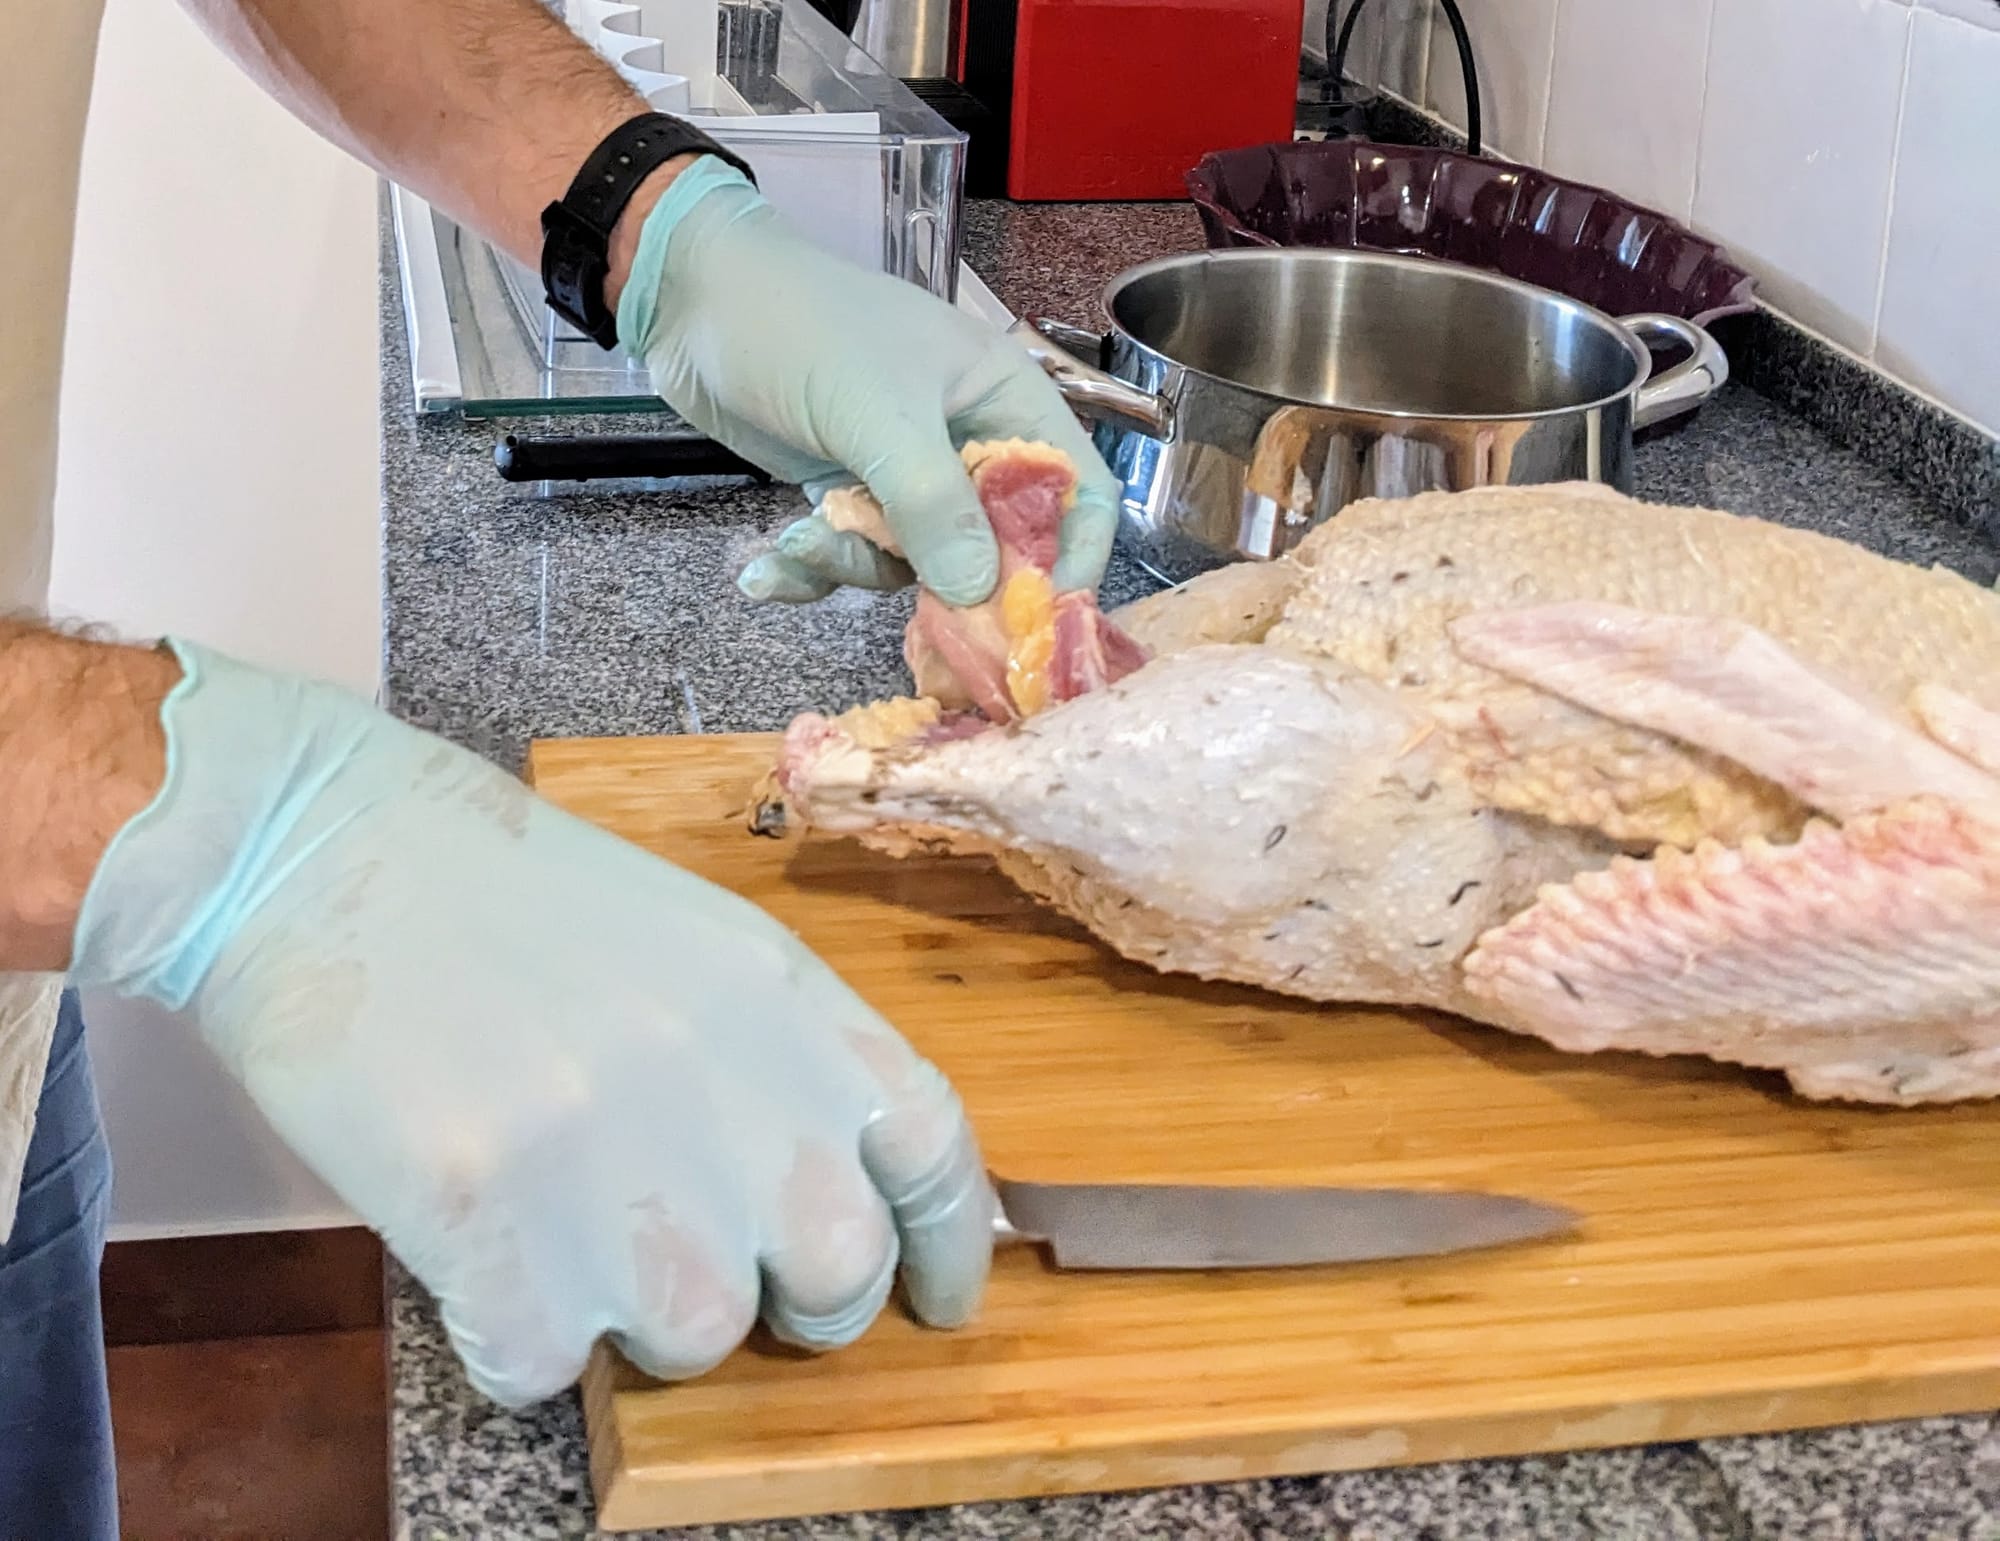
Gutting
This was quite intimidating to start with but it gets easier with every round of practice. We normally withhold food overnight from the birds to be harvested, which helps avoid messy full crops and intestines. Gutting removes:
- Edible organs: heart, liver, stomach, testicles – cooked and eaten. They are nutritious and tasty.
- Stock parts: feet, head, wingtips – made into collagen-rich stock and used for cooking.
- Inedible entrails: the rest of the digestive tract, buried deep in poor soil areas of the garden.
Chilling and aging
The gutted carcass needs to be chilled down as soon as possible to slow down pathogen growth. I began by doing this the common way of submerging into a picnic cooler full with water and ice. It works, but the flavor dilutes somewhat and it’s one extra set of setup and cleanup steps to handle.
Instead, I got an inexpensive second hand freezer and converted it into a fridge. The carcasses go there to air chill, which works great.
Once chilled, the meat should be allowed to age for at least 1-2 days before cooking or freezing. This allows enzymatic activity to relax the muscle stiffness that sets in soon after death (rigor mortis). It has a significant effect on flavor and tenderness.
Aging for a longer time further enhances the flavor and tenderness of the meat. It also makes the skin even crispier. Fridge space was an issue but with the converted freezer this is now very straightforward: just leave the carcass there after chilling.

Workflow and ergonomics
This is an area of continuous improvement. Some things learned so far:
- Have and use a prep checklist: there’s quite a few items to gather in place for the whole harvest. It’s inconvenient to discover a missing one while having your hands inside a bird carcass.
- A belt-mounted knife holster keeps the blade clean and easily accessible once the bird is secured, calm, and ready for slaughter.
- Ergonomics: good body posture – especially during plucking – helps avoiding pain and fatigue.
- For manual plucking steps, a board set on top of a large wheelbarrow makes a convenient plucking table. It has the right height for a good posture, and the feathers can be easily thrown in the wheelbarrow. Afterwards, it’s easy to empty them on the compost pile.
- Minimize travel between work positions: killing (messy) -> plucking (messy, requires power) -> gutting (requires running water and surfaces that can be easily cleaned and sterilized).
- Plucking and gutting should ideally be done in a shaded spot to maintain comfort.
Resources
There’s a lot of information on the topic online, not all of it very good. Here’s what helped us in particular:
- Butchering Poultry, Rabbit, Lamb, Goat, and Pork: The Comprehensive Photographic Guide to Humane Slaughtering and Butchering: a must read book that goes from the basics all the way to species-specific details.
- Farmstead Meatsmith on YouTube has very well done videos on humanely slaughtering, wet plucking, and gutting Muscovy ducks.
- One Farmer’s Guide to Raising Ducks for Meat: a detailed article on all aspects of running a small scale meat duck business.
- These duck harvest articles that have particularly useful photographic examples of using the “Finisher” pithing tool and of skinning a duck.